The difficulty in hanging the chandelier begins in terms of mounting the bracket and electrically connecting the wires. And it is impossible to say that the last question was not important. For example, with the help of a screwdriver-indicator, you can verify the simple fact: if there is a mass of twists in a circuit, the circuit earth or the neutral wire is not detected. The reason - the resistance of the joints is too high. According to the rules, the parameters of the ground circuit should not demonstrate more than 5 ohms. Of course, you can talk for a long time about the unattainability of the ideal, and you only need to hang the chandelier on the stretch ceiling, and not fulfill the requirements of industrial standards, but any extra ohm provokes heat loss, with a large load a fire is likely.
The complexity of the docking of the wires during the installation of the chandelier
Often in old houses the phase is not on the switch, but on the lamp holder. Already explained how it is dangerous. In particular, if you touch the chandelier's cartridge with your hand, albeit accidentally, while the second one takes up the aluminum radiator, it is easy to get an electric shock. Sometimes it happens, the reinforcement of plates is grounded. If the screwdriver indicator shows the presence of voltage on the chandelier cartridge when the switch is open, the installation needs to be redone:

. Installing the chandelier
- . It is supposed to calculate the nearest junction box. In old houses there is a depression in the wall, where there are several twists. More often the round lid, located under the ceiling, opposite the chandelier, will help solve the problem.
- Need to find the necessary pair of wires. And sometimes not the one that goes in the right direction. It is necessary to determine the phase and neutral wires with a screwdriver indicator. Standard first red or brown, the second - blue. Yellow green ground occurs. Difficulty: in the houses of the times of the USSR there are two veins, and both aluminum with white insulation. A thick layer of oxide film will not allow for correct measurements, and it is not possible to determine the location of the wires by eye.
- Required: cut down the switch, unscrew the plugs, pull out the devices from the outlets in the room.
- It is required to find a high-power incandescent bulb( spiral resistance below) and wrap it in a cartridge.
- The typical impedance of a 60-watt incandescent bulb is 60-70 ohms. It is assumed that the tester measures the difference between each pair of twists( use crocodiles).And there, where there is a necessary value, it is supposed to continue works. Usually at one end twisted two wires. This is the place where the switch is suitable. The phase should come from here, but in reality the zero wire comes. You will need to swap the opposite ends of the light bulb and switch. We don’t touch this double twist. To find the opposite end, unscrew the light bulb and stick it in the socket( we remind you that the plugs are turned off), for example, a soldering iron. Typical device resistance is 450 ohms( for 100 watts).On this basis we find the end( the beginning is a double twist).
- Easy way. The logical opposite end of the switch and the light bulb lies on different branches. The first 220 V, the second - the phase. Looking where the vein is going will be able to find a pair. Exception is the case when the wiring commutation is extremely confusing.
- So, we swap the opposite end of the switch and the chandelier. Now on the cartridge comes the zero wire, as required.
Skeptics call the instruction far-fetched or unnecessary. Those who check the complexity of the search will find the document useful. Twists usually breathe incense, redoing everything will not be the best solution, dust and thick oxide deposits make life very difficult.

Using a tinned terminal block
We recommend the use of terminals. When you want to combine three or more wires, you understand that there is no concise and simple solution. It is permissible to short-circuit a number of terminals or use a bus. In the first case, the design is cumbersome, in the second, you will need to find an insulating body( large and expensive).The given option is not bad. In the photo of a tin terminal. At the shop is not always taken solder, you want to clean up with rosin.
Difficulties arise with aluminum wiring. Metal is not soldered under normal conditions. They write, they say, sanding the tip with a sandpaper and cheat, but the writing does not correspond to reality. It is difficult to perform such manipulations directly from the ceiling. Trick, however, is necessary. In the literature they write that created special solders, tin-zinc and aluminum. But the melting point is such that it will have to work as a burner. Imagine yourself broadcasting a chandelier in a welding mask? In addition, excessive heat damages the aluminum core, making it brittle.
A rough comparison with the mask, but you have to do with a flux like F64.Tinning is simplified in many ways: a regular soldering iron will fit, standard solder. It is desirable to process the terminals below, then separately tin the tips of the wires. Now clamp the edges with pliers, lightly solder. Reliable connections are now formed. In a single tire we close with ordinary bolts. The conductivity of steel is low, but brass rings are good. Therefore, these places cannot be tinned( solder will gradually oxidize).As a result of this refinement, the home network will be able to easily transfer the wires for the installation of the chandelier as many times as possible, and without loss.
This technology will help those who want to build up aluminum conductors( they often break).Moment - twisting of aluminum and copper is unacceptable. In contact with moisture, electrochemical corrosion will instantly occur. Aluminum will fail.
The acid variant is not easy. Be comforted that the chandelier hangs for a long time, and the clamps will last for decades.
Correct wiring for connecting

chandeliers. Contacts under the solid case
Now let's talk about debugging. If you remove the chandelier switch button, you will see the contacts. However, in new models, the case is solid, as shown in the picture. Then the debugging of the electrical part is much more complicated. It is recommended to turn off the circuit breaker and drill holes as shown in another image. It is seen that the switch terminals have become available, therefore, debugging is not difficult. In order to properly connect the chandelier to a two-button switch, you should follow a simple rule: "Of the three contacts of the switch, the phase is present exclusively on one."

There are no test holes

New holes for
tests As for single-key models, there is enough to determine the presence of a phase. If 220 V goes to the cartridge, you will need to unscrew the incandescent light bulb or the LED( halogen does not let the current flow when it is not in use).Let's talk how to determine the correct connection. An elementary rule of two parts:
- Phase is always present on the off switch, except when halogen bulbs are turned on. Then the screwdriver indicator may not light up. Already it says that the food is served incorrectly.
- Phase disappears on improperly installed switches. The fact of the event indicates that the key is embedded in the neutral wire circuit. It is prohibited by standards and dangerous. It is believed to climb into the junction box and swap the wires. If the chandelier switch stands correctly, the phase after switching on will appear at an additional point - from the opposite side.
The above method allows to evaluate the correctness of electrical wiring without the need for disassembly, stepladders, helpers and other undesirable elements in the work. Think about it: no need to climb up, unscrew the light bulb, fumble under pressure in the cartridge with a screwdriver-indicator. Bad contact happens - the light is off. Buy the correct switches, where the terminals are open for testing, or modify the case, as shown in the photo.
It is easier to analyze the connection scheme of the chandelier with a double switch. There is a simple rule: one phase and two zeros on the contacts. With both lamps burning and proper adherence to the standards, the screwdriver-indicator light glows everywhere.

Ceiling chandelier
Installing the chandelier on the ceiling
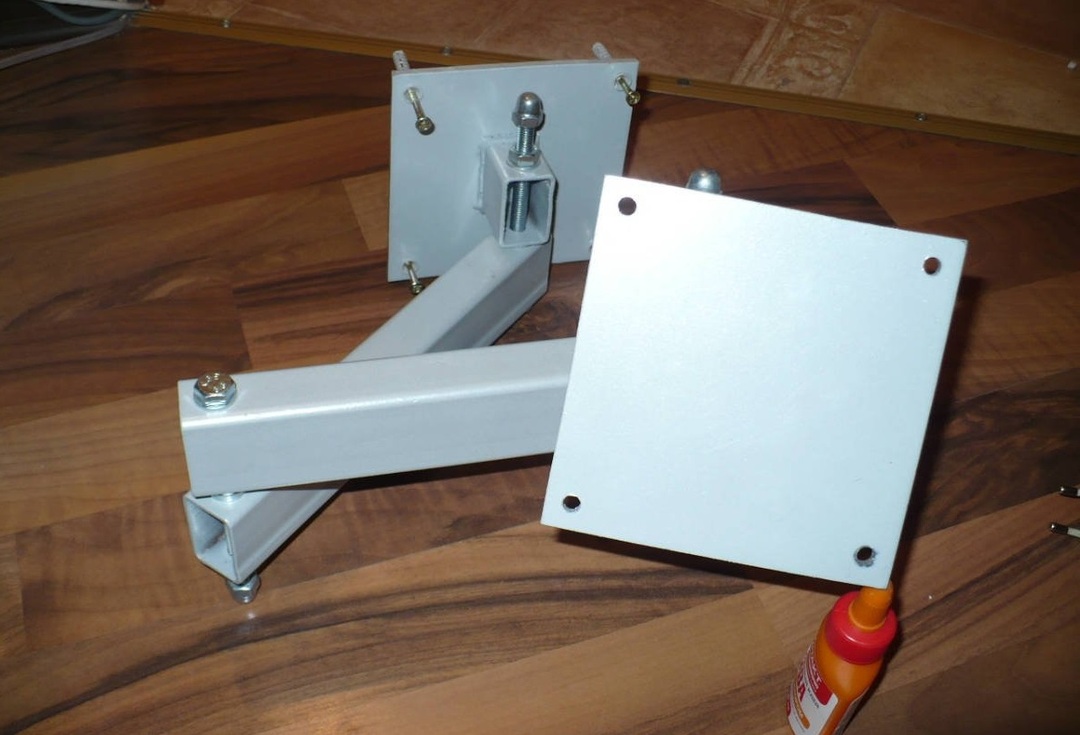
When everything is adjusted with the electrician, it's time to learn the types of fixtures. For modern chandeliers all the same to ugliness. If before the chandelier was hung on the hook, today suppliers supply the devices with a special bracket. Connecting a 2-wire chandelier comes down to the difficulty of installing a multi-hole piece of hardware.
For example, most people can easily remove a chandelier from the ceiling, then it turns out that installing a new one costs from 400 rubles to infinity. Before connecting the chandelier, we recommend stocking up a small length of steel cable, the rationale: when you need to connect the terminal block, it is inconvenient to hold the chandelier at the same time. Just hang, let him hang out. Thus, the hand is released.
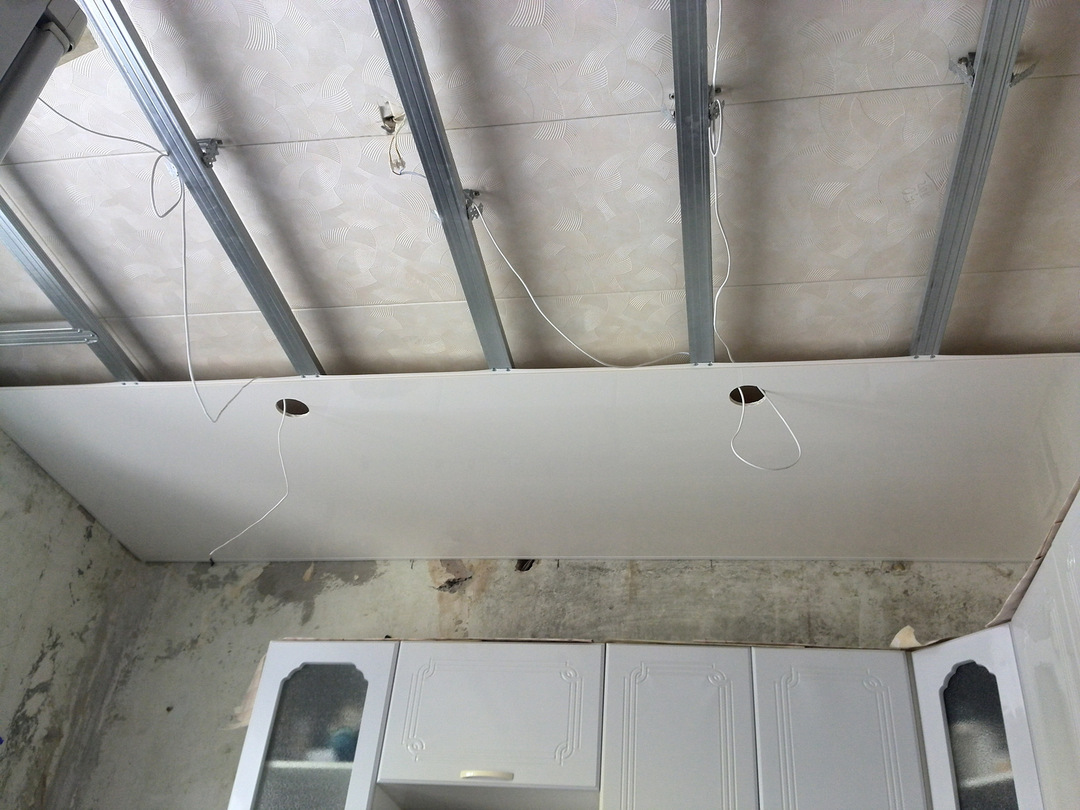
Strengthening the bar, in some cases, it is possible to nail to the dowel-nails directly to the ceiling, sometimes it is recommended to put auxiliary bars, then use conventional screws. Note, if the chandelier is swinging, it is better to take a tree of considerable thickness. This is easily done if the ceiling is suspended or made of plasterboard. In the case of concrete, we are limited by the height of the chandelier base.
Not a good idea to hang the chandelier on the plasterboard ceiling without insurance through the ceiling. Sheets of finishing material made of paper and calcium salts. Chandelier collapse down. It is recommended to lay the sheathing through the weak point and fix it( right through the drywall if necessary):
- If the sheathing is wooden, self-tapping screws are used.
- For aluminum lathing, it is necessary to apply reinforced fastening to the ceiling in the installation area, sometimes crabs will be needed. Then make a wood insert and work with screws( pre-drilled hole).
Spotlights usually have an included mounting system.
Where to hang the chandelier
From the point of view of the interior, everyone has their own preferences. The only thing we will recommend to sportsmen is to use lamps with flat shades. In order not to touch the barbell or rope chandelier.