Do you agree that home lighting is one of the most important issues during renovation? Probably, most of the people will answer this question in the affirmative. Especially those who for many years are content with the light of a single chandelier in a large corridor or are forced to cook in the kitchen with the illumination of a gloomy lamp.
The installation of spotlights, which guarantee uniform light, will help to solve the problem of insufficient lighting. It is with their help that you can finally illuminate the most secluded corners of the house, which will give the room an unprecedented comfort.
The advantages of spotlights over any other lighting fixtures are undeniable. But, after preference is given to this particular type of lighting, another question arises - how to install spotlights and whether it can be done with your own hands. We will give answers to these questions in this article.
The main difficulty that arises when carrying out such work is the various types of materials from which the ceiling is made. Because of this, the installation procedure also differs; various tools will be needed.
The content of the article:
- Installation of lamps on a plastic ceiling
- Stretch ceiling mounting
- Installation on a concrete ceiling
- Conclusions and useful video on the topic
Installation of lamps on a plastic ceiling
Ceilings assembled from plastic panels have long been in vogue during repair and construction.
Firstly, they are incredibly cheap - this is perhaps the most economical repair option. Secondly, the ceiling made of plastic panels will last a very long time, because it is easy to care for it. And, thirdly, the abundance of various designs of plastic panels allows you to create an original interior in any room.
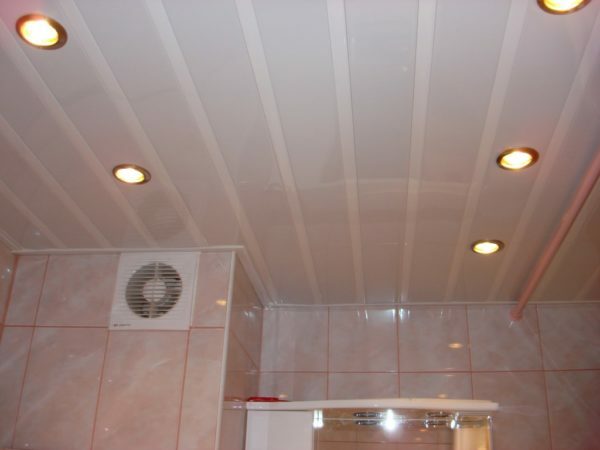
Considering that the plastic panels are very easy to care for, they are moisture resistant and easy to clean, this is an ideal solution for a bathroom or kitchen.
Despite the fact that plastic panels on the ceiling have a lot of advantages, they have a significant drawback - they are unstable to high temperatures. Therefore, it is recommended to choose lamps with a power of no more than 40 watts for installation on this type of ceiling.
Experts recommend not to use incandescent lamps, but to purchase special bulbsequipped with a protective metal ring.
Despite the fact that the installation of spotlights in the plastic ceiling should be carried out after the installation of the panels is completed, you should prepare for their connection in advance.
As with other types of ceiling coverings, take care of the wiring for the luminaires before installing them. It should be located under the ceiling and pass in those places where it is planned to place spotlights.
If there is no personal experience in wiring electrical wiring, it is better to seek professional help. This is the only stage of work where the help of a specialist may be needed, everything else can be done independently.
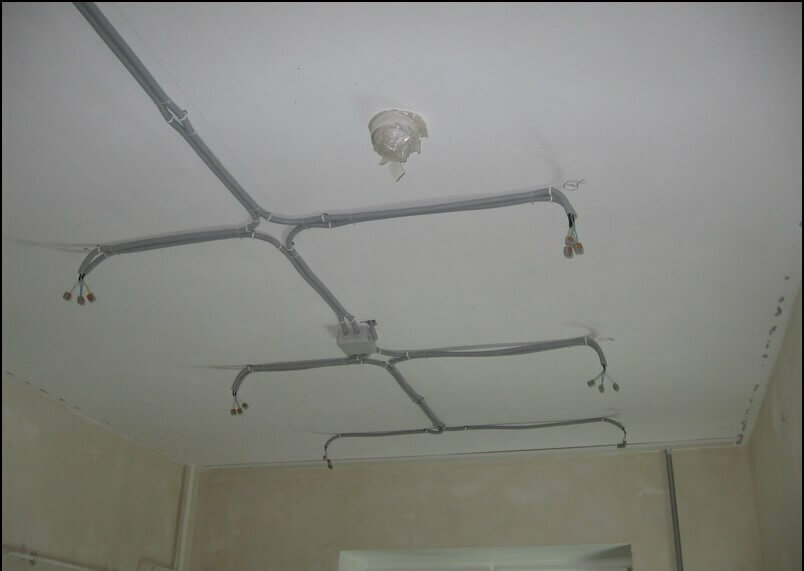
When laying wires, it is important to place them in a special plastic corrugation, which will prevent the spread of fire in the event of a short circuit.
In this case, one end will be connected to the luminaire, and the other will lead to the junction box and the switch. In order that in the future, if one of the bulbs burns out, all the others are not turned off, you should choose the option of parallel wiring.
For more information about what kind of corrugation can be for electrical wiring, read Further.
It is recommended to use a 3x1.5 cable for wiring. The distance between the luminaires is at the discretion of the builder. In this case, the light bulb should be at least 60 cm away from the wall.
Another factor to consider when installing a ceiling made of plastic panels is that the distance between them and the base must be sufficient to accommodate the luminaire head.
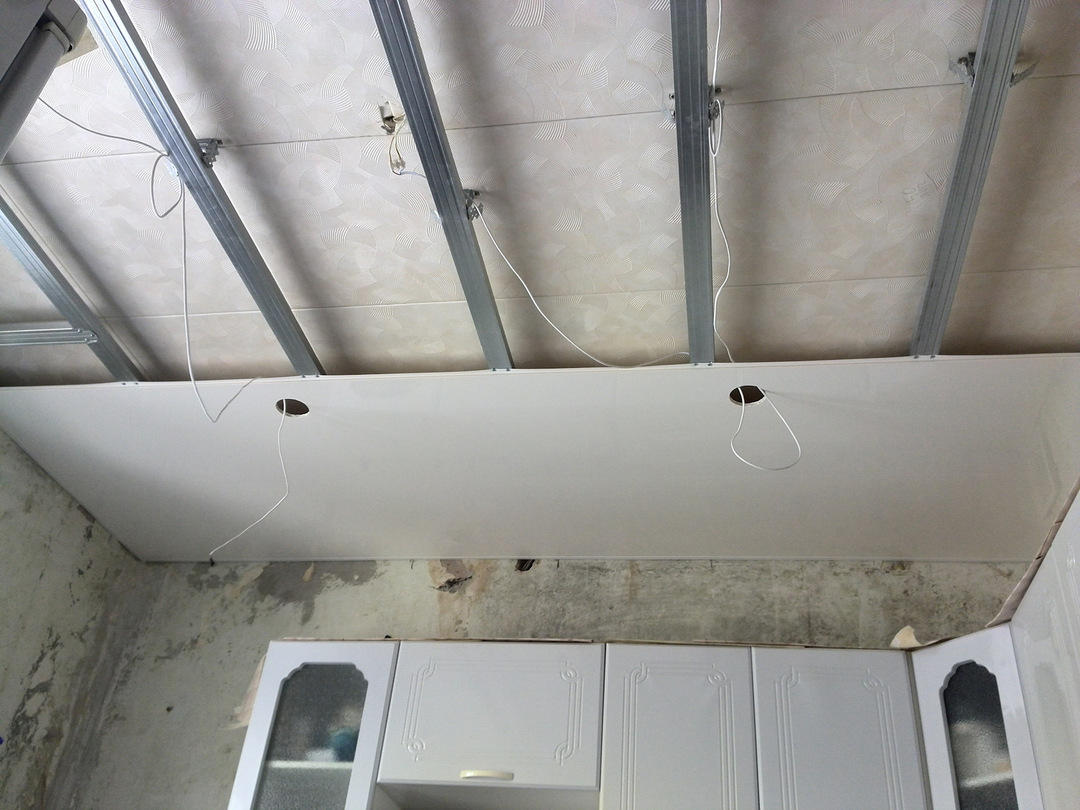
After all the requirements are met and the plastic panels are laid, you can start installing the fixtures on the ceiling.
In order to install spotlights on a plastic ceiling, no special tools are required, most of them can be found in every apartment:
- a knife sharp enough to cut through plastic;
- electric drill;
- roulette;
- crowns with which you can drill round holes.
Once the necessary tools are prepared, you can start installing the fixtures.
To do this, on the ceiling, you need to outline the points where the bulbs will be placed. Further, with the help of crowns and a knife, it is necessary to make holes that in diameter will slightly exceed the diameter of the base.
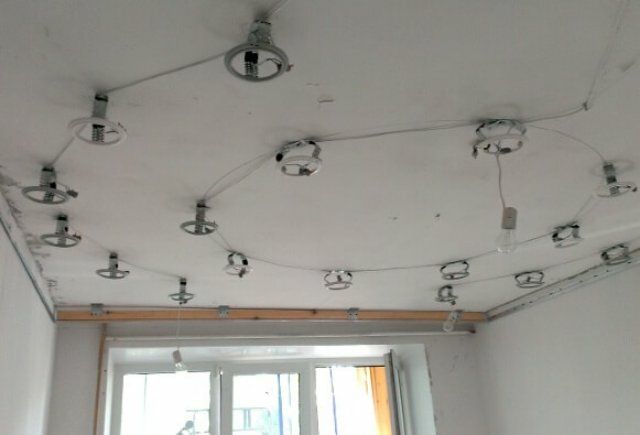
Before proceeding with the installation of plastic panels, it is necessary to complete the wiring and prepare the places where the spotlights will be connected
In order for the connection of the lamp to the wire to be as reliable as possible, it is recommended to use terminal blocks. With their help, reliable fixation of the joints is ensured, but in the future, at least once a year, they should be checked.
After fixing the wires, it is necessary to ensure their reliable insulation. The lamps themselves are installed in a pre-drilled hole very simply - using metal "legs" located on the back of the device.
Stretch ceiling mounting
Stretch ceilings are one of the most popular solutions during renovation. It is thanks to this type of coating that an original design can be created. For example, you can make a tiered ceiling or create an imitation of the starry sky. Complementing the ceiling spotlights you can achieve extraordinary comfort in any room.
Installation of spotlights on stretch ceilings, as in the previous case, begins with wiring.
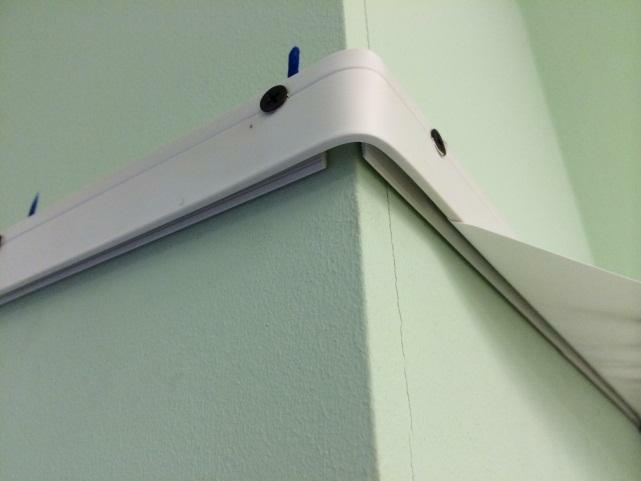
After the work with the wires is completed, an aluminum profile is mounted, which serves as the basis for the stretch ceiling. After attaching the guides, the level at which the ceiling will be located becomes visible
In order not to make mistakes during installation, it is recommended to pull the usual threads that are attached to the profile and indicate the level of the future ceiling.
Next, it should be noted the places where the lamps will be placed. This can be done in two ways.
The first is to make the appropriate markings on the ceiling using a pencil and tape measure. If there is a laser level at home, then the marking will be much more convenient.
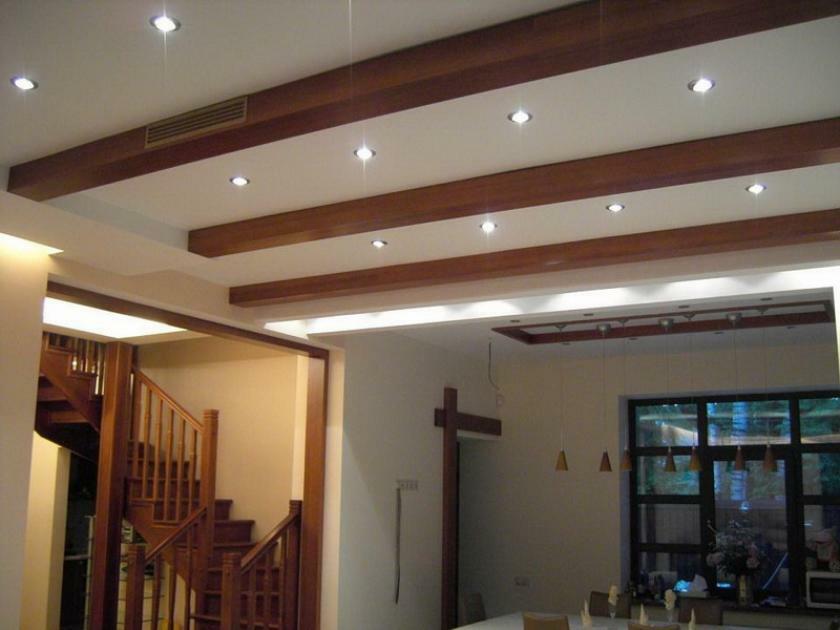
There are many options for placing spotlights on the stretch ceiling, with their help you can even visually zone the space, separating the “working” area from the resting area
In those places where the spotlight will be located, a special platform is installed. It looks like a plastic circle, inside which the lamp will be placed. The platforms are installed in such a way that there is a distance of five centimeters between their edge and the stretched thread. Having set the platforms at the required level, you can remove the taut threads.
After the preparatory stage is completed, you can proceed to tensioning the ceiling canvas. After these works are completed, it is necessary to find the pre-installed platforms by touch. A mark is made along their contour on the ceiling.
Next, the thermal protector rings are placed on the glue on the marks made. They serve several functions. Firstly, they protect the ceiling from the thermal radiation of the light bulb in the future. Secondly, the rings hold the canvas, preventing it from breaking during the installation of the luminaire.

It is necessary to use a special adhesive for thermo-rings, for plastic, which is made on the basis of cyanoacrylate. It can be Cosmophen, Contact or Cosmpolast, as well as any other suitable in composition
The glue is applied very carefully, only on the surface where the thermal ring will be attached. Do not smear it all over the ceiling, just apply a thin layer on the thermal ring and press it well with your fingers.
After the glue has set, and this will take 3-4 minutes, you can proceed to the next stage. So, inside the ring, using a sharp knife, a hole is made through which pre-prepared wires are taken out.
When cleaning the film inside the ring, it is important to remove it completely, as its remnants can further interfere with the cooling of the luminaire. Then they are connected to the luminaire, and the device itself is attached to the landing platform with special "ears".
We also recommend reading our other material, where we talked in detail about the features of the choice light bulbs for stretch ceilings.
Installation on a concrete ceiling
In the event that a global home repair is not foreseen, the question arises - is it possible to mount spot lighting on a monolithic concrete ceiling. And if possible, how to drill holes and hide the wiring.
The concrete ceiling is typical for most apartments. In fact, it is a monolithic structure that cannot be gouged.
It is possible to make special holes for the lamps only if the repair is planned to be done on the top floor, that is, there is no risk of the floor collapsing. But even in this case, it is better to invite professionals to carry out work on the installation of lamps.
Another option for installing spotlights in a concrete ceiling is to find technical holes on its surface, which are found on almost all floors. They appear even during the construction of the apartment, and before the commissioning of the object, the builders cover them with concrete.
If you find this hole and free it from the filler, then a lamp can be placed in it. The disadvantage of this method is that the lamps will not be placed where the owner of the apartment wants, but where the holes were left.
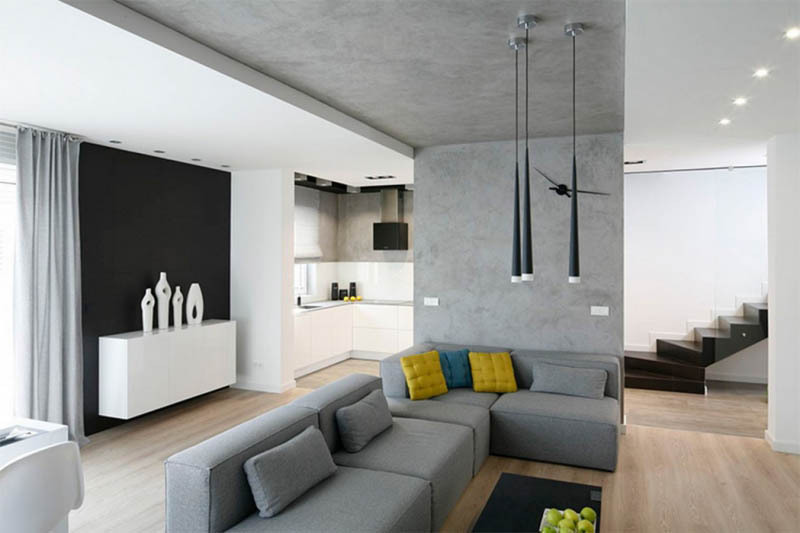
Considering that it is very difficult to attach spotlights to a concrete ceiling, it can be used on this type of ceiling is an ordinary chandelier, and the places that are sewn up with plasterboard should be equipped with point lamps
The easiest and most economical way to install spotlights on a concrete ceiling is to sew up its surface with plasterboard. This material is relatively cheap, as in the case of installing a stretch ceiling, it is possible to perform multi-level structures.
Conclusions and useful video on the topic
Visual instructions for the installation of luminaires are presented in the following video:
Thus, spotlights are an opportunity to make any room bright and cozy. With their help, it is possible to illuminate even a dark corridor, which has been illuminated only by a dim chandelier since its construction. You can install this type of lighting on any type of ceiling, and the entire amount of work can be done by hand.
How did you solve the problem of insufficient lighting? Have spotlights been used at home? If yes, then tell our readers what kind of ceilings the lamps were installed on and whether there were any difficulties in installation. Share your experience in the comments.


