It takes ~ 3 minutes to read
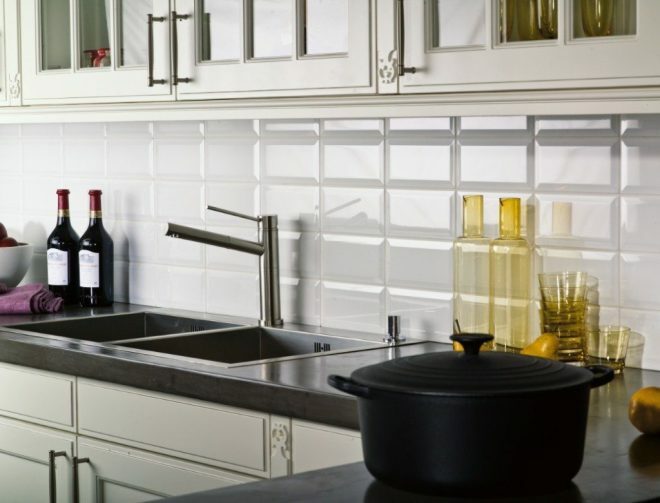
Kitchen space - work area. It should be distinguished by functionality and be as convenient as possible. The hostesses spend more time in the kitchen, so it is important that it is comfortable there. Food is cooked on it, evaporation occurs. Wall and floor materials must withstand multiple wet cleanings. Resist moisture, pollution and body fat. In this article, we will consider how to lay tiles in the kitchen.

Preparation for laying tiles in the kitchen
Covering surfaces with tiles is not an easy job, but quite doable if you have some power tool skills and patience. First you need to decide on the choice of ceramic tiles, installation options, calculate the exact number of elements per based on the area of the surface to be repaired, prepare the necessary materials and tools, as well as prepare the surface for styling.

Types and characteristics of tiles
Ceramic tile is the general name for finishing materials. Ceramics is burnt clay with additives in the form of sand, feldspar. The following types are distinguished:
- Tiled - coated with glaze, used for wall cladding, stoves, fireplaces.
- Porcelain Tiles - obtained by dry pressing, and fired at higher temperatures. It has increased resistance to abrasion, mechanical shock and aggressive environment. It is indispensable for rooms with a large flow of people - offices, airport lounges, supermarkets.
- Clinker - issued by extrusion through a mold. It has high technical characteristics. Frost and moisture resistance are additional qualities that distinguish this material. It is used for facing the bottom of the pool.
- Cotto - This is a tile made of red clay, made by extrusion - extrusion method. Used in the design of the walls of churches, museums.

In the design of the kitchen space, the tile has the following advantages:
- strength;
- moisture resistance;
- environmental friendliness;
- hygiene;
- long service life;
- wear resistance;
- a large selection of colors and patterns;
- wide scope;
- Convenience and ease of cleaning.
Materials, tools and tile counting
A set of tools before laying using the standard:
- A set of metal spatulas for cleaning the surface of old paint, the remains of wallpaper, for applying an adhesive mixture to the walls, a rubber spatula for grouting.
- Glue or a special sand-cement mixture.
- Plaster for leveling the surface.
- Grout or putty for joints.
- Primer deep penetration.
- Crosses - inserts between tiles.
- Machine for cutting tiles or glass cutters;
- Aluminum rule for leveling walls.
- Level and plumb.
- Primer and brush.
- Antiseptic.
- Rubber mallet.
- Construction mixer for mixing the mixture.

In small kitchens, it is appropriate to use small tiles of 10 by 10 mm or a mosaic for an apron, and use 15 by 15 mm on the walls. Before proceeding with the calculation of the required amount, you need to decide:
- how will the tiles be laid;
- design - plain, with inserts, ornament;
- material size;
- the presence of a drawing;
- the presence of decorative elements.
It is better to count the tiles on each wall separately. Halves must be taken into account when calculating for whole. The calculation is carried out in rows. The height of the walls is divided by the vertical size of the tile and is rounded up to an integer in a larger direction - you get the number of rows up. The width is divided by the horizontal size - you get the number of rows horizontally.

When using tiles of different colors, areas with drawings or ornaments, the calculation is made separately for each finished fragment. With a standard installation - rectangular - it is necessary to have a margin of 5% of the resulting amount. With diagonal styling - up to 15%, with fitting the pattern - up to 20%.
See adhesive quantity according to instructions and cladding area. The amount of grout is determined as follows: the sum of the two sides of the tile in meters is divided by the area of the tile in square meters. meters and multiplied by 0.03 m (seam width).
for example: for tiles measuring 30 x 30 mm, 0.6 / 0.09 x 0.03 = 0.2 kg / m² is required. Then multiplied by the amount of material.
Wall and floor surface preparation
Alignment of the walls begins with the definition - what surface, coating. With complex alignment, drywall is attached, and tile is attached to it.

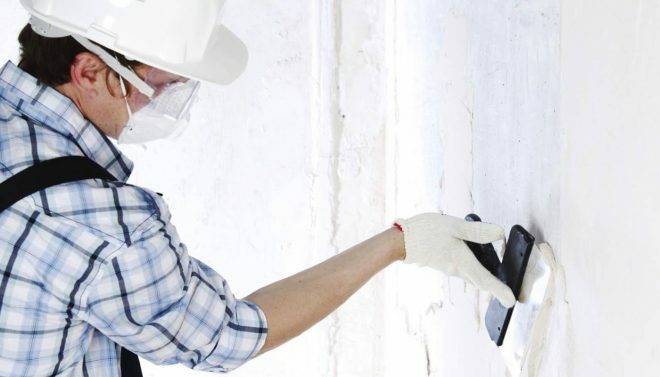
Small irregularities, cracks are sealed with putty, deep potholes are filled with cement mortar. The wall is plastered and remains in this form until completely dry. After this, a primer is applied and again time is given for complete drying. The last moment - finishing putty. Then the tiles are laid.
If there is an old coating on the walls in the form of paint or wallpaper - you need to clean and plaster. The paint can not be cleaned to the end - just notches are applied to evenly adhere the solution or glue. Smooth surfaces are slightly plastered to give a more uniform surface.

Wooden floors before laying are inspected for integrity, as well as rotten places, fungus. All this is being eliminated. Large gaps are covered with chips with glue and nails at an angle. This simultaneously tightens the boards and eliminates the creak.
All boards are additionally punched with nails for strength and rigidity. The hats of all nails are sunk. Grinded to give a smooth surface, covered with varnish.

A concrete floor that does not have large cracks or bumps is degreased and stained. Defects are eliminated by a solution of sand and cement. It is allowed to dry for 12 hours. The floor is processed with sandpaper with large grains, cleaned of debris and dust.
If the concrete is all beaten up and there is no point in closing it up, a screed is used. This is the alignment of the entire surface using a special mixture for laying. Previously, at all joints between the floor and the walls, a damper tape is glued so that the solution does not flow into the cracks.

The plane is pre-coated with a primer twice with the drying of each layer. The leveling mass spreads itself, forming a perfectly flat plane. If air bubbles arise, they are removed by a roller with needle spikes. Drying time 12 hours. Layer thickness 2–4 mm.
Ways to properly tile and sequence of actions
The tile is laid in different ways - depending on the location, style of the kitchen, personal preference:
- option "seam to seam"- simple and low-cost, the tile is located under each other, as in a school notebook;
- «blindfold" or "apart"- the laying looks like brickwork, each next row is shifted by half the tile;
- laying "diagonally"- a more time-consuming option, it takes a large amount of material, visually expands the space;
- «chess"- an option when two contrasting colors are used;
- «modular"- this is when at least three types of material are used, different in size and shape (rectangle, square), which are laid horizontally and vertically.

Before laying on the walls, marking is done. When planning the coating, work begins from the bottom corner, the rail or corner is first strengthened in level, a vertical line is drawn along the plumb line.
The same thing is done for the apron, but to the height from the floor where the table will stand. It is better to attach a metal profile horizontally. On the reverse side there is an arrow in the direction of the picture. On the front side opposite it, risk is done with a pencil. You can cut the tile with a tile cutter or a glass cutter, some also use a grinder.

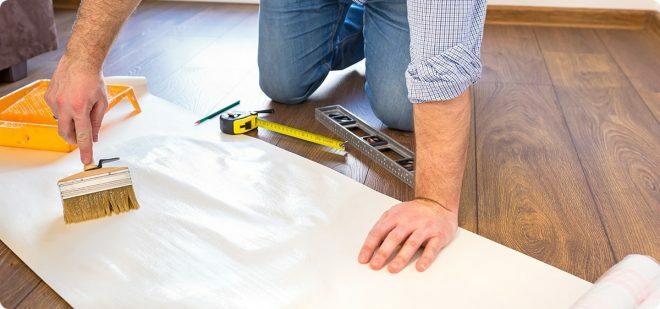
The width of the spatula should correspond to the width of the tile. The glue mixture is diluted according to the instructions and knead with a mixer until the consistency of thick sour cream. The glue is applied to the wall, for an even layer the rule applies. So that the glue does not remain on the spatula, it is constantly immersed in water.
With a flat notched trowel that holds perpendicularly, glue is applied to the material. It is pressed slightly against the wall. Having laid several tiles, it is checked by level and rule. If necessary, adjusted with a rubber mallet. Inserts are inserted between them - crosses so that the seams are even. After drying, grouting is performed.

Laying tiles on the floor is no different from the sequence of work on the walls. Marking and placement of beacons is carried out. If desired, a warm floor system, a steam and sound insulation system are installed. Installation begins from the far corner.
Making corners and slopes at the windows
Window slopes and corners can be decorated with brick or stone tiles. They have special corner elements with which you can easily and accurately make the angles of slopes. On the surface for laying notches are made for adhesion.

The slopes are primed, glue or a mixture is applied. Plaster material is sawn with a hacksaw, cement samples are cut with a circular saw. A flat edge is made from the side of the window frame. The edge located on the wall forms an uneven edge.
Under the tile, it is necessary to level the surface of the slopes and windowsill (if it also needs to be lined). For this purpose, use a plaster mixture and sheet materials: drywall, particleboard and others. The wall cladding around the window begins with whole elements under the window sill, a grinder is used to cut out the protrusion. Then they are laid out in whole parts on the sides of the window. Above the window opening, a bar is beaten at the level of the beginning of a row on the wall.
The trimmed tiles fill the rest of the space from the window. Then the slopes get off. When laying tiles on slopes, narrow inserts at the joints are not used. First, the sides are revetted, the top, then the windowsill.
For the upper surface of the window, supports are used so that the tile does not fall off before drying. The seams are rubbed every other day with a rubber spatula after complete drying. Putty or sealant is used. For beautiful decoration of the internal corners, plastic corners are used, which are customized and glued with a special sealant.
Video: how to lay tiles in the kitchen
Covering walls or floors with tiles - a beautiful and practical material - is certainly an interesting option. Doing this work with your own hands saves money and gives confidence in your abilities.
With great interest I always read your comments to my articles. If you have any questions, feel free to ask them, leave, you are welcome, Your feedback in the form below. Your opinion is very important to me. Thanks to your criticism and thanks, I can make this blog more useful and interesting.
I would be very grateful if you rate this post and share it with your friends. This is easy to do by clicking on the social media buttons above. Do not forget the article you like Add to bookmarks and subscribe to new blog posts on social networks.