 The floor mirror is not only a mirror, but also a great piece of decor. This item is considered unusual, therefore attracts a lot of attention. You can make such a mirror with your own hands.
How to make a floor mirror yourself
The content of the article
-
How to make a floor mirror yourself
- What materials and tools will be required
- Original ideas
- Floor mirror yourself: step by step
Creating such a design with your own hands consists of 2 steps:
- It is necessary to cut a mirror of a certain size.
- A wooden frame is being made.

What materials and tools will be required
In addition to the finished mirror, we need wooden material to create the frame. One of the following options is suitable:
- Oak. Very strong and high-quality wood, resistant to damage.
- Pine. This material is soft, but much easier to process. In addition, pine is cheaper.
- Plywood. The best choice. The perfect balance between price and quality.
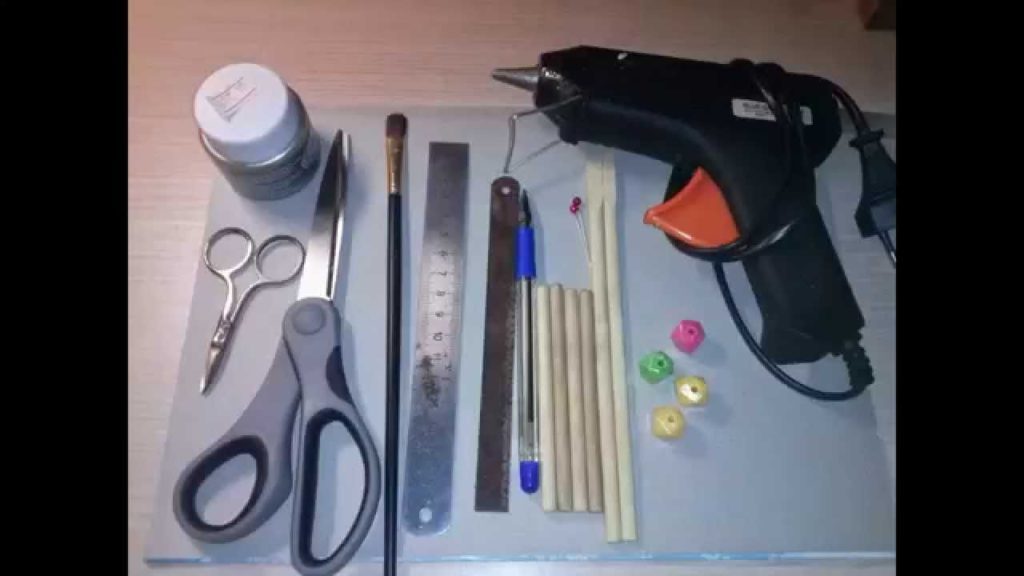
To create the following tools are needed:
- Tape measure and pencil.
- Drill and drill set.
- Jigsaw.
- Wood screws.
- Mounts
Attention! If necessary, other tools may be involved.

Original ideas
There are a large number of ideas on how to make such a mirror with your own hands. It all depends on the imagination. Among the most interesting ideas are:
- Cut it in some form (for example, in the shape of an animal). Install the frame using wood.
- Frame it with wood, and mount the lamps in the frame. This is called a Hollywood style mirror.
- Make a wooden frame large. Install shelves with cosmetics on it. It looks beautiful, and even cosmetics will not take up extra space on the nightstand.
- In the style of vinyl pooh. To create such a design, we need a small round mirror. The frame for him will also be round, but in the upper part there will be 2 bulges, shaped like bear ears. You can make the ears of any animal.
- In vintage style. Such mirrors came from France. The idea is to make a large and beautiful frame with various patterns, for example, flowers. Such mirrors were used in ancient times by the royal family.
- In the shape of a window. It is necessary to make it in such a way that in appearance it resembles a window. To do this, long but narrow wooden sticks are glued to the mirror. Window shape optional.
- Pottery Barn. The shape is a bit like a Rubik's Cube. But the length of the mirror is greater than the width. To create such a design, you can use sticks, as in the previous step. Miles cut several pieces of the same shape and size and connect them together as parts of a rubik's cube.

Attention! You can make a floor mirror without a frame. For this, wooden legs are made. Small holes are made in them. Then the mirror must be inserted into these holes.
Floor mirror yourself: step by step
All work involves the manufacture of a frame for the mirror, which will also serve as a stand. We need a ready-made mirror. If its size is too large, you can use a glass cutter, and cut the excess part.
You can make a floor mirror yourself as follows:
- Take a sheet of small plywood. Using a jigsaw you need to cut 3 shelves. Their size will be about 100x200 mm.
- Plywood should be put down “face” and measure 200 mm from the top edge and 100 from the left. Put a label here. We repeat this step 2 times, stepping down from the already made mark of 10 cm. In places where marks are installed, you need to make holes for mounting screws.
- Each of the shelves needs to be measured 50 mm from the edge of the long sides. We make marks in the middle of the thickness of the shelves.
- Now you need to check the markup. We attach shelves to a sheet of (large) plywood. Labels must match holes. We make holes in the shelves for installing screws.
- Now the shelves need to be screwed.
- We put the design so that the shelves look up. In the central part of the plywood, we install mirrors. There should be a distance of about 50 mm from the edge of the plywood sheet to the edge of the mirror.
- Now it is necessary to note the places where the fasteners for the mirror will be installed (places can be chosen as desired, but it is important that there are as many fastenings as possible).
- Drill holes in the mountings. Screws are suitable as fasteners.
- The last step is fixing the mirror with mounts.
- The design is ready.
Making a mirror with your own hands is very simple. You need to choose an idea, and do what you want.


