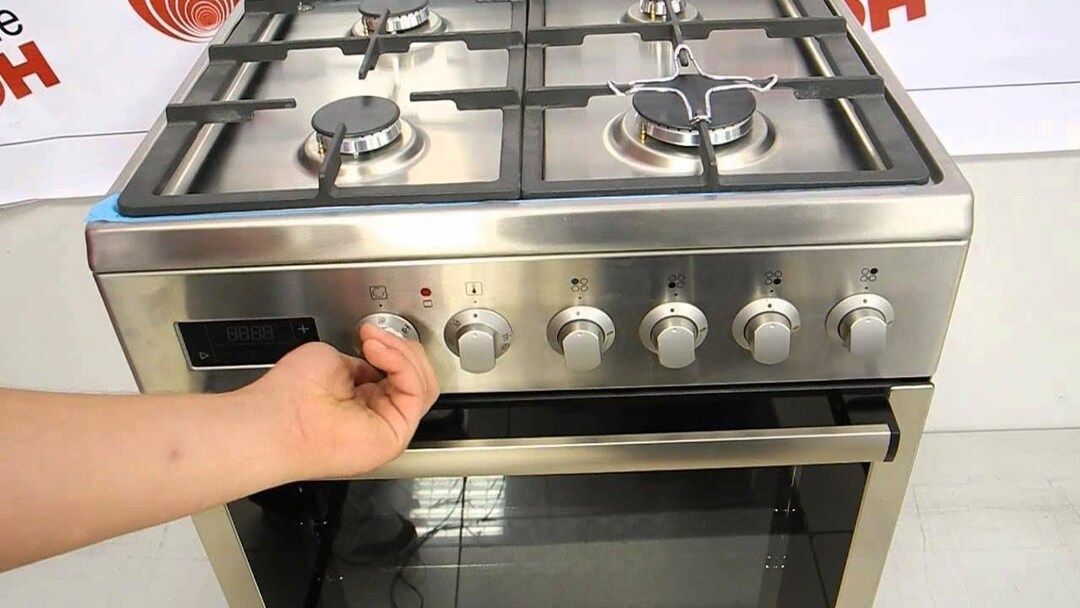
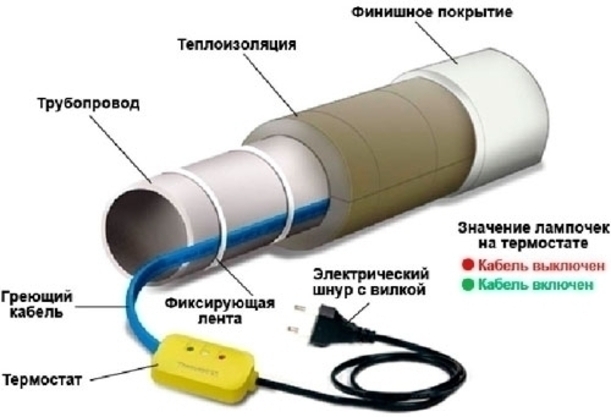
Gas appliances connected to power supply are connected taking into account three criteria: reliability, safety for users and equipment, and long service life. In order for gas water heaters, boilers, convectors or stoves to work without interruption, a dielectric gas insert is used - a small polymer insulator mounted in a pipe.
If you decide to connect your gas equipment yourself, we recommend installing a dielectric. What it is for, what types it is divided into and how it is installed, you can find out from this article.
The content of the article:
- Appointment of the electrical insulating insert
-
Types of dielectric cutoffs
- Option # 1 - bushings
- Option # 2 - couplings
- The procedure for installing a dielectric on gas
- Conclusions and useful video on the topic
Appointment of the electrical insulating insert
First, let's find out what the insulating dielectric sleeve for gas is for and how it works.
The main function of a dielectric is to protect equipment from stray currents that can arise in a gas pipeline for various reasons. Is wandering current so dangerous and are there any ways to prevent it from occurring?
It occurs in the ground at the moment when an accident occurs on power lines, railways, tramways. Due to the difference in the characteristics of the conductors - earth and metal structures of gas lines, the current is transferred to the gas system.

Where natural gas pipelines pass, apartment buildings are traditionally equipped with gas stoves. If a column or stove is installed incorrectly, a stray current can penetrate into any apartment in a high-rise building.
The danger can also be posed by the actions of illiterate neighbors who are in no hurry to replace faulty electrical wiring or simply ground electrical appliances to pipes or batteries.
Here's what happens if stray currents "get" to your gas equipment:
- gas appliances, most of whose parts are made of conductive metal parts, become unusable and themselves become sources of danger;
- if an accidental spark occurs, there is a risk of fire, which becomes thousands of times more dangerous in a gas environment. A fire can provoke an explosion, but for an apartment building this is a real disaster;
- stray currents transmitted to appliances and pipes during thunderstorms or power outages can cause serious injury to the gas appliance user.
To preserve their health and foresee any risks, they use a dielectric coupling on the gas pipe.
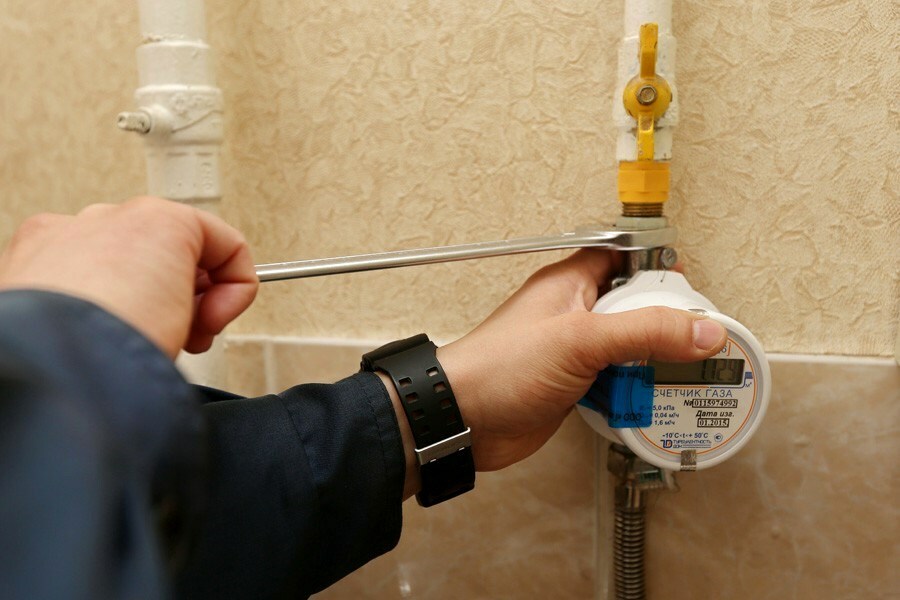
One of the advantages of a dielectric is simple installation. The installation of the insulator can be done with your own hands, but the joints are checked for tightness and control is carried out by employees of the gas service
Now the insertion of a dielectric insert into the pipe has become mandatory for everyone who installs gas equipment in a house or apartment, while the functions and characteristics of the equipment do not matter.
The installation of insulating inserts is regulated by law - in paragraph 6.4 SP 42-101-2003 it is said that immediately after the shut-off valve, a dielectric should be installed in order to exclude the presence of leakage currents, equalizing currents and a short to the body in the gas pipeline. True, there is a reservation there - the function of an insulating insert can also be performed by a flexible sleeve that does not conduct electric current.
Types of dielectric cutoffs
In everyday life, two types of dielectrics are used for gas hose or pipes: simple bushings resembling liners and threaded couplings. Let's consider how the inserts differ and choose the best solution for self-assembly.
Option # 1 - bushings
Let's say right away that for gas stove installations or column mounting you do not need bushings, as they have a slightly different purpose. The task is the same - to protect against stray currents.
But they are installed where there are flange connections and bolts are used. Simply put, bushings are used to electrically insulate flange fasteners.
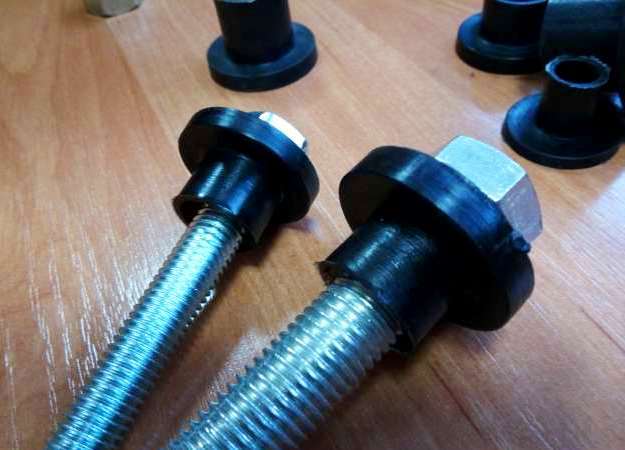
In appearance, the sleeves for gas equipment can be confused with other insulators - for different equipment: radio-controlled cars, agricultural vehicles, car steering columns and other things
Dielectric inserts are made of polyamide PA-6. They are distinguished by their resistance to external influences and a long service life.
Technical characteristics of gas bushings:
- frost resistance - withstand low temperatures down to -60 ° С;
- elasticity and a high degree of adhesion to metal elements;
- petrol and oil resistance at temperatures up to +120 ° С;
- the ability to withstand multiple alternating loads.
Products are marked by diameter in mm, for example, from M 8 to M 24. The diameters of suitable flanges, bolts, washers are indicated by the manufacturer in special tables. You can also specify the height of the collar and the length of the bushings there.
Option # 2 - couplings
Universal insulating inserts for gas pipes are connected by the coupling method, therefore, installers are often called so - couplings.
They differ in the type of thread, diameter, material of manufacture, external design, but they still perform the same function - they cut off the currents generated on gas pipe, from equipment.
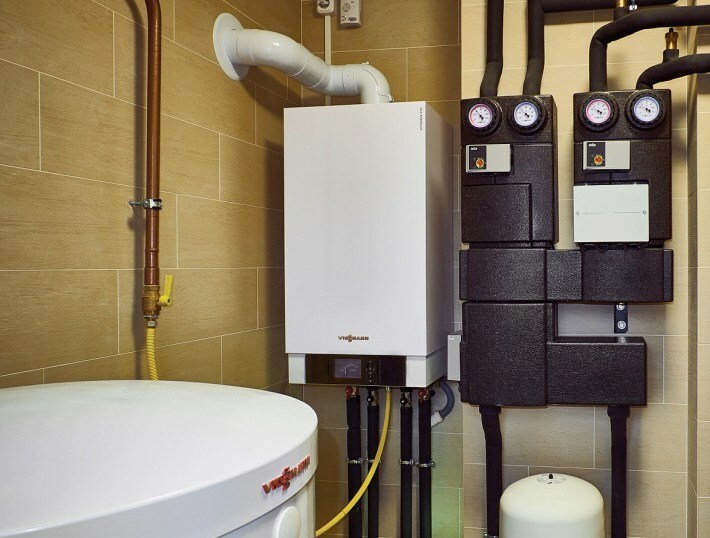
Modern gas boilers are equipped with electronics that are powered by electricity. The impact of stray currents can instantly disable the "brains" of the boiler, which will result in costly repairs.
The inserts are made in the factory according to GOST or TU. They are produced in special molds in an automatic way, using a screw extrusion of two materials: an insulating polymer and a metal for threaded pipes. Polymer material meets the requirements GOST 28157-89.
The products are designed for operation at an operating pressure of 0.6 MPa, the critical indicator is 1.2 MPa. The average working temperature is from -20 ° С to + 80 ° С.
By GOST 14202-69 gas inserts belong to group 4 (flammable gases) and are marked in yellow, but you can also find products with a black polyamide part on sale.
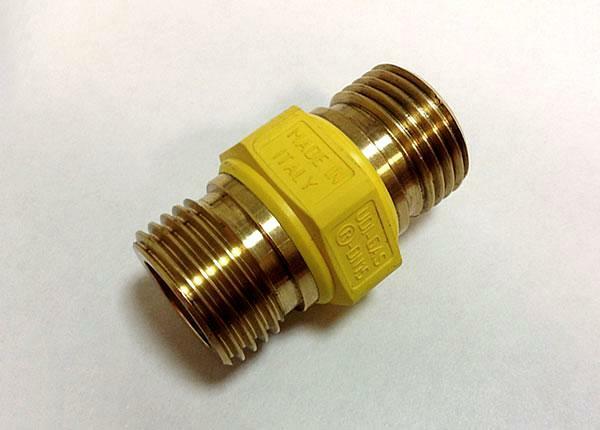
The brand name and diameter are also applied to the surface of the insulating element. For domestic use dielectrics are produced 1/2 ″, 3/4 ″ - DN15, DN20, respectively
It is better to purchase products from well-known brands, rather than Chinese fakes, and choose products based on the following criteria:
- fire safety - threaded metal elements do not burn, and plastic ones do not support combustion;
- wear resistance and durability - high-quality parts are made of brass and have a 20-year service life;
- suitable specifications - resistance of at least 5 Ohm with a sharp increase in voltage to 1000 V.
The best place to install the coupling is between gas cock and flexible eyeliner.
The connection method is threaded, made by screwing the device onto the pipe. The fittings can have both external and internal threads.

A sample of a valve with an insulating sleeve. The combination of products from one manufacturer simplifies the installation of the dielectric, making it faster. The device is installed at the end of the pipe, before connecting the hose leading to the stove or boiler.
Before buying a dielectric, it is necessary to clarify the diameter of the gas pipe, as well as choose a flexible hose that is suitable in size. Sometimes connection hoses are sold with the equipment, so be sure to check the package contents.
The gas isolator is permanently installed and does not require maintenance, but is constantly monitored by the gas service, which inspects the equipment annually.
The procedure for installing a dielectric on gas
Before any work on gas equipment or lines, it is necessary to turn off the valve to stop the flow of fuel and ensure safety. If a stove, column or boiler was used before, the burners must be left in working order so that the remaining gas burns out.
Then we proceed in order:
- If the flexible hose is already attached to the pipe, use a wrench to carefully twist the nut. Fasteners that have been installed for a long time often "stick", so you can use two keys to be sure.
- On the free end of the pipe, we wind a sealant - fum-tape and carefully tighten the connection, first by hand, and then with a key. We screw the sleeve or "barrel" to the limit, trying not to knock off the thread and not deform the dielectric body.
- In the same way, we screw the nut of the flexible line onto the other end.
- We make connection diagnostics in a safe way.
Soap solution for checking the tightness of joints is used not only by users of gas equipment, but also by employees of Gorgaz. Diagnostics is simple: soap foam is applied with a shaving brush or brush to the joints and observe what happens.
The appearance of bubbles, even small ones, indicates a lack of tightness - the coupling will have to be tightened. If there are no bubbles, the installation is correct and you can safely use the equipment.
It is forbidden to use an open flame - matches or lighters to check for gas leaks.
Step-by-step instruction:
Image gallery
Photo from
To choose an electrical insulator, it is better to consult a specialist. Before buying, it is important to clarify the diameter of the gas pipe and determine the type of thread - internal or external
The dielectric is mounted between the shut-off valve and the supply line. On the gas pipe, you need to make a thread suitable for the dielectric: external for the coupling or internal for the "barrel"
The insulator is connected to the pipe with a threaded connection, having previously wrapped the fitting with fum tape or linen thread. It is important to ensure a snug fit of the seal, but not overdo it.
Last of all, they wind up a flexible liner, also pre-wrapping the second fitting with fum-tape or flax
Step # 1 - choosing a dielectric insert
Step # 2 - preparing the site for installation
Step # 3 - attaching the sleeve to the pipe
Step # 4 - connecting the dielectric to the piping
We remind you that you cannot use gas equipment before the arrival of a gas service employee. He must verify, record the fact of installing the dielectric and give permission to operate the connected equipment.
And in the future, carry out all activities for connecting, replacing, and repairing gas equipment together with representatives of the service organization.
Conclusions and useful video on the topic
How the dielectric is installed in the crane in practice:
The sequence of connecting the column to the gas pipeline:
Now you know how to correctly and quickly install a dielectric gas insert on a pipe. The installation procedure can be carried out independently or by a specialist - in any case, the result will be your safety and serviceability of home gas equipment. If you still do not have a dielectric, we recommend installing it, and at the same time changing the gas hose, the service life of which is limited.
If you had to deal with the installation of a dielectric on a gas pipe, please share your experience with visitors to our site. Leave your comments, ask questions to specialists and participate in the discussion of the material. The communication block is located under the article.

