Many people underestimate the bidet, but in vain, because it greatly simplifies hygiene procedures and generally looks stylish in the bathroom, especially if its design matches the toilet bowl. Many are afraid to buy it because of the perceived difficulties in installation. In fact, this is the most ordinary sink, just installed one level below. Therefore, the methods of installing a bidet are practically the same, and you can easily cope with it yourself.
Varieties of bidet
The content of the article
- Varieties of bidet
- Do-it-yourself floor model installation
- Installation of a wall-mounted version of the bidet
- Installing the mixer and siphon
- Connection to water supply and sewerage
There are two types of them: floor and suspended. Paradoxically, the first is installed on the floor, and the second is suspended from the wall. Otherwise, they can differ only in the type of mixer, which can be two-valve (the most popular model), single-lever or with a ball mechanism.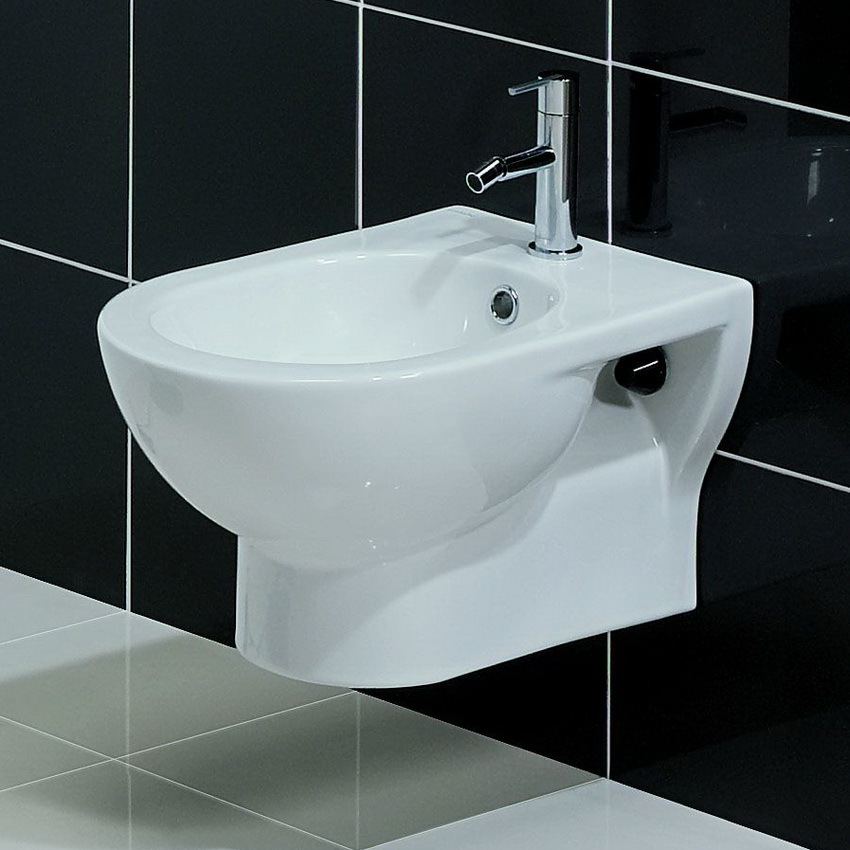
Reference! According to consumer reviews, the last option is the most convenient.
There are no more fundamental differences. Of course, they all come in different shapes, colors and designs, so you will always find a model that fits into your interior. Of course, there are different sizes, but usually they do not deviate much from the standard.
In any of them, regardless of the flight of the designer's imagination, there are three holes:
- for the mixer;
- for a siphon;
- for overflow pipe.
Accordingly, all this should be included in the kit along with all the necessary fasteners. If something is not included in the kit, I recommend purchasing it immediately, so as not to waste precious time on this later.
Do-it-yourself floor model installation
This is the simplest option for which we need:
- drill and / or hammer drill;
- drills to work on the surface that is on your bathroom floor - usually concrete or ceramic tiles;
- set of wrenches;
- adjustable wrench;
- sealant;
- simple pencil.
And of course, all the fasteners that are in the set - this goes without saying.
In order not to suffer too much, I recommend placing the bidet not too far from the water supply and sewerage system. You cannot cope with rigid pipes without plumbing, and corrugated ones that are too tightly stretched can deform over time and leak.
Having decided on a place, we put a bidet on it and mark with a pencil the places for fasteners. We remove. Time to drill! We will need holes in the floor, the diameter of which will be the same as the plastic dowels. We return the bidet back, now to a timeless existence, and fasten it with bolts.
Attention! Do not forget about rubber pads, otherwise you will scratch the surface, or even cracks may appear.
The tightening efforts should not be too strong, but also not too weak. For reliability, the space between the bowl and the floor can be coated with a sealant, but this is not necessary.
Installation of a wall-mounted version of the bidet
This is a more difficult option, but I believe in you - you can handle it!
First of all, it is necessary, again, to choose a place. But now it is especially important that the wall on which the bidet will be mounted is strong and can withstand both its weight and the weight of a person. Therefore, for reliability, a frame installation is installed. For her, a niche is punched in the wall (or they are placed in an existing one). If this is not possible, a plasterboard false panel is placed before the installation to make it look nice.
Do not forget that the bidet should not be too far from the water supply and sewerage system, this applies to suspended models no less than floor models.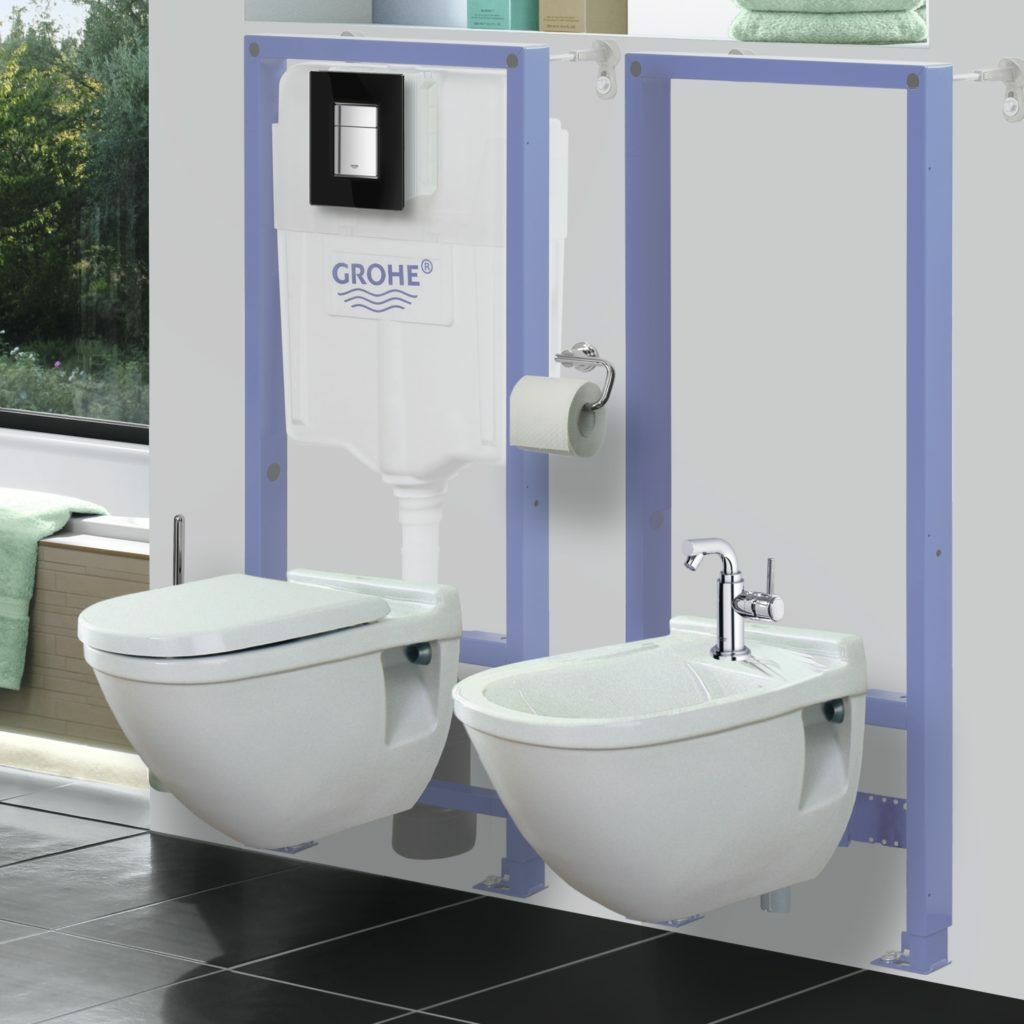
So, it all starts with assembling the frame. They are all different, so I can only recommend following the instructions. Many have a bidet height adjuster, so use it to make it as comfortable as possible.
Installation of the frame is standard: mark the attachment points on the floor and wall, drill, fix with fasteners.
Important! Be sure to use the level, because any distortions can negatively affect further work.
Now you can start trimming and decorating the niche (or false panel) that hides the frame. It is necessary to leave holes in it for outlets to the sewerage and water supply system, as well as long studs on which the bidet will be hung.
Once again, I urge: here, do not forget about the rubber gaskets. You may not like these frequent reminders, but you yourself will thank me later for the fact that the bidet will not have a single crack.
Installing the mixer and siphon
Let's start with the first one. If it is attached to the bidet - great, the caring manufacturers have already made holes for it, you just have to insert it and fix it. But if to the wall, you will have to carry out the chasing.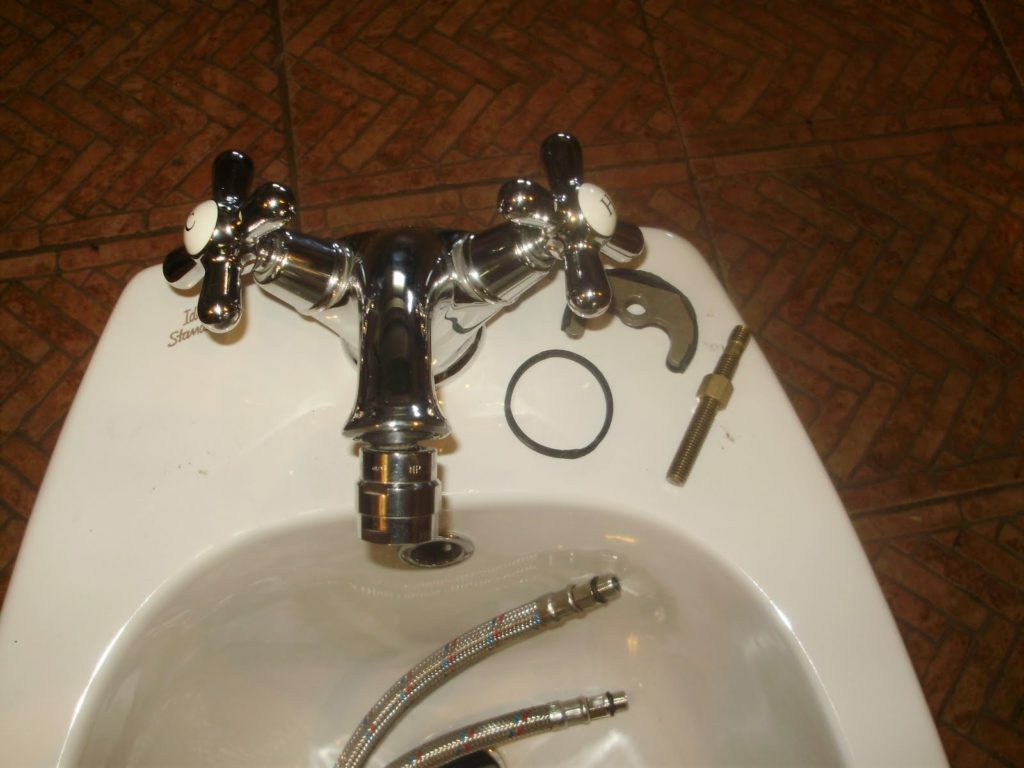
Attention! This is done before installing the bidet.
In order to put the mixer, again, you need a rubber gasket and fixation with a clamping nut and an open-end or socket wrench.
We pass to the siphon.
Attention! Not all models have it in the set, so when purchasing it separately, please note that the set must include a special branch pipe for connecting to the overflow.
First, a drain grate is installed, which is attached with a sealant and a wedge nut. The siphon itself is connected to it from below. You will learn very soon how to bring it to the sewer.
Connection to water supply and sewerage
That's all - you can connect cold and hot water. Just don't get confused. To do this, you need a flexible braided pipe. Well done, you got it the right size: not too short and not too long, right?
We screw it on one side to the mixer, on the other - to the water pipe. Don't forget to seal with linen thread.
The last step is to connect the bidet to the drain. To do this, you will need:
- rubber cuff adapter;
- corrugated pipe.

So, we have already installed the siphon. Now a corrugation is connected to it with the help of the branch nut available in the kit, and the other end is connected to the sewer pipe using a cuff.
Now everything is ready! It remains only to check the functionality of the bidet and you can start using it right now!
Subscribe to our Social Networks


