You are faced with the choice of which toilet to buy - floor-standing or wall-hung? In this case, you have to install in any case? I'll be honest: if you don't want to bother, the first option is better. But the second one will look much more compact and prettier, the noise from it when the water is drained will be much less, and it will be easier to wash. I think that in the long term, there are more advantages, and it is worth it to be a little confused now. Moreover, I will help you do this and even suggest one more economical option.
The device and types of hanging toilet bowls
The content of the article
- The device and types of hanging toilet bowls
- Mounting a wall-hung toilet with installation
- Setting up a suspended model on a concrete base
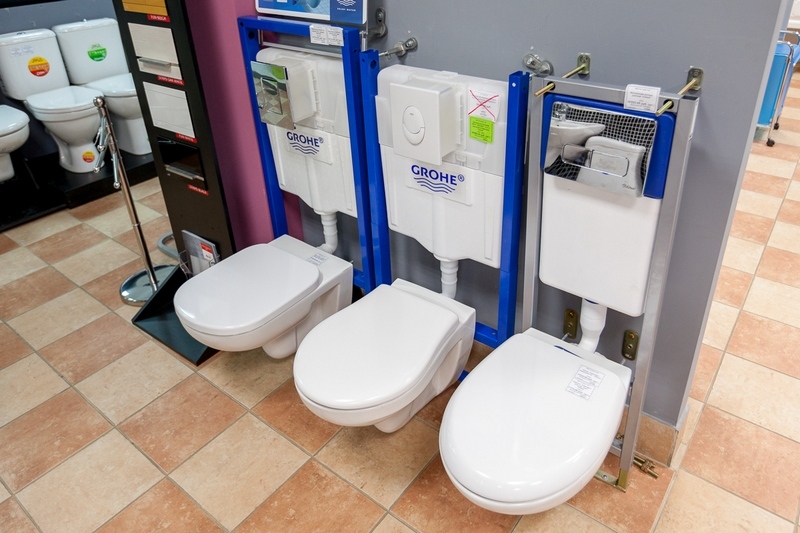
First, I propose to delve into the topic a little. Any wall-hung toilet consists of the following elements:
- an installation is a frame hidden in the wall on which everything else is attached;
- the bowl is the only visible part (not counting the flush button);
- tank - made of durable plastic, located inside the installation and hidden by a wall, in order to avoid condensation, it is additionally treated with styrene.
The range of bowls in plumbing stores is huge, so you can choose any shape, material, color and size. There are also many additional "lotions":
- lack of a rim - thanks to this, the toilet is much less dirty and easier to clean;
- bidet function - retractable nozzle with water supply;
- lighting - for night trips to the toilet, with it you don't have to blind yourself by turning on the light after dark;
- microlift cover - smoothly raises and lowers the seat.
Finally, there are two types of installation: block and frame. The first is mounted on a load-bearing wall, the second is installed on the floor, which is more reliable. Also, its great advantage is the ability to adjust the height of the bowl, so you can adjust it to suit your own convenience.
Reference! However, the price of the frame will also be higher.
Mounting a wall-hung toilet with installation
So, let's say that you have already decided on the model and purchased everything. In the case of a suspended model, the reliability of the fastening is of great importance, since the structure must withstand the weight of not only the bowl, but also the person sitting on it. Therefore, in no case should it be attached to a drywall wall. It is also undesirable to install a framed installation on a wooden floor. Ideally, both the floor and walls should be concrete.
For installation you will need:
- hammer drill with concrete drills;
- roulette;
- pencil;
- spanner open-end wrenches;
- building level;
- knife for working with drywall.
So you've found the perfect place to spend a lot of enjoyable minutes, and you've got your tools ready. We start by marking the wall: we mark the locations of the fasteners and the output of the sewer and water supply systems.
Attention! Be sure to use a building level so that there are no distortions.
If the water supply and sewerage are at a distance from the toilet, we bring a flexible hose and a corrugated pipe to this place.
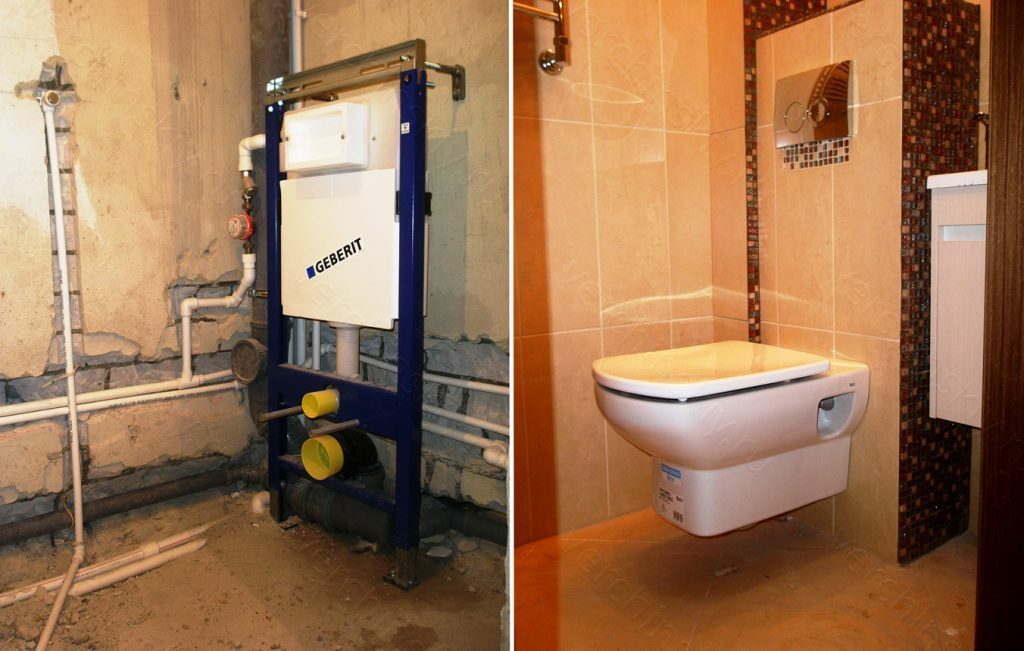
Now one of the most crucial stages is fixing the installation. Punch holes at the points marked earlier. Insert plastic dowels into them. Then, using anchor screws, we fix the installation.
Attention! If you use a frame model, then it is first screwed to the floor, and only then to the wall.
Now we install the tank inside the installation. This happens differently in different models, so strictly follow the attached instructions. Connect the water supply to the tank, remembering to seal all joints (FUM tape is well suited for this). The sewer pipe is led out from the bottom of the structure.
After that, you need to fix the pins on which the bowl will be suspended. They usually come in a set and are screwed into special holes on the frame or block.
It's time to mount the false wall. The material can be any, since the load will not act on it, but the most common and easy to use is moisture-resistant drywall. Previously, holes are cut out in it for the pipe from the sewage system, the connection of the tank to the bowl, pins for hanging it and the flush button.
Now you can start trimming. At the same stage, all decorative work is carried out: gluing tiles or painting the wall. If you do this later, then, firstly, the bowl will interfere, and secondly, there is a risk of damaging it.
So, it remains to hang the bowl. It is put on the pins and pressed against the wall, and so that it does not dangle, it is tightly tightened with bolts. Connected to the sewerage system.
The final step is to install the button. After that, you can check how everything works. Congratulations, we did it!
Setting up a suspended model on a concrete base
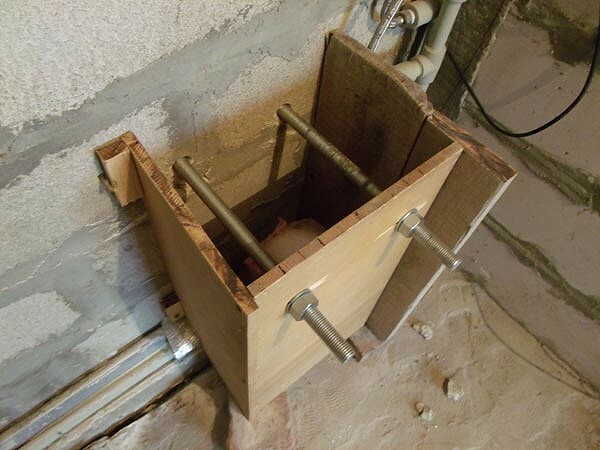
I keep my promise and tell you how you can save on the purchase of an installation. It will be much cheaper to make it yourself, using concrete and wooden formwork. It will take more time and effort, but it will save your finances.
You also need to purchase two long steel rods that the bowl will be attached to. The first stage is the same as in the previous version: the load-bearing concrete wall is marked, holes are punched at the necessary points. Bars are placed in them and secured with nuts.
Reference! Alternatively, you can pre-pour concrete adhesive into the holes.
Then we make a formwork from chipboard and put it on three sides around the pipe. The front board should have holes for the pins through which they are threaded.
We make a solution. His recipe is simple: 1 part cement, 2 parts sand, 3 parts rubble and water. Before pouring, dissolve soap or dishwashing detergent in it. We pour it into the formwork.
Concrete hardens for about a week. After this period, the formwork can be removed. Now you can attach the bowl to the pins and connect it to the sewer (do not forget to use a sealant here too). The cistern is installed on top of the structure and is also connected to the bowl. It remains to sheathe the wall, as we did in the previous version, and install the flush button.
Thus, if you know the general principles, you can independently install a wall-hung toilet without resorting to the help of a master.
Subscribe to our Social Networks


