Russia, Moscow region, Moscow+79041000555

 It takes ~ 3 minutes to read
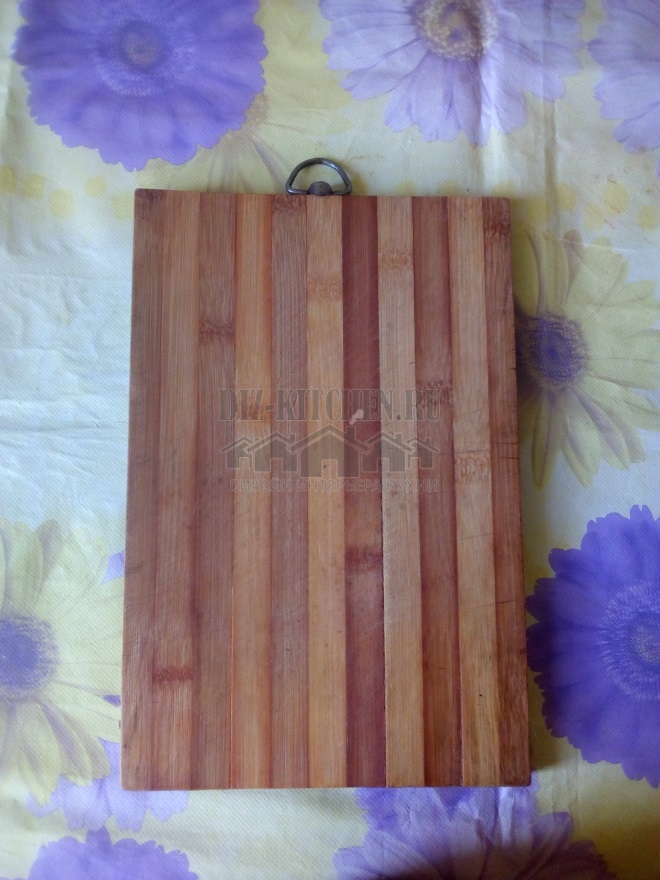
Today I will tell you how to make something interesting from an old cutting board for your favorite cuisine. So my board is broken, as you can see in the photo.
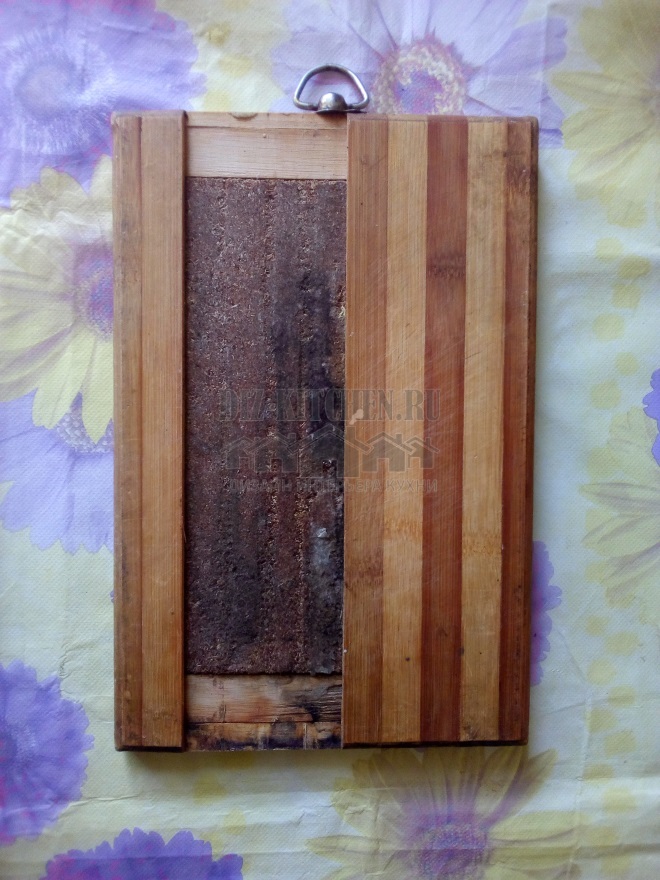
I was very upset because I didn't want to throw it away. This board was presented to me for housewarming and it is dear to me as a memory. Therefore, I decided to come up with something so that it would still serve.
Attention! Earned on our website kitchen designer. You can familiarize yourself with it and design your dream kitchen for free! May also come in handy wardrobes designer.
We need:
- Board;
- Cloth, scissors, thread and needle;
- Sewing machine (if any);
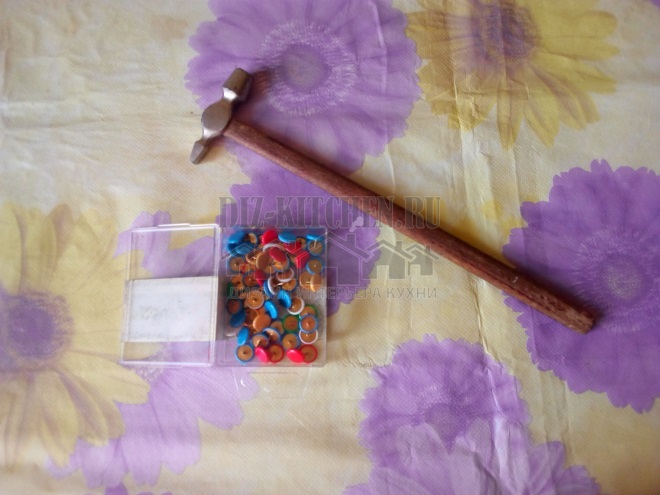
- Push pins;
- Hammer.
- We turn the board over to the whole side.
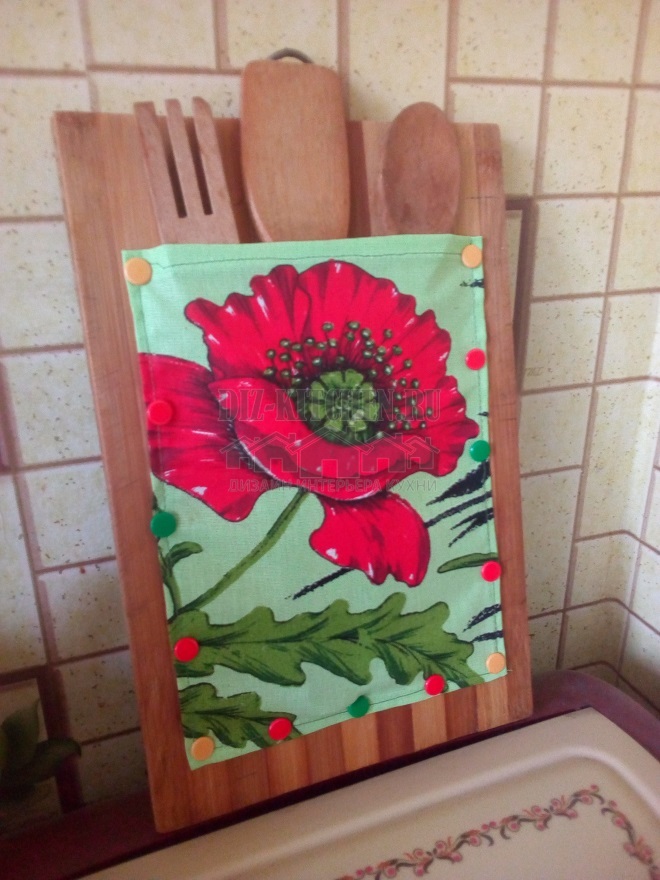
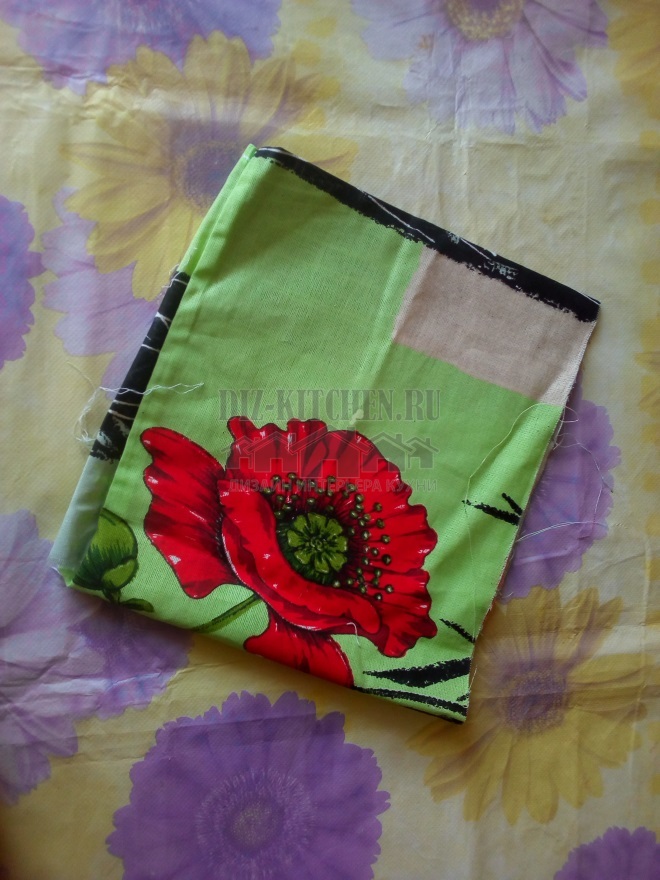
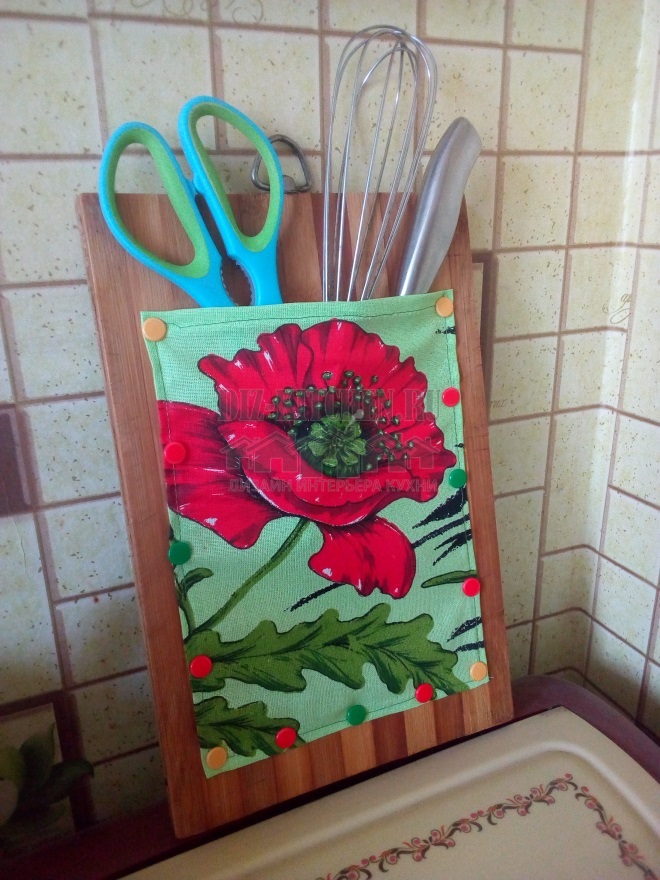
- You don't have to use a broken board, of course. You can take a regular board, which you may not use so often, and it is standing or lying idle in the kitchen. It often happens that the wooden part of the handle is chipped off and in this case it can be sawed off and the rest of the handle can be used. I decided to make such an organizer in which it will be possible to store kitchen scapulas. You can put spoons, forks, napkins, etc. I will make the pocket out of fabric. Since my kitchen is designed in green tones, then, accordingly, I picked up such a bright piece of light green fabric, which depicts a bright red poppy.
- I would like my craft to be such an accent in the kitchen, and not only fulfill some task, but also become an original interior solution. We apply our fabric to the board and determine the size of the pocket. If you want to store forks and spoons in it, then you need to make the pocket of the appropriate size: attach a fork and see that it looks out and it is convenient to get it out. I will have these shoulder blades, they are on long handles, so I will make a pocket for the whole board.
- Using a ruler, pen and scissors, I mark out and cut out the desired size.

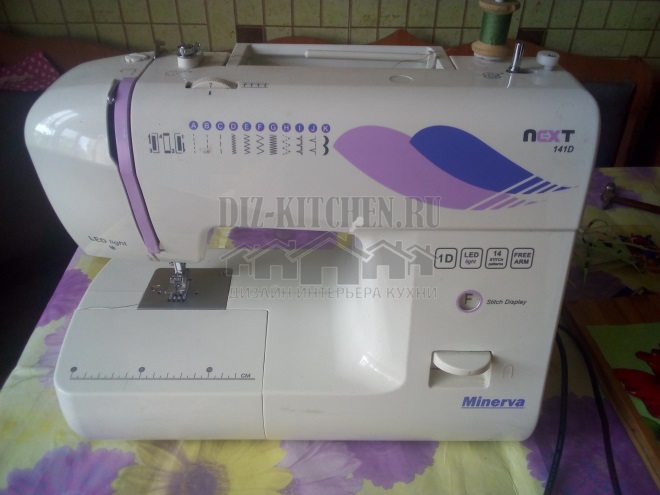
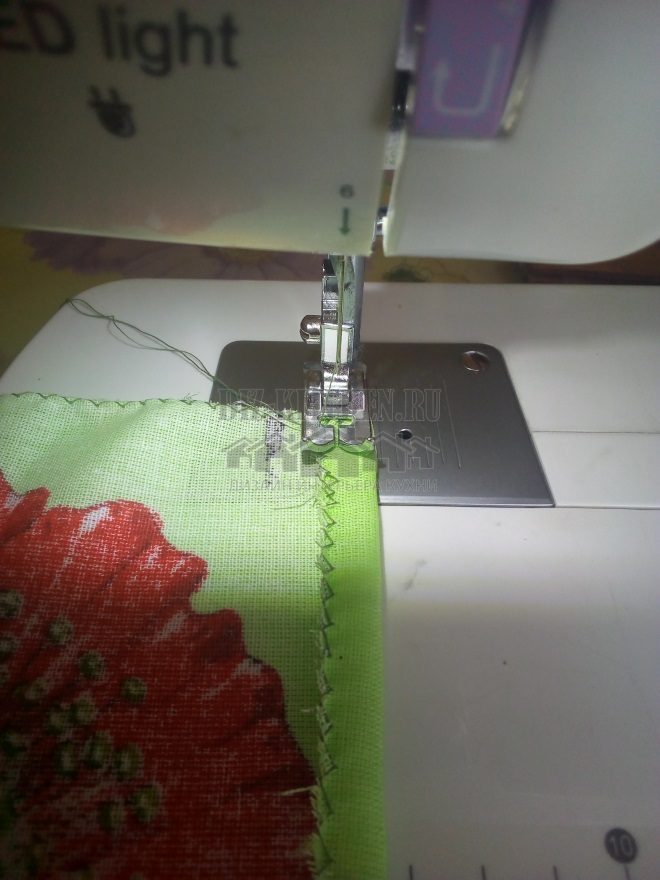
- For work I need a sewing machine, at least you can sew the edges by hand.
- I zigzag the edge of the fabric, since I do not have an overlock.
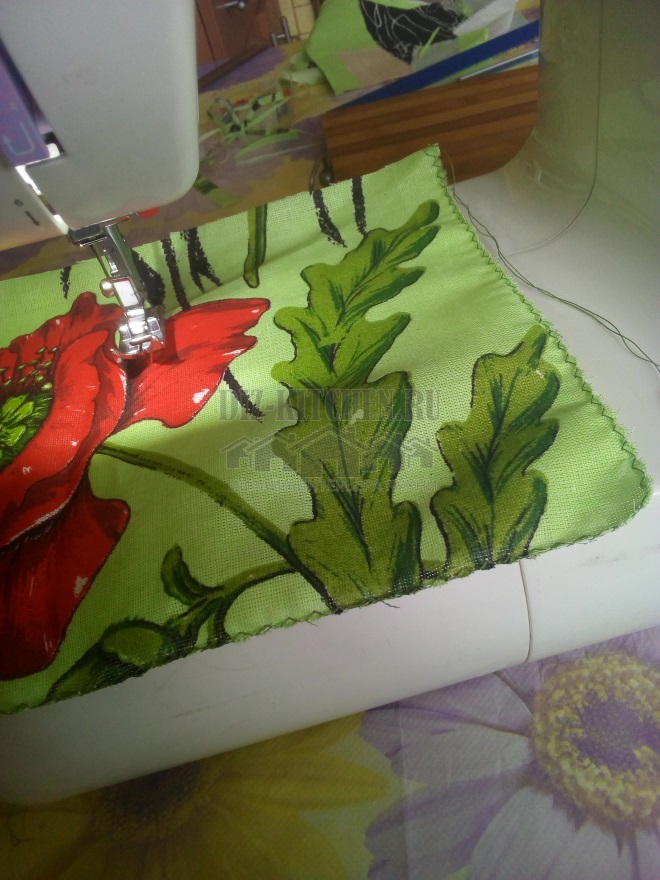
- Then I fold the fabric and sew it on a typewriter.
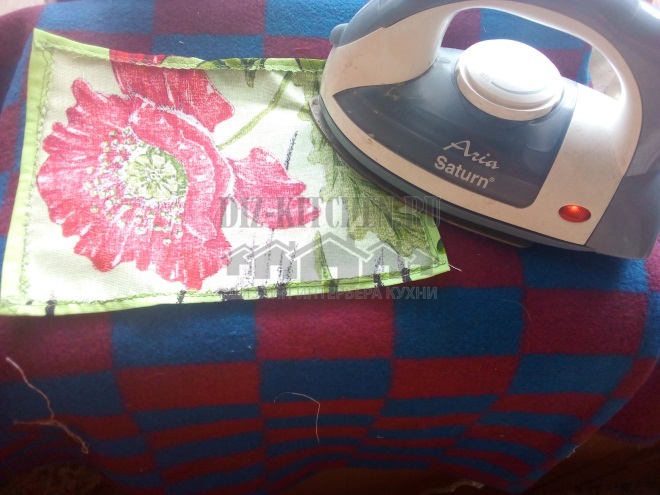
- The fabric is wrinkled a little during work, and therefore I iron it with an iron.
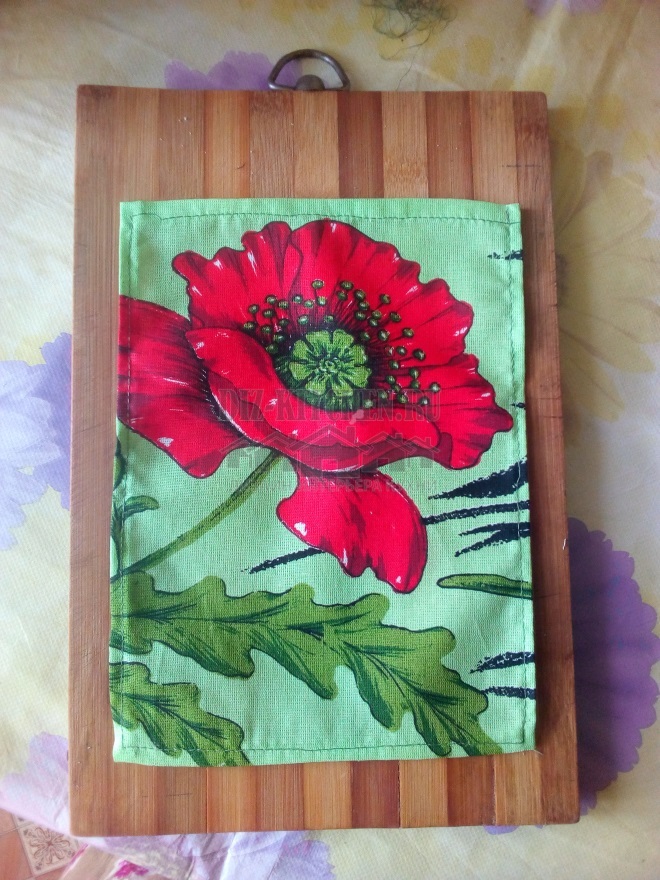
- You can change this pocket according to your wishes and mood. So we apply the resulting piece of fabric to our board.
- You need to attach our pocket. How can this be done? To do this, you can use a construction stapler or ordinary nails, since the board is wooden. You can also hot glue the pocket on. I will be using multi-colored pushpins and a hammer as I think this will add some flavor to our craft.
- Choosing buttons of different colors. We attach the buttons at the corners first.
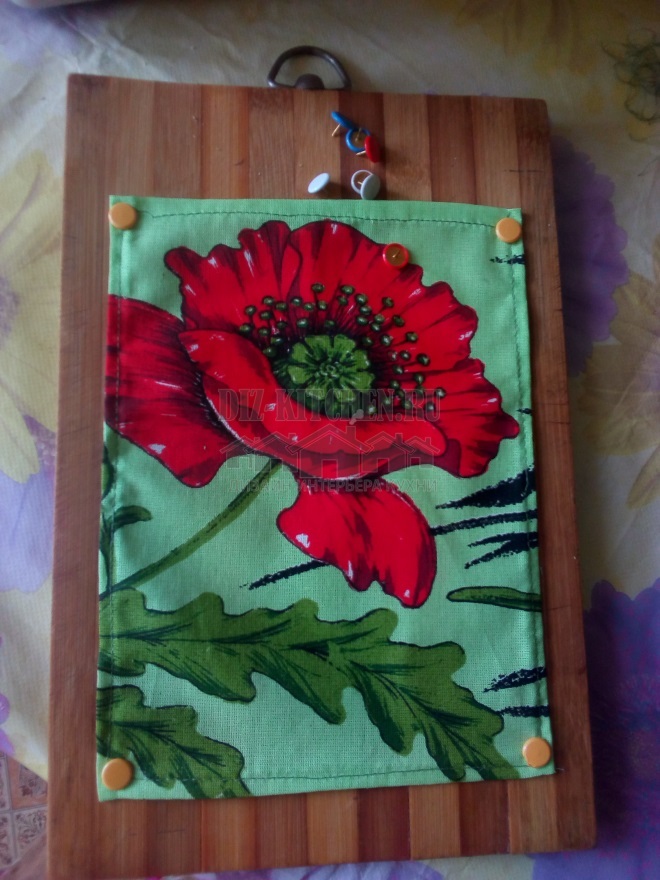
- If nothing is bristling or distorted, then we fix the edges and be sure to fix the bottom well.
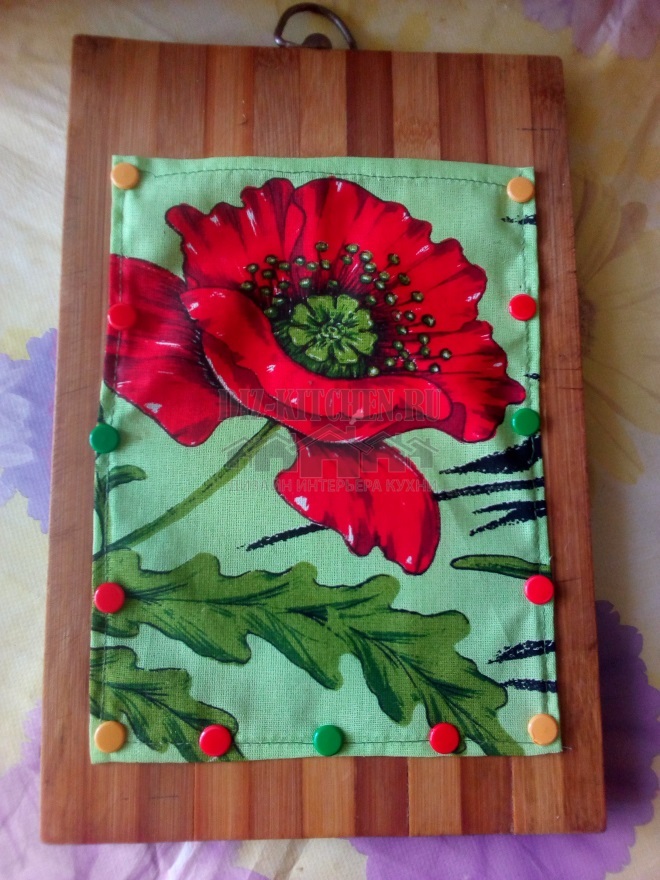
- On the one hand, we do not close the pocket on top, since we will insert our accessories there.
Everything is ready. You can choose a place for your board. She can stand, or, if she has a hook, hang on the wall.
Don't throw away old things! Give them a chance - create a new life for them!
Why don't some people eat at the computer?
They eat while reading books and newspapers
23.94%
They take a laptop and go to the kitchen
76.06%
Voted: 71
In order not to lose, tell your friends
Follow us on social networks


Dear visitor!
With great interest I always read your comments to my articles. If you have any questions, do not hesitate to ask them, leave, please, Your feedback in the form below. Your opinion is very important to me. Thanks to your criticism and thanks, I can make this blog more useful and interesting.
I would be very grateful if you rate this post and share it with your friends. It's easy to do by clicking on the social media buttons above. Do not forget the article you like Add to bookmarks and subscribe to new blog posts on social networks. 
Anna, editor of diz-kitchen.ru
© 2015 - 2022 | All rights reserved. At a reprint of materials the active link to the source is required. | User agreement and privacy policy
All characters and stories are fictional, and any coincidence with real or living people is accidental.