Russia, Moscow region, Moscow+79041000555

 It takes ~ 4 minutes to read
 Every housewife dreams of changing the interior of her house from time to time. There are many ways to do this. The easiest and cheapest is to change the curtains. They can be purchased at any market or store. It will be easy to do this, since the choice of curtains is huge. But the best solution would be to sew the curtains yourself. Even those who have never sewed such products can easily cope with this task. You will learn how to make roller blinds with your own hands by reading the step-by-step instructions of the article to the end.

Attention! Earned on our website kitchen designer. You can familiarize yourself with it and design your dream kitchen for free! May also come in handy wardrobes designer.
Disadvantages and advantages of such curtains
Advantages:
- Light does not leak through them, nothing can be seen through them, that is, no one can look into your window.
- They can be hung anywhere.
- They take up little space.
- Fresh air passes through the blinds easily and freely.
- These curtains are suitable for any room.
- Blinds can be hung either independently or in addition to others.
- Their choice is huge.
Flaws:
- Blinds absorb unpleasant odors.
- They need to be constantly looked after.
- After a while, they may skew.
- The mechanism that lifts the roller blind quickly fails.
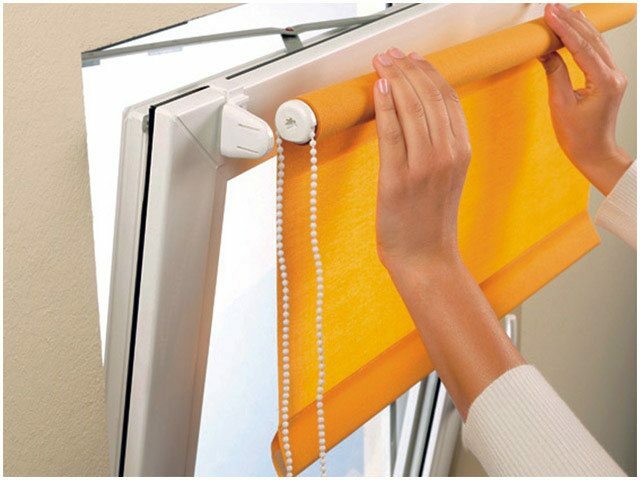
How to sew roller blinds on plastic windows with your own hands
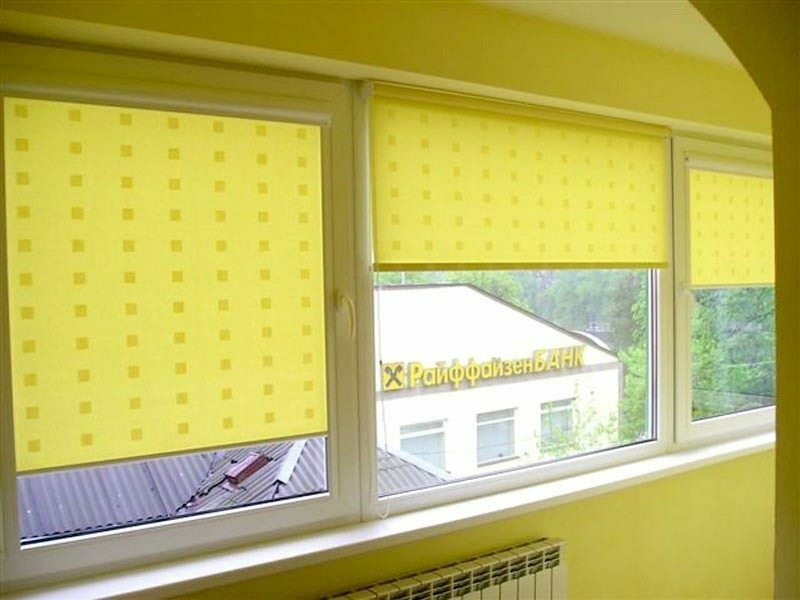
To sew a roll of curtains with your own hands, you need to choose the right fabric. When choosing a fabric, it must be taken into account that it is:
- Natural;
- Moisture repellent;
- Reflected light.
For the manufacture of roller blinds, you can use fabric of the same color or multi-colored and patterned. It will only depend on you and your choice.
DIY making: step by step instructions (photo and video)
 To make a roller blind with your own hands you will need:
- Textile.
- Cord.
- Rope.
- Ribbon.
- Weighting agent (metal or wood).
- Rod shaft (wooden block or metal tube).
- Screwdriver.
- Self-tapping screws.
- Drill.
- Iron.
- Sewing machine.
- Fasteners.
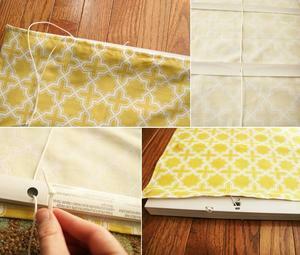 Master Class
- Determine the width of the roller blind. Measure the length of the roller and subtract one centimeter from the resulting length.
- Now let's determine the length of the curtain. To do this, measure the distance from the roller to the window sill. Add twenty centimeters to the result.
- Now make a pattern for the curtain. Measure the width and length on the fabric that you received when measuring. Cut out the resulting rectangle. There should be two such rectangular segments.
- Fold the sections right-side in and sew on three sides. You should get a bag.
- Turn the resulting bag inside out and iron it with an iron.
- Let's move on to securing the weighting agent. Its length should match the width of the curtain. This is necessary so that the roller blinds do not hang on the plastic window. Attach the weight, tuck the fabric, and sew five millimeters away from it.
- Now you need to prepare the ribbons. With their help, the curtain will hang in a folded state. From the fabric, cut a tape eight centimeters wide. And the length of the ribbon depends on the height of the window and is calculated using the following formula: 2 * height of the window opening + 30.
- Fold the resulting ribbon lengthwise, right side inward and sew. Then the tape must be turned out, ironed and sewn on the open side. Do-it-yourself blinds are ready.
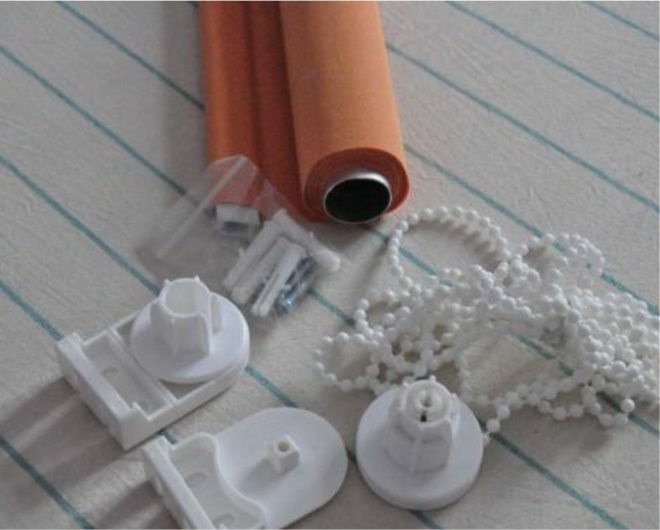
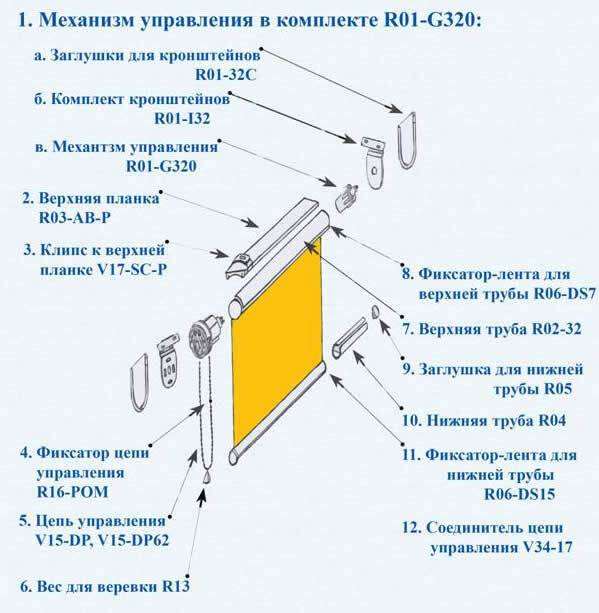
DIY roller blinds mechanism
First option.
For the manufacture of the mechanism you will need:
- Staples;
- Video clip;
- Duct tape;
- Screwdriver.
Manufacturing steps:
- Let's start with the staples. If the curtain is inside the frame, then the brackets are placed three centimeters below the top of the curtain. If the curtain is outside, then the brackets must be fixed five centimeters above the window opening. The round hole bracket fits on the right side and the square hole bracket on the left side.
- The distance between the brackets must be the same as the length of the roller. If so, then secure the roller.
- Now we fix the curtain on the roller. Put it face up, and place the roller at the top of the curtain. Roll the edge of the fabric onto a roller and secure it with adhesive tape.
- Throw the ribbons over the roller, and fix them in the center with a stapler.
- Insert the roller with the curtain into the staples. The roller blind for a plastic window is ready.
Second option.
For him you will need:
- Bar.
- Sticky double-sided tape.
- Glue gun.
- Special mounts.
- Cord and hooks.
- Wooden slats.
- Weighting agent.
Manufacturing instruction:
- First you need to saw off the wooden strip. Its length should be one centimeter less than the width of the curtain.
- Cover it with the same fabric from which the roller blind was sewn.
- Glue double-sided sticky tape to the bottom of the block.
- On the reverse side of the block, special fasteners must be attached.
- Insert the weighting material into the sewn roller blind.
- Attach the blinds to the prepared cornice.
- Take the cords, tie them and lead them out through the special holes. Then line them up and tie a knot.
A video on the manufacture of curtains and a mechanism will help to cope with this task.
How to make with a garter tape
To make such a roller blind you will need:
- the cloth;
- sewing machine;
- iron;
- weighting agent;
- bar and rail.
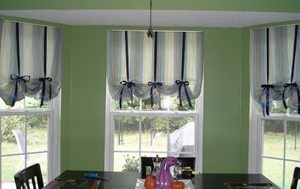 Manufacturing steps:
- First you need to make a pattern from the fabric. Measure the required width and length of the future curtain. Cut out the resulting rectangle and sew on three sides. Turn the fabric inside out and iron it.
- Insert the strip on the unstitched side, then sew it on. This will be the bottom.
- Attach the top of the blinds to the block.
- Now prepare the ribbons. They should be twice as long as the blinds itself. There should be two such tapes.
- Attach the ribbon to the block.
- The roller blind is ready.
Roller blinds on their own
To make roller blinds you will need:
- sewing fabric;
- paper template;
- simple pencil;
- a bar of soap or chalk;
- ruler;
- adhesive strip;
- fringe;
- special fabric adhesive.
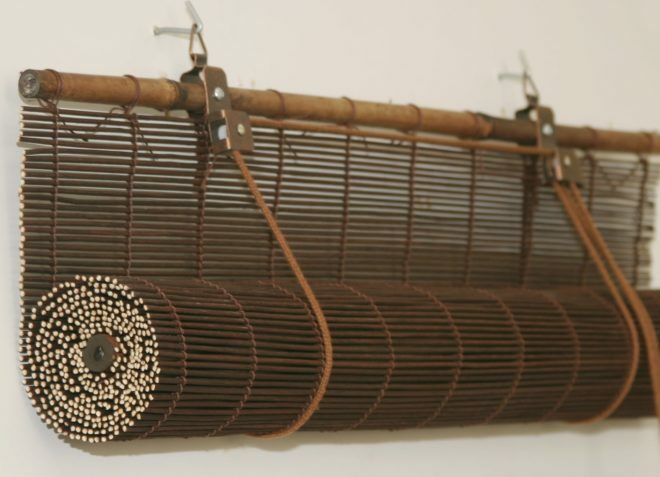
Master class on their manufacture:
- First you need to make a pattern. It is done in the same way as for conventional blinds. But there is also a difference - you need to leave an allowance of 25 centimeters. This is necessary for finishing the edge.
- Now make a template. It is made from plain paper. Its width is equal to the height of the carved edge, and its length corresponds to the length of the roller minus one centimeter. On the resulting rectangle, make the pattern you like.
- The rectangle must be folded like an accordion. Draw the desired pattern on the first strip. Cut the rest of the stripes along this pattern. So, the pattern will turn out to be the same across the entire width.
- Make a drawstring. Insert the tube into it, and sew the edges.
- Place the paper template under the drawstring and secure with pins. Circle the pattern with a piece of chalk.
- Glue the fringe along the bottom edge.
- Fix the resulting roller blinds on the roller.
Now you know how to make roller blinds with your own hands, as well as how to make roller blinds yourself without the help of a master. Good luck!
Photo gallery

The ideal format for gatherings in my kitchen is ...
Dumplings party
34.33%
Sitting over a cup of tea
41.79%
Youtube party
11.94%
Cocktail buffet
11.94%
Voted: 67
In order not to lose, tell your friends
Follow us on social networks


Dear visitor!
With great interest I always read your comments to my articles. If you have any questions, do not hesitate to ask them, leave, please, Your feedback in the form below. Your opinion is very important to me. Thanks to your criticism and thanks, I can make this blog more useful and interesting.
I would be very grateful if you rate this post and share it with your friends. It's easy to do by clicking on the social media buttons above. Do not forget the article you like Add to bookmarks and subscribe to new blog posts on social networks. 
Anna, editor of diz-kitchen.ru
© 2015 - 2022 | All rights reserved. At a reprint of materials the active link to the source is required. | User agreement and privacy policy
All characters and stories are fictional, and any coincidence with real or living people is accidental.
