Russia, Moscow region, Moscow+79041000555

 It takes ~ 3 minutes to read
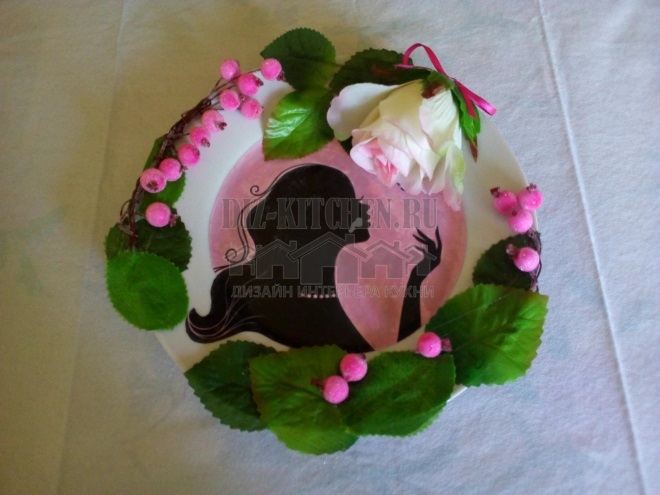
Have you ever wanted to make a decorative plate out of an ordinary plate? Is the bat a masterpiece? In the morning I was very upset when I saw that one plate had chips along the edges. I was going to throw it away, and then I decided to try to do something with it. And this is what happened ...
You will need:
Attention! Earned on our website kitchen designer. You can familiarize yourself with it and design your dream kitchen for free! May also come in handy wardrobes designer.
- Plate;
- Glue gun;
- Picture;
- PVA glue;
- Decor elements.
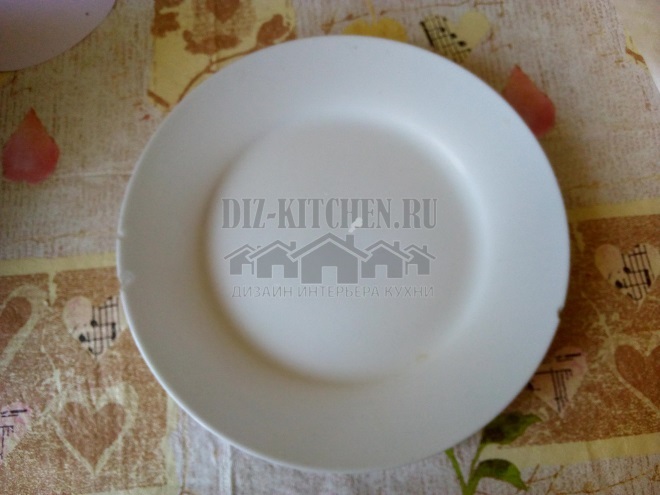
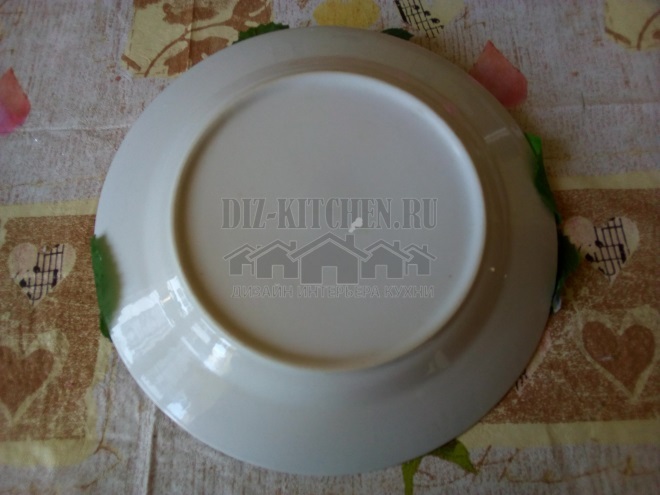
- We take an ordinary flat plate. My plate is pure white, without any patterns or inscriptions.
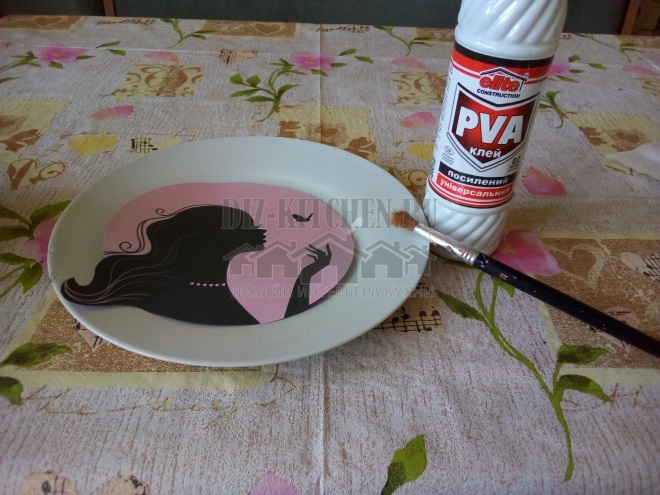
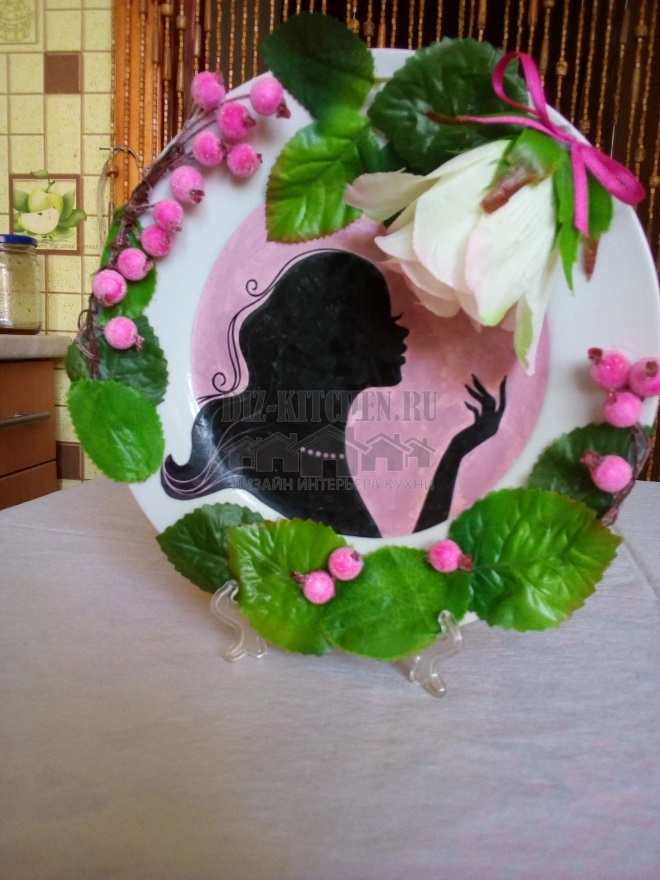
- We focus on the middle. We will use a picture - a silhouette of a girl. Once upon a time, silhouettes were very fashionable, and even now they have not lost their relevance. It seems to me that on a white background, the silhouette of a girl looks very beautiful, gentle and original. On a regular printer, I print a silhouette picture. I cut out a circle corresponding to the diameter of the bottom of the plate and glue my picture with PVA glue.
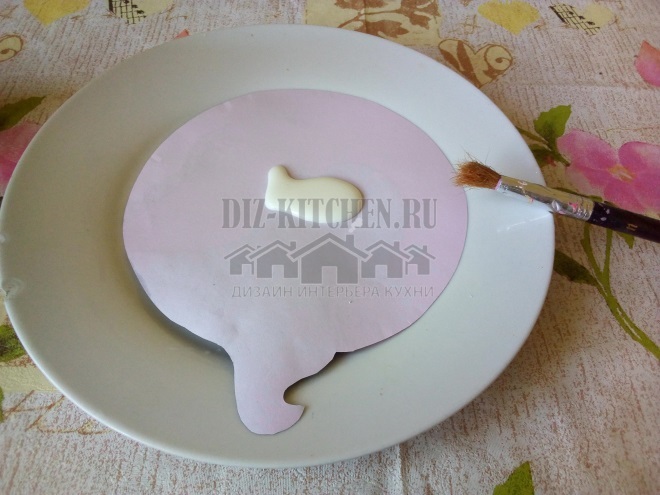
- I give the plate time to dry properly and, so that my plate can sit quietly on kitchen or in any other room, I cover the picture with acrylic transparent varnish or varnish for nails.
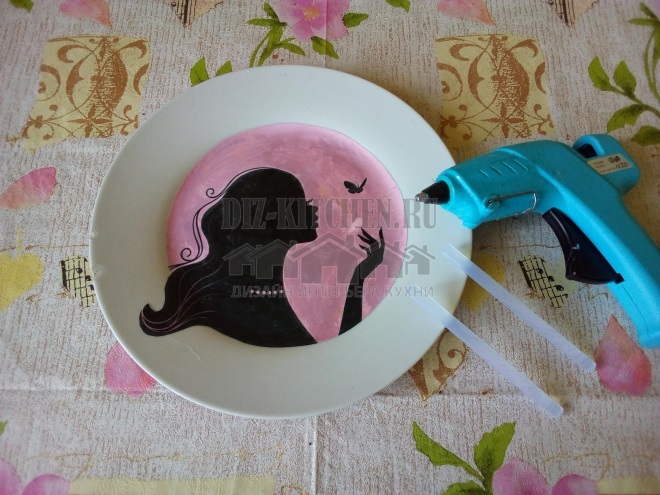
- We begin to decorate the plate. We'll need hot glue.
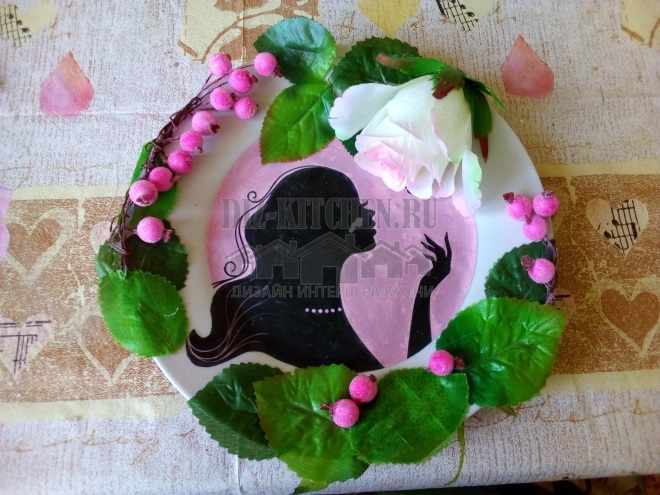
- Since the background in my picture is pink, the idea came to use an artificial rose. As you can see, I chose a white rose with a pale pink center. I decided to arrange the flower in such a way as to give the impression that the girl reaches out to her with her hand and inhales her scent.
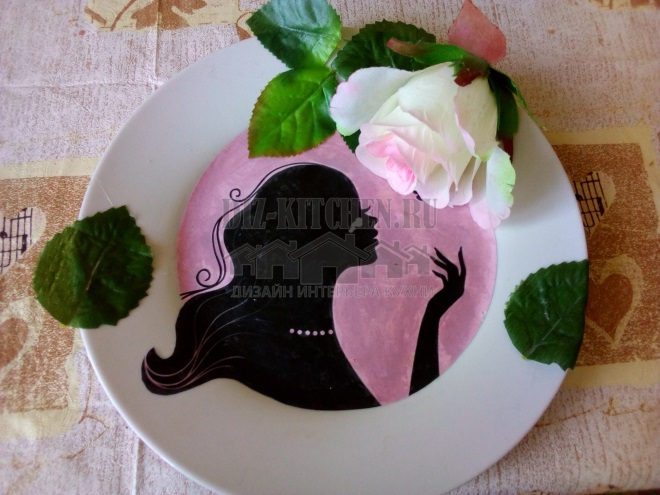
- Rose is the basis of our decor, which I will place around the perimeter of the plate. Once again, I want to draw your attention to the fact that the plate I chose was chipped, so I need to hide them, disguise them. Therefore, the first thing I do with the leaves is to mask the chips.
- To complete the composition, I use these berries.
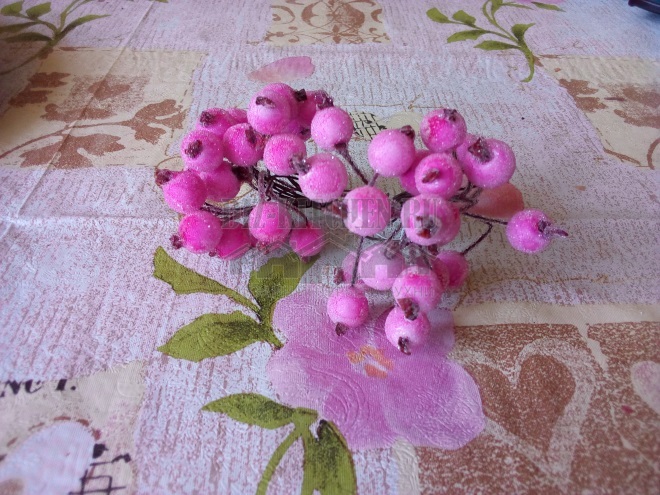
- I choose a few pieces. Since I want to arrange them in two places on the plate along the rim, I divide them into larger and smaller bunches and make something like a wreath.
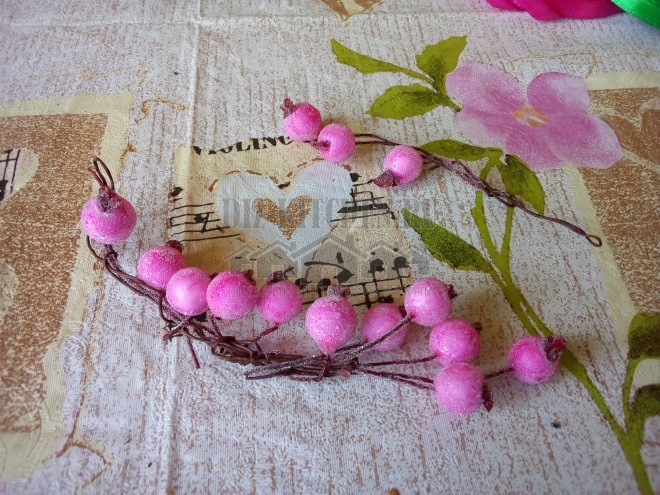
- I also fix the berries with hot glue.
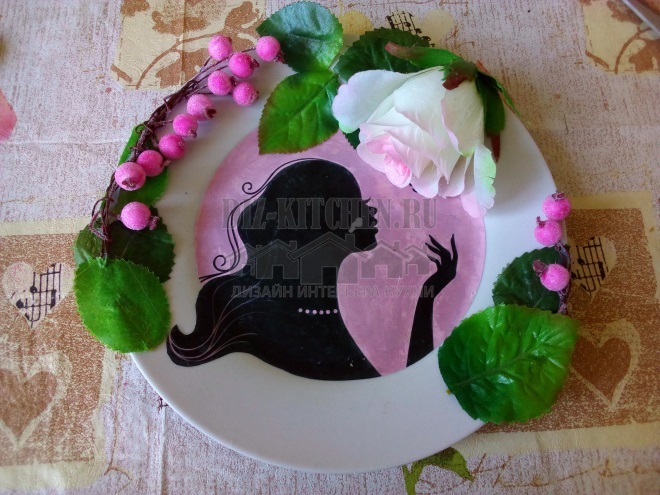
- Further, we simply supplement our plate according to our taste: glue a few more leaves, add a few more "crumbling" berries.
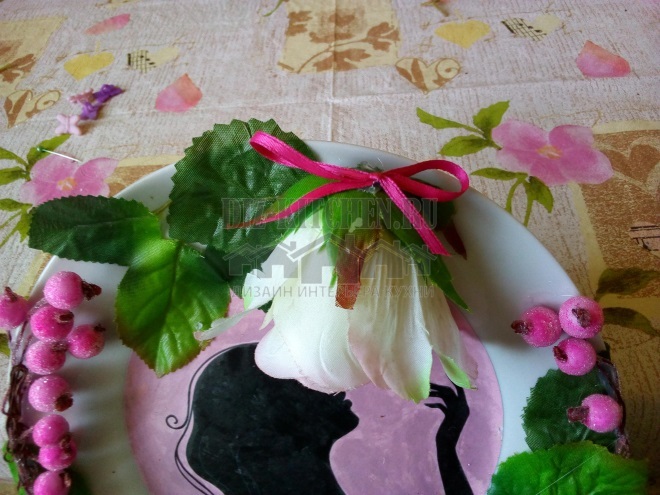
- And the final touch - we attach a small pink bow at the base of the flower.
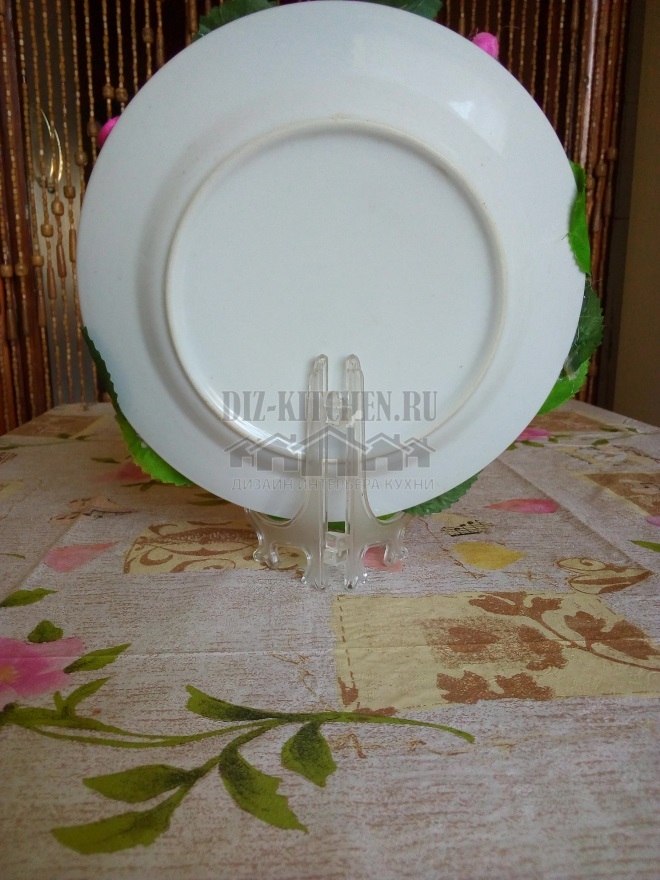
Our plate is ready! I have a stand. Therefore, my plate will stand on the shelf on the stand.
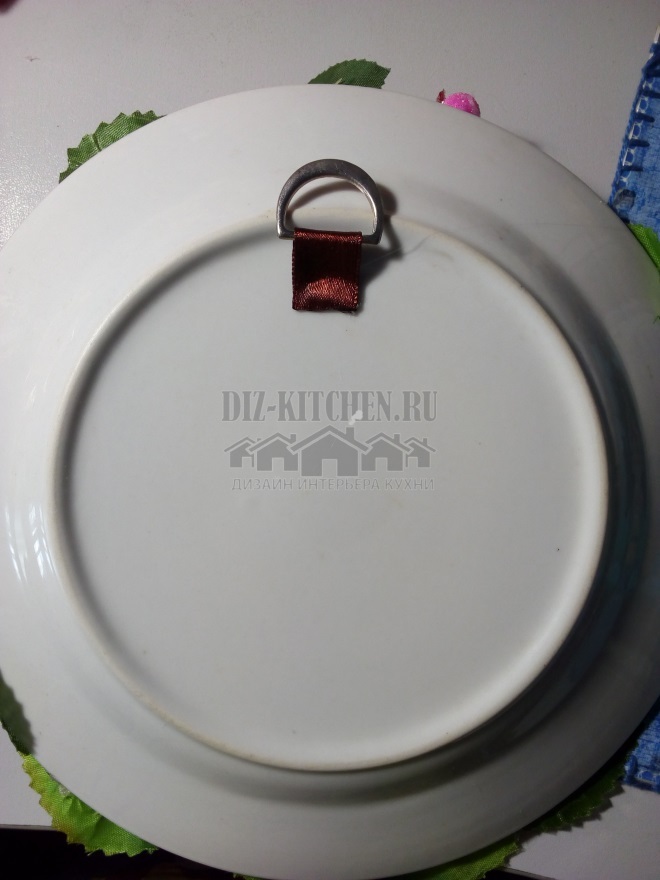
If you want to hang it on the wall in the same way with hot glue, you can attach a loop to the tape.
The plate turned out to be original and very delicate. I gave my work the name "Pink Sunset", because it is delicate and pink.
A place that always smells delicious?
Kitchen
46.88%
Microwave
5.21%
Oven
11.46%
Grandma's hiding place
10.94%
Bin
25.52%
Voted: 192
In order not to lose, tell your friends
Follow us on social networks


Dear visitor!
With great interest I always read your comments to my articles. If you have any questions, do not hesitate to ask them, leave, please, Your feedback in the form below. Your opinion is very important to me. Thanks to your criticism and thanks, I can make this blog more useful and interesting.
I would be very grateful if you rate this post and share it with your friends. It's easy to do by clicking on the social media buttons above. Do not forget the article you like Add to bookmarks and subscribe to new blog posts on social networks. 
Anna, editor of diz-kitchen.ru
© 2015 - 2022 | All rights reserved. At a reprint of materials the active link to the source is required. | User agreement and privacy policy
All characters and stories are fictional, and any coincidence with real or living people is accidental.

