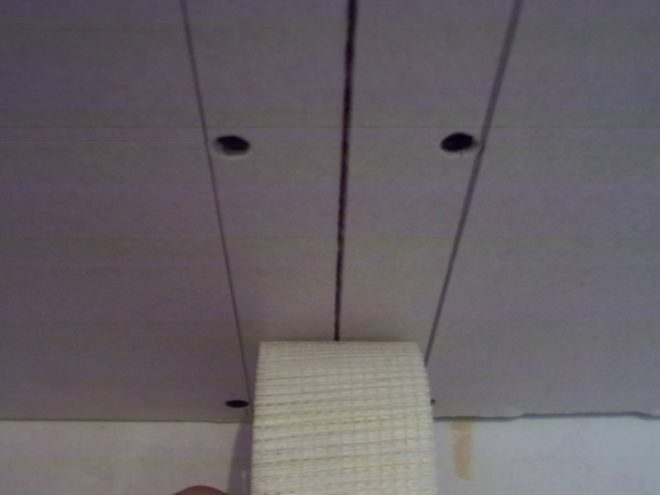
 Drywall is a versatile building material that has many unique advantages. It allows you to implement extraordinary design solutions with your own hands and design any shape - from an oval to a polygon. It is easy to cut and assembled without much effort. The sheets are absolutely environmentally friendly, capable of creating excellent sound and thermal insulation. It does not matter in what condition the original walls and ceilings are, and how smooth their surfaces are. But how to close the seam between the sheets? we will talk about this in this article.
General information about drywall
Only one plasterboard sheet is of such a size that it covers more than two square meters, covering all defects and irregularities. When installing supporting structures, a space is created between the base and the finished surface, sufficient for laying heat or sound insulation. Any finish can be applied to drywall: paint, wallpaper, decorative plaster.
Attention! Earned on our website kitchen designer. You can familiarize yourself with it and design your dream kitchen for free! May also come in handy
wardrobes designer.
But as soon as the last self-tapping screw is screwed in, the problem arises of how to properly and how to seal the seams in drywall. It's worth worrying about, otherwise over time:
- cracks form at the joints of the sheets;
- the service life of the finished structure will be much reduced;
- the finish coating will deteriorate, and this will lead to additional cash costs.
As a result, if you do not ask the pressing question in a timely manner, instead of an exclusive element of the main decor of the room, you can get an unaesthetic "bun".
It happens that the seams are formed by themselves if the frame is not rigid enough. The mounting profiles are deformed under the weight of hl, and the edges of the attached sheets repeat their outlines. Another factor is the loss of the linear dimensions of the structure as a result of a sharp temperature drop. Microscopic shifts will lead to cracking.
To avoid this, during the installation process, a gap of 1–2 mm is provided between the HLs. In the worst case, the putty will crack, but the sheets themselves will remain intact. It doesn't matter if the drywall is mounted on a metal frame, or glued to a flat wall. When developing instructions, world manufacturers recommend using technologies based on GOSTs and building codes.
Mesh and other materials and tools to seal sheet joints
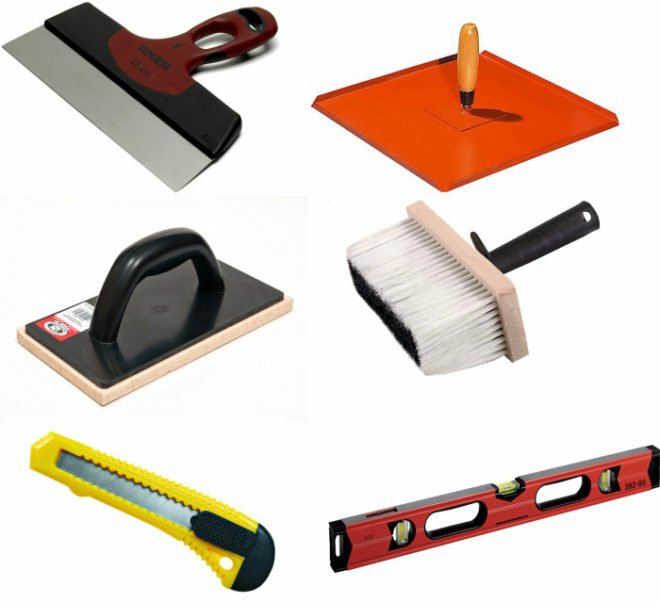
- Putty knife. It is advisable to purchase a set of spatulas: narrow (up to 8 cm), angular, type-setting (10-15 cm) and large (30-40 cm). Every finisher has their own preferences, but the most important thing here is the flexibility of the blade. With an increase in the flexibility of the tool, the ease of handling hard-to-reach places, incl. on the ceiling and cornices, labor productivity increases.
- Putty. For sealing joints, many craftsmen use only finishing putty. The speed of work increases, but there is also a risk of the formation of large gaps at the joints of the sheets. Special types of putties can significantly improve the quality of work. This is especially necessary when the finishing layer is paint or decorative plaster. If wallpaper is simply pasted onto drywall, then one putty is enough, since the texture of the wallpaper itself can hide some wall defects. Today there are two main types of putties: universal - starting and finishing, and special - with the use of appropriate additives. The most famous company is Knauf, which produces gypsum-based putties for sealing drywall seams: Fugenfüller, Fugenfinish and Uniflot. The products of the firms Kreisel and Vetonit also enjoy well-deserved attention. Ready-made Shitrok putties have proven themselves well.
-
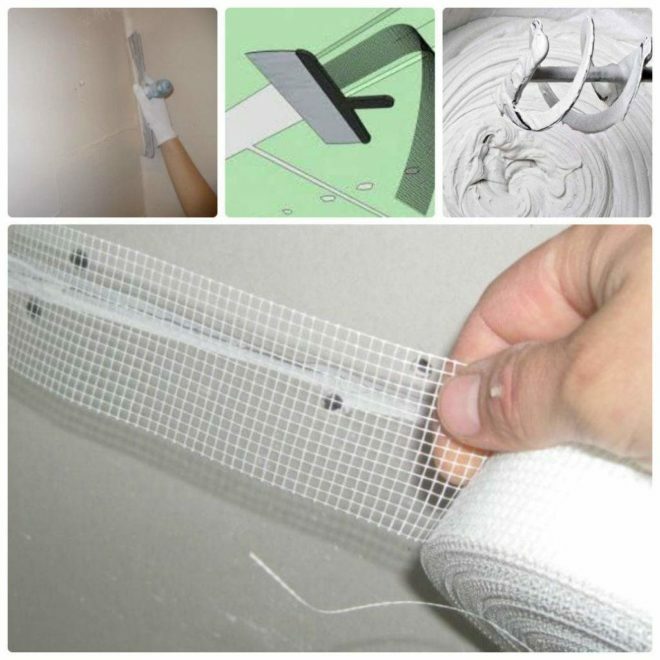
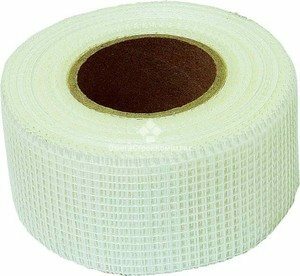 Reinforcing tape or serpyanka mesh. They strengthen the seams and increase their resistance to cracking. Self-adhesive rolls are very convenient to use. The width of the tape is matched to the size of the gap.
 - Primer. It strengthens the base, improves adhesion (adhesion) of the putty to the surface, and also creates a barrier to moisture penetration, which will prevent the finish from peeling off in the future.
- Brush, roller or spray. They are used to apply the primer.
- Electric drill with a special attachment or construction mixer. Designed for the preparation of a putty mixture.
- Special dry clean container. The solution will be mixed in it.
- Pure water at room temperature. It is necessary for the preparation of dry mix putty.
- Special metal corner or corner forming tape. They will allow you to make the sealing of joints at the corners more thoroughly.
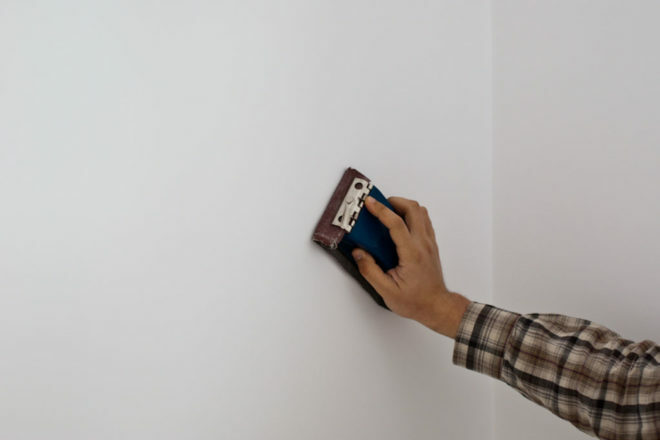
- Sandpaper, sanding block or abrasive mesh. They will come in handy for cleaning. The grain size depends on the finish: for wallpaper - a larger grain, and for coloring - a finer one.
- Means of protection. This can be a respirator, goggles, gloves, a special suit.
Correct preparation of surfaces for embedding
First you need to check whether all the joints of the sheets are securely attached to the supporting frame and whether the caps of the screws are sticking out. When filling, the spatula will bounce on them, you will have to get dirty in the mixture, sinking the fasteners below the sheet level. Drywall, and even more so the joints, should not have peeling paper, they must be cut off under the base and cleaned with an emery cloth. If seizures and burrs are found, they are carefully removed with a construction knife.
With the same tool, at the joints of straight ends and cut out elements, where the gypsum part of the sheet is visible, the so-called. jointing - a chamfer with an angle of 45 degrees, width and depth up to 5 mm. It will make the seams much stronger, since it will also be filled with putty. The edge planer significantly speeds up chamfering. In this case, the factory edges of the sheets do not require additional processing. Further, it is cleaned from dust and dirt formed during the installation process. This is done with a vacuum cleaner or a regular dry cloth.
To improve adhesion, special primers are used. Butt seams are processed with a brush or roller 15 cm on the sides of the joint. The soil layer interferes with the destruction of drywall, since it protects it from dust, moisture and has antifungal components.
Preparation of a putty solution for gl joints
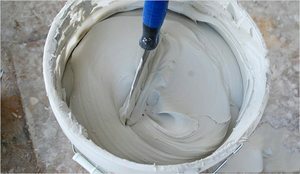 When working with dry putty, it becomes possible to select the thickness of the solution. The consistency is considered optimal for application, in which the cone from the mixer on the surface does not fall off and does not spread. Then the finished composition reliably adheres to the spatula, adheres perfectly both to the wall and to the ceiling.
According to the instructions, the required amount of dry putty is placed in a specially prepared container, filled with water and stirred until smooth. If dust forms, you need to take care of protective equipment. It is advisable to cook no more than 5 liters of the mixture at a time, since its so-called. the life time is only 30–40 minutes.
We cover the seams with a putty mixture
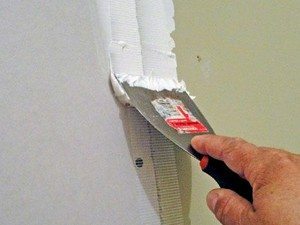 The technology of grouting gkl joints itself is simple, and its observance gives an excellent result. To cover up, a portion of the putty is transferred with a type spatula to a working spatula and applied with not thick strokes across the gap, trying to fill its entire depth. A large thickness on the surface is a prerequisite, since excess putty mixture will not allow it to dry out too much. If the length of the joint is significant, then it is convenient to work by dividing it into small sections. The caps of all self-tapping screws should be filled with strokes in a criss-cross direction.
To level the seam and prevent the formation of cracks, the so-called. banding - reinforcing tapes made of fiberglass or special paper are attached. Depending on the presence of an adhesive layer on the surface, they are used:
- If the tape already has a self-adhesive layer, then before covering the seams of the drywall, it must be unpacked and, gradually unscrewing, glued along all the joints.
- If no self-adhesive layer is provided, then, after the solution has already been applied, the tape should be sunk into its thickness as deep as possible. Noteworthy here is the perforated paper tape. Paper and drywall are related materials and work well together.
A wide spatula is used to grind the putty into a flat, even surface. Corner elements are designed using special devices - metal corners, corner-forming tapes, etc. After 8–12 hours of drying, you can apply the next layer of putty - a covering one, which will smooth out all the shortcomings identified during the first pass and make the seam stronger.
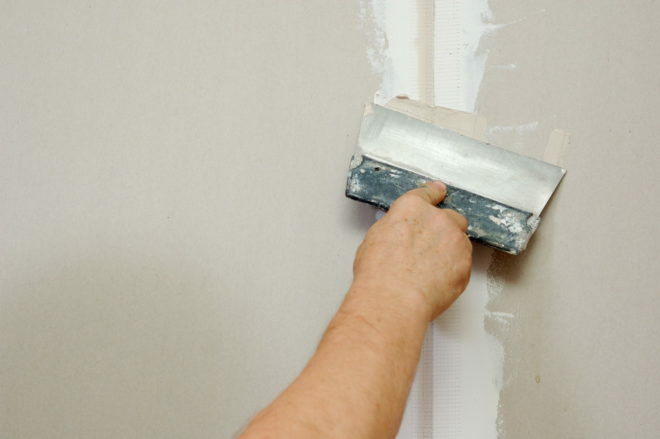
On the ceiling, patching up the seams is a certain inconvenience, since the master has to constantly keep his head thrown back. You will have to prepare the putty mixture a little thicker, otherwise it will drain from the spatula, and press harder with the tool itself in order to press the mass well into the gap on the ceiling. But when priming, you cannot press hard with a roller on the plane of the drywall, so as not to peel off its paper component.
Sanding drywall seams
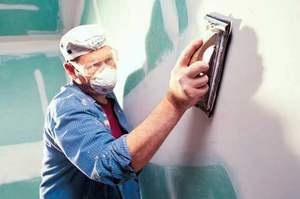 When the putty is completely dry, grind the seams with an abrasive mesh or sandpaper. The goal here is to ensure that no defects are visible. Quality can be controlled by illuminating the sanding area with a spotlight. With its help, the smallest irregularities, depressions and bulges are revealed. If everything was done correctly, you will get a completely smooth surface. It is desirable to protect it from overdrying, hypothermia and waterlogging in the first three days after the end of work.
We close up the seams of the hl with our own hands (video)
The video at the end of this article will help you better understand the topic.
average rating 0 / 5. Number of ratings: 0
No ratings yet. Be the first to rate.
