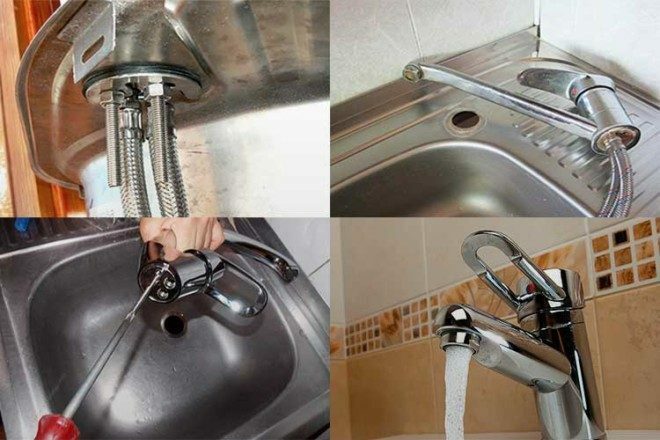
The faucet is considered one of the main sanitary appliances in the kitchen, but over time it breaks down and needs urgent replacement. From our article, we will learn how to install a faucet in the kitchen.
Dismantling the old mixer and preparatory work
Before dismantling the device, it is necessary to close the valves on the central water supply. Taps are usually installed at the entrance to the apartment or under the sink. After closing the valves, drain the water, install a bowl under the hoses and unscrew the nuts. Now you need to unscrew the old device. If access to it is difficult, remove the sink, while you need to pull the corrugation from the sewer and twist it into a ring near the siphon.
Now that the sink has been removed, the plumber has easy access to the studs and the corkscrew nut. If it is impossible to unscrew it with an ordinary wrench, they proceed to radical measures - they cut it off with a grinder. This is especially true when connecting the mixer to old metal pipes. Next, we make an audit of the joints of the supply hoses to the water supply. If necessary, a factory extension cord is packed in this place, which will be the key to normal fastening to the hose.
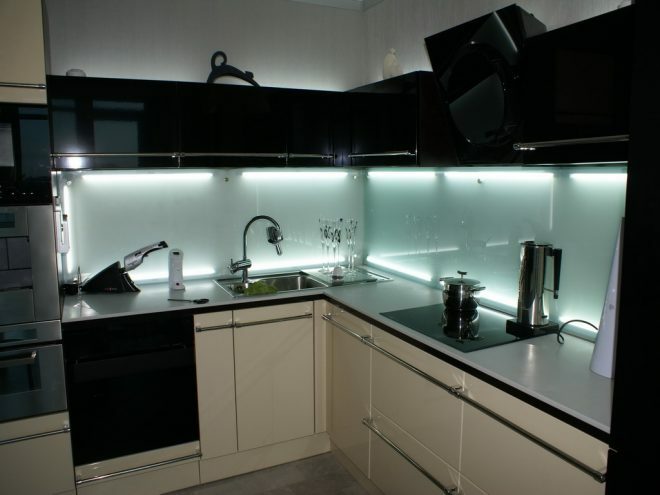
Attention! Earned on our website kitchen designer. You can familiarize yourself with it and design your dream kitchen for free! May also come in handy wardrobes designer.
If desired, additional taps are installed on the supply pipelines to shut off the water bypassing the central riser. When installing the plastic liner, the adapters are packed.
If the appliance is installed on an old sink, the user must clean the adjacent area from rust and accumulated dirt. Before installing the faucet in the kitchen on the countertop, you need to take an electric drill with a crown and drill a hole in it.
Installing a new mixer
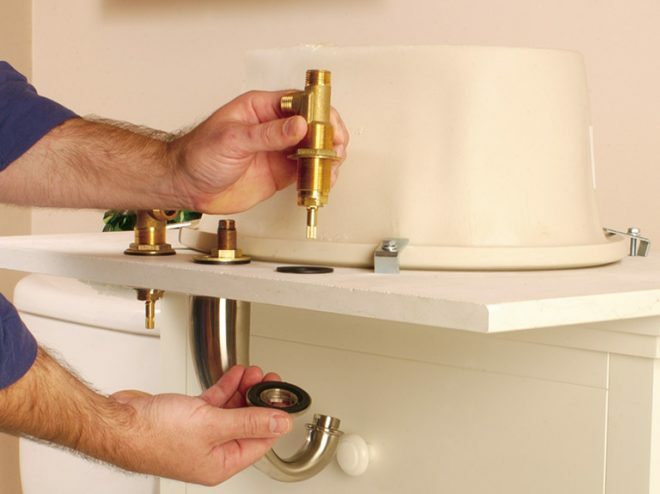
All types of faucets differ in design and can be mounted on a sink or countertop. Mixer installation in Moscow most models are held on a “metal stud” mount. The set of such a device contains brass nuts, as well as crescent-shaped gaskets. The sanitary appliance is sealed using a rubber insert of the same shape. There are models with one stud, but it is better to choose products with two clips. This design provides a more reliable fixation of the device.
Assembly
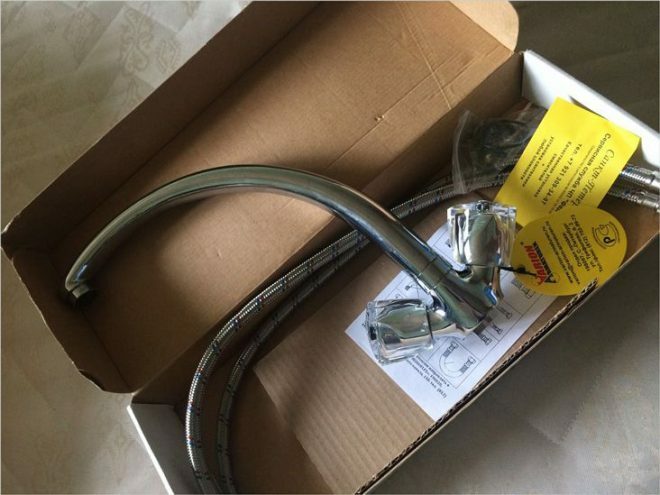
Do-it-yourself installation of a mixer in the kitchen begins with its assembly. This device provides simultaneous supply of hot and cold water, has appropriate mechanisms. The crane package includes:
- valve;
- spindle;
- instrument head with stem and handwheel.
At the initial stage of work, eccentrics are mounted, which are supplied by the manufacturer along with a sealant. If there is no such material, then it is necessary to wind the tow in a thin layer, which insures the device against possible water leakage. In the presence of thick walls in the mixer body, the thread is also wound with linen to fix the adapters.
Next, check the end of the crane on a flat and hard surface. In the absence of a gap, they begin to connect the mixer in the kitchen, tighten it on the thread by 5-6 turns.
Installation on a sink
Soak the fiber pads in cool water for 10 minutes. Such operations are not carried out with silicone or rubber sealing elements. Next, we attach the crane to the eccentrics using union nuts.
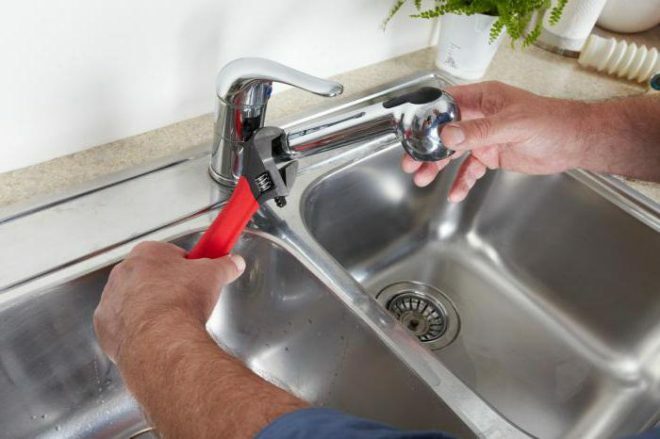
At the next stage of work, we install the gaskets in the right place and begin to clamp the crane, first by hand, then using an adjustable wrench. During such work, there should be no distortions, therefore, the nuts are tightened several turns alternately. When the installation of the kitchen faucet is completed, check its correct position and fastening strength, the faucet should not wobble.
With fastening on a nut
This option for installing a mixer in the kitchen begins with fixing the tap itself to the sink. The set of the device includes a rubber seal in the form of a ring, which is inserted into the groove on the mixer body. After that, we twist the product into the thread on the sink and install a rubber gasket from below. Next, we wind the brass nut with the skirt down and press the sealing element. Tighten the nut with a wrench until the mixer is in an immovable position on the sink.
At the next stage of work, we proceed to fixing the hoses. We screw them into the thread using the key # 10. There is no need to wind tow on the thread, just install a rubber sealing ring. Tighten the hoses carefully so as not to destroy the material. After that, the supply pipes are connected to pipes with hot and cold water.
With stud fastening
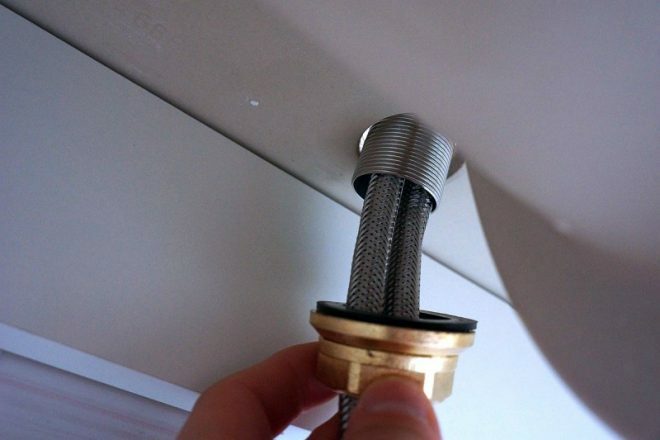
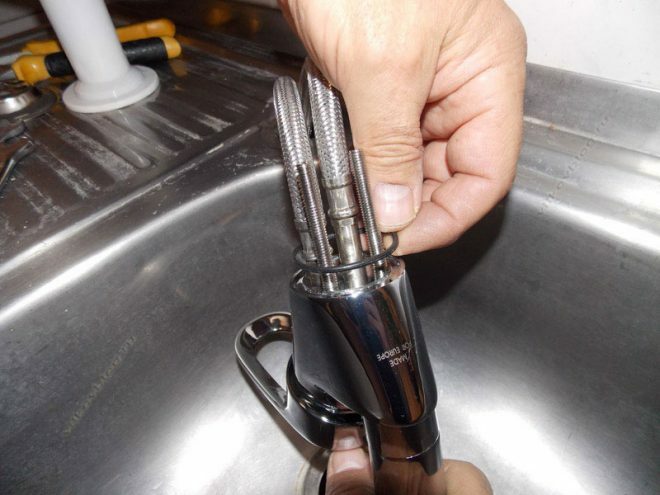
In this case, flexible hoses are installed on the mixer even before it is installed on the sink. In the absence of such operations, the plumber will not be able to tighten them properly.
The installation of a faucet in the kitchen takes place in the following order:
- Remove the nuts from the studs and tighten the threaded parts at the end of the tap. The screw-in depth of the thread is within 8-10 millimeters.
- We try on a curly gasket and a steel plate on a hairpin.
- We pass flexible hoses through the holes with the fittings up.
- We control the presence and position of the rubber sealing ring on the tap.
- We screw in the hose fittings, first short and then long.
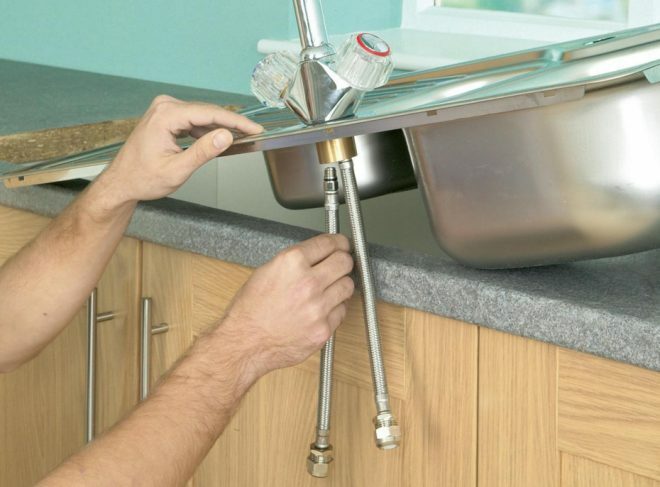
- We install the mixer in the sink or countertop, install a metal and a sealing gasket at the bottom, bait and tighten the nuts.
- We tighten the nuts on the studs well. The mixer must not wobble.
- We control the tightness of the connection.
After installing the mixer, we fix the sink on the countertop in its original position.
Tabletop mount installation
To secure the sanitary appliance to the worktop, prepare the following tool:
- set of drills;
- electric jigsaw;
- electric drill.
Now we will learn how to install a kitchen faucet in the countertop. First you need to determine the place of its attachment. After the sanitary appliance is securely fastened, the liquid should not fall on the tabletop, in addition, the user should be able to conveniently use the lever.
Next, we take a pencil and markup on the countertop at the place of fixing the sanitary appliance. Now we make four holes with a drill, then turn on the jigsaw to cut the hole. We clean the cut site of sawdust and dust, rub the edges. At the final stage of work, we put an O-ring and a washer, we screw the mixer to the table top.
Connection to communications
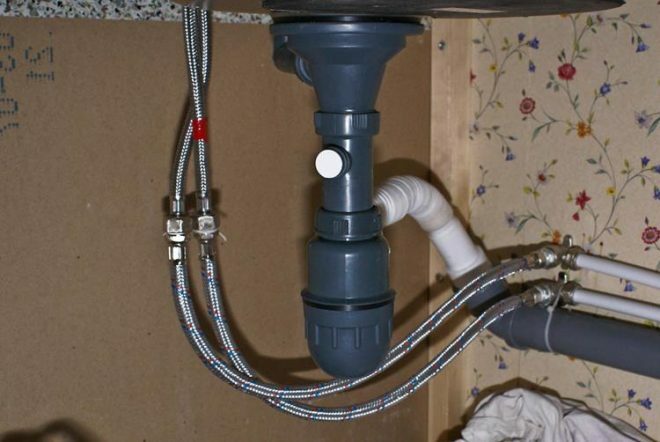
We have learned how to put a faucet in the kitchen, now we will consider how to connect it to utilities. First, we twist the eccentrics that connect the mixer to the pipes. To prevent condensation from forming between the hot and cold water hoses, a distance of 15 centimeters must be left.
Tow is wound on the thread, smeared with a sealant. For the same purpose, you can use fum tape. After that, we screw the mixer nuts onto the eccentrics and fix a special overlay. This element needs to be fixed by hand and should fit well against the wall. If there is a gap of less than 5 millimeters, the valve is disconnected, and the eccentrics are shortened to the desired length.
Next, install paronite, rubber or silicone gaskets in the housing nut, which will ensure a snug fit of the mixer to the eccentrics. At the final stage of work, the nuts of the supply pipes for hot and cold water are tightened by hand, if a leak is detected during the check, they are additionally tightened with a wrench.
Functional check
After the mixer is installed in the kitchen, it is necessary to check its functionality. To do this, open the valves for supplying hot and cold water and inspect the attachment points of the flexible hoses. In case of leaks, tighten the nuts. When carrying out testing work, it is necessary to turn on and off the tap, turn the lever and check the effectiveness of mixing the water.

What to look for and possible errors
When installing the tap in the kitchen, try not to twist the supply flexible hoses. Always make sure that there are gaskets in the correct places on the plumbing fixture and on the threaded connections. Overtightening the nut at the junction of the hose and the supply pipeline is considered a gross mistake. In these places, rubber gaskets are installed, they are twisted by hand, and only when a leak appears, the nuts can be gently pressed with a wrench.
average rating 0 / 5. Number of ratings: 0
No ratings yet. Be the first to rate.
