Ceramic tiles in the kitchen serve for a long time. It is resistant to mechanical, thermal and chemical factors. However, there are few people who want to observe the same interior for years. Sooner or later, there is a desire to update the walls, furniture, apron, floor. In this case, a useful experience will come in handy, how to paint the tiles in the kitchen with your own hands. Then, without capital investment of money, you can achieve an excellent result. And the transformed kitchen will again delight and inspire.

How to paint tiles: the best brushes and paints
First, you should dispel doubts about whether it is possible to paint the tiles in the kitchen. There are enough colorants on the market that adhere well and adhere firmly to the surface. The main thing is to choose high quality paint. Enamels and auto enamels are ideal for applying patterns. They are durable, adhere firmly to smooth surfaces. But at the same time they are quite expensive, so they are not suitable for large areas.
Attention! Earned on our website kitchen designer. You can familiarize yourself with it and design your dream kitchen for free! May also come in handy wardrobes designer.
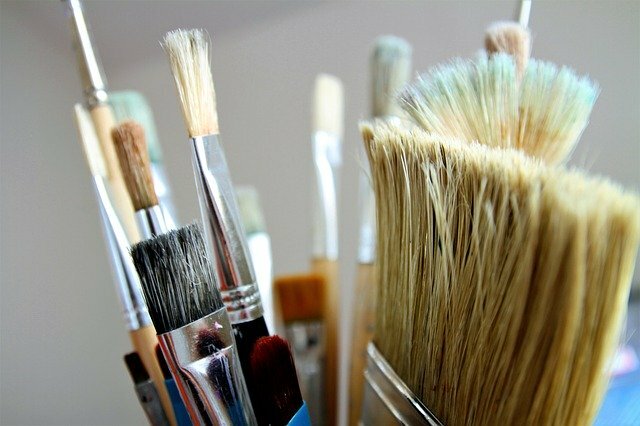
As for the brushes, the larger the surface to paint, the wider the brush is needed. Fine details and seams will require narrow brushes. You can use a roller. Then it will be faster to go through the entire wall or floor.
What color are tiles usually painted in?
Can the backsplash or floor tiles be painted in a different color from the base? It is possible, but it will take more layers of paint so that the old tiles do not shine through.
If the painting is done by a professional, you can safely choose any tone up to and including focusing on this bright element. If a person is engaged in such work for the first time and has little experience, then it is better to choose a neutral color, not flashy and in harmony with the surrounding furniture. Then random flaws in the work will not be so noticeable.
It happens that the purpose of painting is the desire to preserve the original shade, but to make it a little brighter and more expressive, because over time the paints fade and fade.
Preparatory stage
First, it is worth assessing the condition of the tiles in the kitchen. If it is broken in many places, then painting the tiles is not the best way out; more major repairs will be required. If the condition is good, you can start painting.

It is better to try the paint at first not in a conspicuous place in order to evaluate how it lays down, whether it is suitable in terms of thickness. With a liquid consistency, the paint will drain, with a very thick - unevenly.
It is also advisable to calculate the required amount of paint so that it is enough for 1 time (1 layer). The next layer will be applied in 12 - 24 hours, some types of paints may become unusable during this time.
What kind of tiles can be painted?
Experts do not recommend painting tiles that are in contact with water all the time. There are practically no such areas in the kitchen. It happens that steam gets on some part of the tile. Or it could be a wall area near the sink. If you paint such places, you need to be prepared for the fact that the paint here will deteriorate over time.
The floor where people often walk is also strongly erased. In this case, it is better to protect the coating with several layers of varnish or decorate the floor with an ornament around the perimeter.
We select tools
In order to paint the tiles, the following tools are useful:
- The roller is short-naped or made of foam, if the surface area is large.
- A roller with a long pile, if desired, create a relief.
- Brush for working out joints, hard-to-reach places or decoration of an ornament, drawing.
- Paint tray.
- Masking tape will come in handy so that the borders are even and clear, neighboring elements do not get dirty.
- Large objects (furniture, stove, sink) are covered from paint with a foil.
- Personal protective equipment (gloves, goggles, respirator), apron or work clothes.
- Stationery knife for removing unnecessary strokes. It also does not interfere with stocking up with an alcohol-based solvent.
- If you plan to apply an ornament, appropriate stencils.
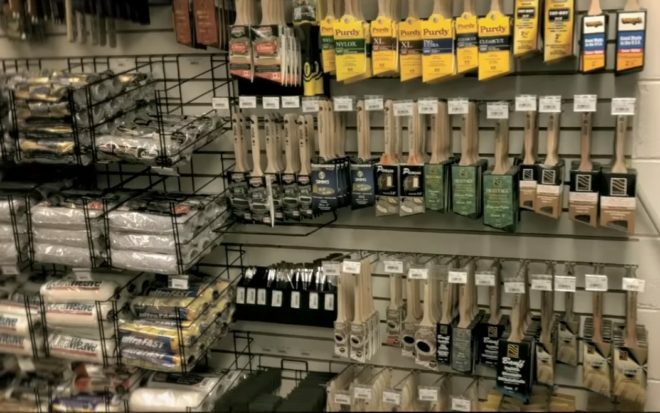
Image taken from https://www.youtube.com/watch? v = 80Ff6pFUTr4
Choosing paint
It is better to choose paints that are resistant to moisture. Water-dispersion-based products do not meet these requirements. Oily can crack and peel over time. They must be covered with a protective layer of varnish. Here are some suitable options:
- Epoxy paint adheres firmly to tiles, does not lose the brightness of colors and shine. Dries well. Withstands mechanical and dry cleaning, high humidity.
- Silicone and acrylics lie flat on the surface and are easy to paint with.
- To make the surface glossy or matte, choose alkyd enamel or oil paints. The latter dry for a long time, have a pungent odor.
- Satin paints create a semi-matte effect. Subsequently, dirt is less visible on such a surface.
- Silicate paints are resistant to water and dirt.
- Latex have a large selection of colors, dry quickly, odorless, abrasion and UV resistant.
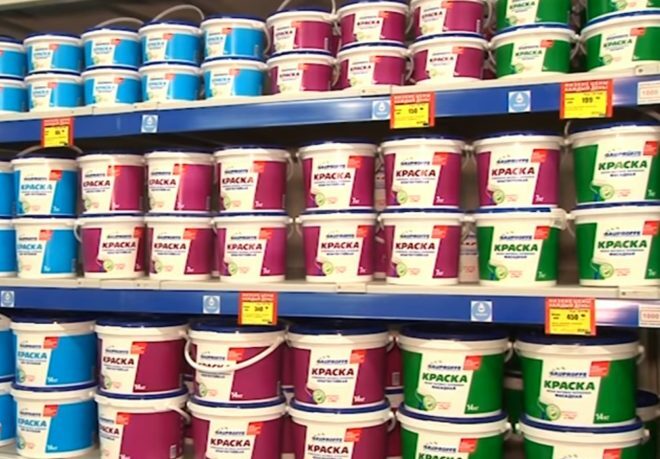
Image taken from https://www.youtube.com/watch? v = -YDH1CLHVuo
It is best to check with your home improvement store before purchasing. There is a separate category of products that are designed for problematic surfaces (glass, ceramics, plastic).
Dyeing process
Before painting the tiles in the kitchen, you should protect other surfaces from possible paint ingress. The furniture and the floor are covered with polyethylene. Masking tape is glued to the edge. You need to paint in bright light so that all the details are clearly visible. If the paint has a strong odor, protect the respiratory system with a mask.
Defining boundaries
You can paint the entire surface of a wall, floor or backsplash. Another option is to emphasize in a specific place, for example, above the kitchen table or stove. There is a lot of walking on the floor, so the paint will wear off in the center rather than around the perimeter of the room.
Cooking the surface
Many people ask the question, is it possible to paint ceramic tiles in the kitchen? After all, it is smooth. The quality of surface preparation largely determines how evenly the paint is distributed and how long it will last.
Before you paint the tiles on the tiles with your own hands, you should thoroughly clean it with soap solution and a sponge, in places of strong pollution - a hard brush and cleaning abrasive powders. Particular attention should be paid to the seams between tiles, joints with other surfaces, furniture.
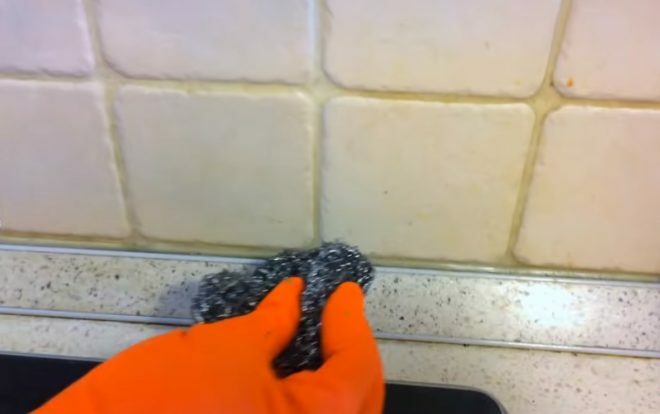
Image taken from https://www.youtube.com/watch? v = fiaohMygsmo
If the grout is badly worn out, affected by mold, it is removed before painting. The resulting defects in the seams are closed with a cement joint. After finishing the work with the joints, it is necessary to remove the remnants of the materials from the surface of the tiles.
Wipe the clean surface dry with a lint-free cloth. In order to degrease and remove possible residues of detergent, the tiles are wiped with a cloth soaked in vinegar or alcohol solution. You can also use ammonia diluted with water in a 1: 1 ratio.
Application of paint base
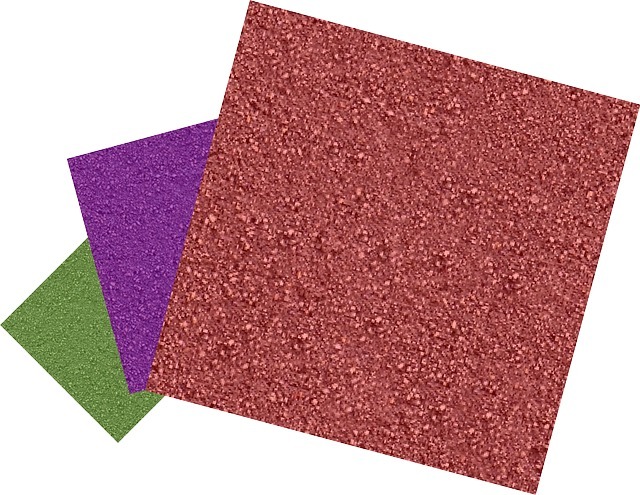
For better adhesion of the paint to the base, the tiles are treated with fine-dust sandpaper. For large surfaces to paint, some people use a sander to speed up the process. Or, priming is performed instead.
It is better to choose a primer for ceramics, glass, plastic. Most often, an epoxy-based product is chosen. The layer of primer should not be applied too thin, try to distribute it evenly over the surface. Pay special attention to problem areas (cracks, defects), all seams, smooth the surface well. Complete drying takes place within 24 hours.
Artwork
Stir the paint thoroughly. You can paint the entire selected surface in one color or create an ornament. Artistic elements are placed in the center of each tile, in the corners or along the perimeter of the apron, floor, wall. An ornament in the form of a continuous strip can separate zones of different functional purpose. Large bright patterns are placed in the center of the surface to attract attention.
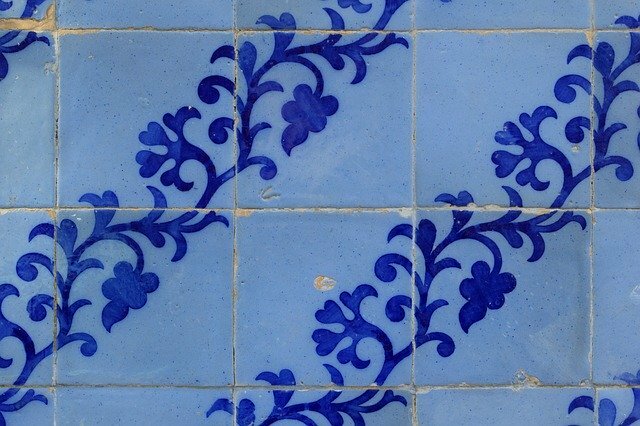
You can use ready-made templates. In this case, you need to circle the drawing along the contour, and then fill the individual elements with paints of the desired colors. It is better to apply the paint from the center to the periphery. To prevent traces of paint from getting onto the clean tile from the stencil, it must be washed each time before applying it to the surface.
Choosing a color for the seams
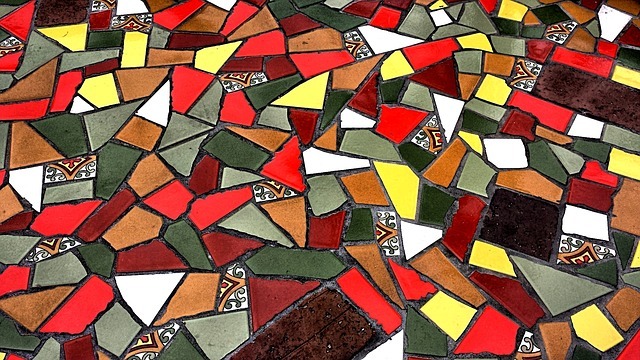
You can choose the same color for the joints as for the tiles themselves. Or use the opposite shade. The most painstaking work lies ahead if the decision is made to make the seams contrasting with respect to the main surface. A certain skill is required to make the result look neat. Use masking tape to close the seams while painting the tiles. After drying (about a day), the tape is removed. This time, the edges of the tiles adjacent to the seams are closed, the seams are covered with another paint.
Protect the new coating
The paint will last longer if covered with a protective layer. To do this, use a varnish based on water or oil. Cover the surface after the paint layers have completely dried. The varnish repels water, protects against paint cracking.
We create paintings from ceramics
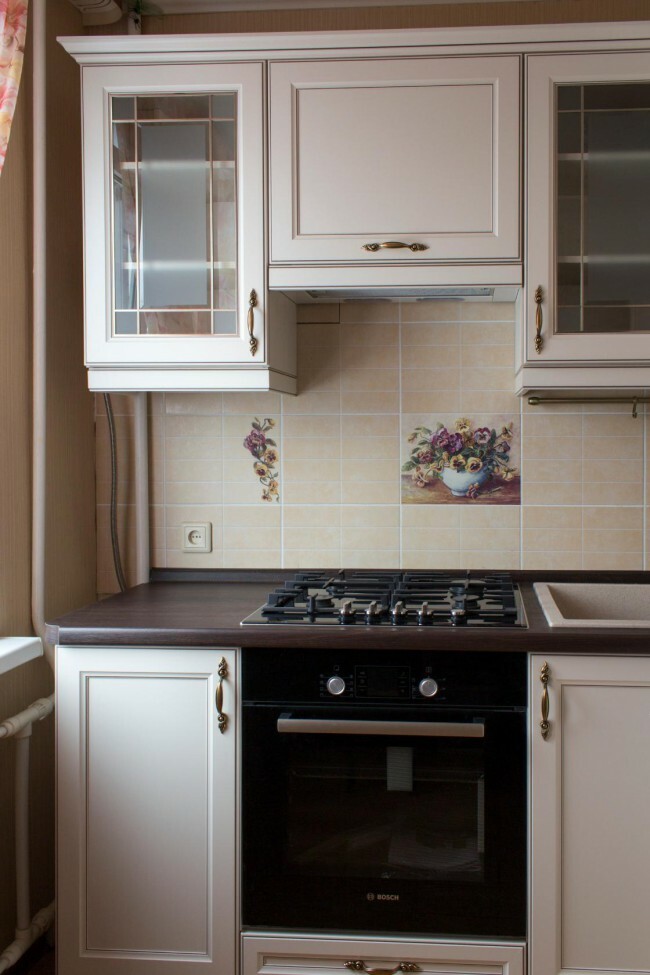
For people who are creative and know how to paint, painting tiles is a great opportunity to show their abilities and create a unique atmosphere in the kitchen. Fruits, vegetables, plant elements, fairy-tale characters - whatever.
If there is no artist's talent, but plain tiles seem boring and ordinary, you can apply an ornament. To do this, use ready-made stencils or cut it yourself. It is important to fix them evenly and firmly on the tile. And also - the paint was not very liquid in order to avoid flowing beyond the contours. If you suddenly got out of the border somewhere, you should immediately remove the extra strokes with a knife.

Use it wisely
Painted tiles require more gentle maintenance. It does not need to be cleaned with metal brushes and scrapers. The tiles should not be painted in the most wet parts, for example, near the sink. It is better to highlight this area around the perimeter.
How many coats do you need to apply?
The paint is most often applied in 2 layers, but at the same time they wait for the first layer to dry (12-24 hours), and then proceed to the second stage. In this case, it is desirable to paint in perpendicular directions (the first - horizontally, the second - with vertical strokes, or vice versa). Then a more uniform coloration is observed, without gaps.
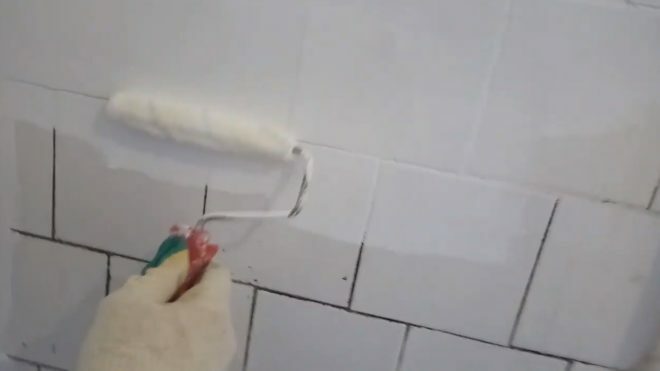
Image taken from https://www.youtube.com/watch? v = gGSyAfxFyxM
You can leave one layer of paint if an ornament or drawing will be applied on top. A thin layer of paint can show through the previous color of the tile. If the new color is drastically different from the base color, you may need to paint the surface a third time.
Image protection on ceramics
Oil-based polyurethane can be used to protect the paint. Apply it after the previous layers have dried (it takes 2 - 3 days). The polyurethane itself dries up to 3 days. But it serves longer and more reliably, protects against scratches, ultraviolet rays, temperature, steam.
You can choose a water-based polyurethane varnish. Apply it in 1 layer using a roller or brush, but in several layers (they are thinner). It is imperative to varnish surfaces painted with oil paints and tiles on the floor. This will extend their service life and retain their spectacular appearance.
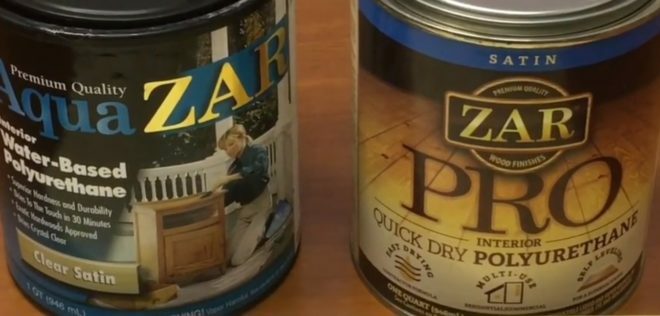
Image taken from https://www.youtube.com/watch? v = 3QaDgmrt3Fo
These are the basic rules that must be adhered to in order for the new interior to please the inhabitants for a long time. Details and nuances - at the request of the owners. Fantasy, taste and a little hard work are all that are needed to achieve the goal.
average rating 0 / 5. Number of ratings: 0
No ratings yet. Be the first to rate.
