Organization of space is one of the most important conditions for comfort and coziness for any room. Today, buyers can pick up the necessary furniture in salons or online stores, but still sometimes you want to let your imagination run wild and make something of your own, unique, right? For example, a do-it-yourself wooden floor clothes hanger is made quite simply and quickly, but it looks like an original product made by a professional.
And how to make it and what materials will be needed for this, we will tell in our article. We also give photos of the best models of wooden hangers that you can make yourself.
The content of the article:
- Original hanger rack ideas
-
Stages of creating a floor hanger
- Step #1 - Tools and Materials
- Step #2 - Laying Out the Parts
- Step # 3 - assembly of the structure
- Advantages of a homemade hanger
- Conclusions and useful video on the topic
Original hanger rack ideas
To create a floor hanger (rack), you only need a basic set of tools and available materials, selected by size. If we talk about design, then there is where to roam: there are a huge number of examples suitable for various types of interior. From modern to cozy classics, a floor hanger will save you from clutter while serving as a great decoration.
Warmth and light add light woody tones to the room, making it much cozier, especially when combined with the greenery of houseplants. If you need to achieve a similar effect - do not worry about painting the hanger or using wood stain, just sand the wood and varnish it.

With this design, it is very easy to organize not only outerwear, but also shoes and necessary accessories: hats, scarves, bags and backpacks.
Adherents of minimalism equip their home accordingly: they select calm colors and shapes of furniture, paying special attention to its functionality.
In this case, a stable hanger made from a trunk / branch of a real tree or stylized to look like it is perfect. It is convenient to choose the number of branch hooks according to the size of your wardrobe so that there is enough space for all jackets and coats.
Such a clothes rack can be made from a round wooden bar and a stand, or you can use a dry branch of a real tree, having previously cleared it of bark and varnished it.
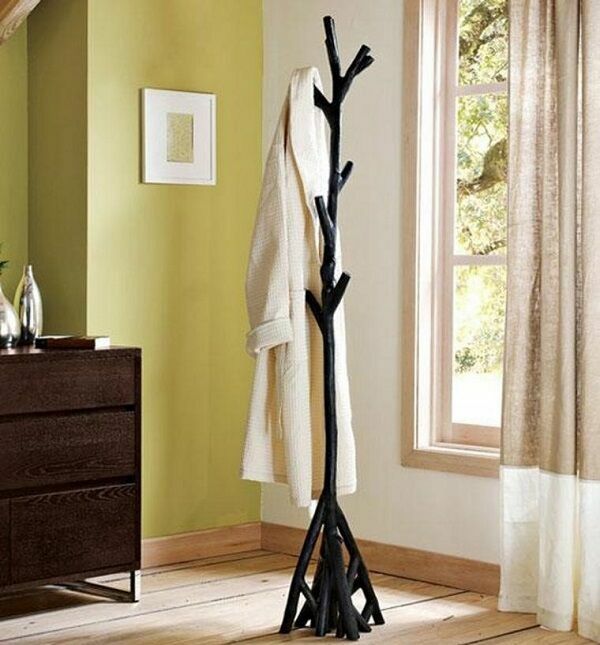
Hanger-rack, stylized as a tree, does not require a lot of free space, organically fits into the design of the hallway and can withstand a large number of outerwear. Additional rods and crossbars increase usable space, allowing you to store more things in a small area of \u200b\u200bthe room
Such floor hangers are quite light, so if necessary it will not be difficult to move them from place to place. Replacing self-tapping screws on wooden dowels (thorns), you will receive a mobile structure that can be disassembled and stored when folded.
Even lighter in weight pvc pipe hanger - even a beginner can handle its assembly. The main thing is that it harmoniously fits into the interior of the room.
Many people are fond of woodcarving, why not hone your skills in practice? An ordinary chisel is suitable for decorating a floor hanger, and some additional details (for example, wooden ball-points) can be purchased separately.
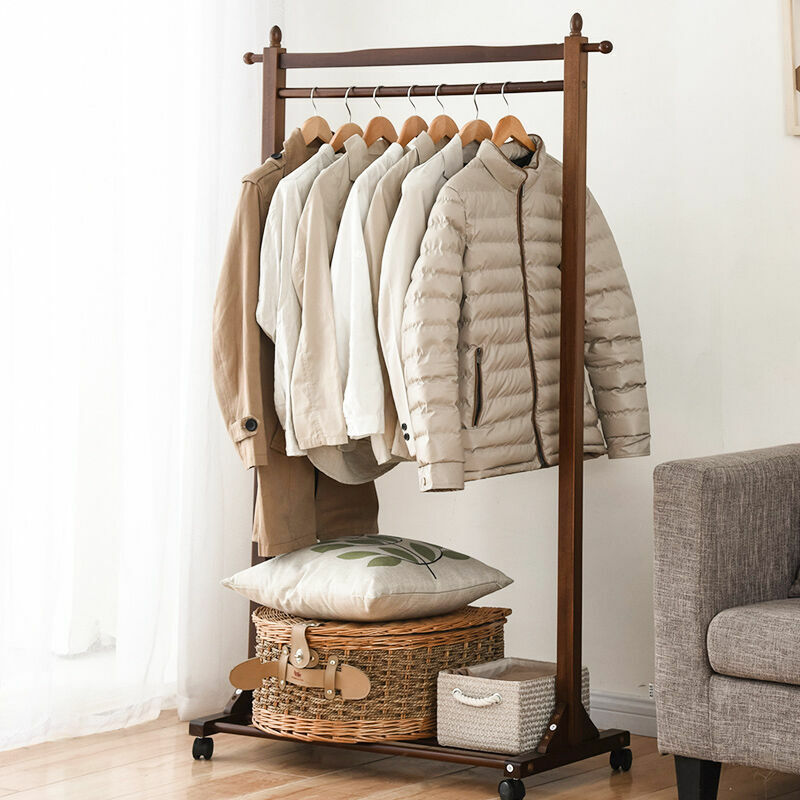
If the hanger needs to be moved around often, the attachments with wheels are an excellent upgrade option, and it will also save the floor from unpleasant scratches.
Is there enough free space in the hallway? Don't just stop at a clothes hanger. Sanded wooden slats with self-tapping screws and fastening spikes (dowels) are assembled into convenient organizerswhere you can store whatever you want.
Such products are durable and practical, provide ease of cleaning and, with their angular shapes, add texture to the surrounding space.
The original models of a simple and functional floor hanger in the next photo selection.
Image Gallery
Photo from
To make the Scandinavian hanger more mobile, it is enough to replace the screws with twine or rope tied into strong knots.
Small floor hangers are perfect for organizing the bathroom - neatly hung towels will keep their freshness longer
Hangers combined with wooden shelves are an excellent option - they will store shoes and other important items that should always be at hand.
A straight tree trunk with symmetrically arranged branches will perfectly fit into a modern interior if covered with light shades of colors.
Scandinavian hanger
Floor towel racks
Hanger with shelves
tree trunk rack
When there is no time to go to the hardware store and choose materials, pieces of furniture that have lost their marketable appearance will come to the rescue - it is worth breathing new life into them, which environmentally friendly and profitable.
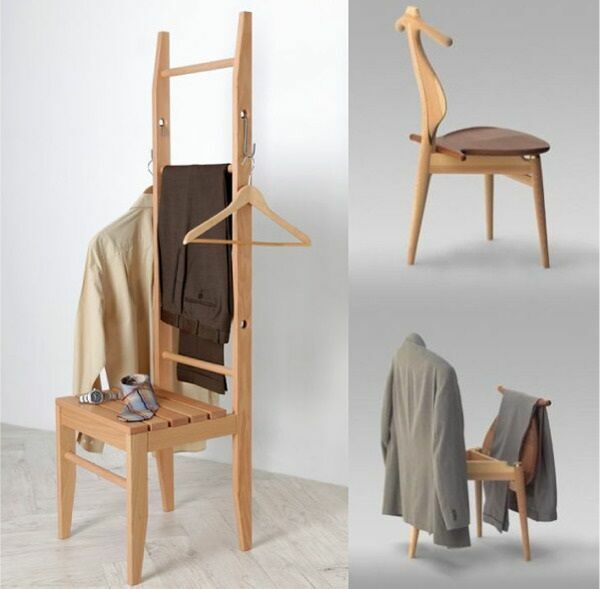
The original hanger can be obtained by slightly transforming the old chair, replacing the rear legs with longer slats and placing horizontal bars between them.
Is there a broken chair in the closet that people always forget to throw away? Is the wooden ladder inconvenient for use still standing in the garage, attached to the wall? Cut off the extra parts and cover with a layer of fresh paint - the vintage hanger is ready!
Stages of creating a floor hanger
There are a huge number of different variations of sketches that you can improve and change if you wish. Let's dwell on one of them and take a closer look at the stages of assembling a floor hanger at home.
Step #1 - Tools and Materials
To get started, let's get acquainted with the list of materials and necessary tools for creating a clothes hanger in a discreet Scandinavian style:
- Four wooden slats 2000 mm long.
- Wooden or metal rod.
- Two rails 1500 mm long.
- screwdriver, wooden dowels (plug-in spikes of round section) and a feather drill with a diameter of 10 mm
- Sandpaper and glue.
Instead of sandpaper, you can use a grinder with grinding wheel.
All actions are recommended to be performed with gloves to protect the skin of the hands from mechanical damage.
Step #2 - Laying Out the Parts
On each two-meter rail, it is necessary to measure 200 mm from the top edge. In this place there will be a hole for the rod. Bottom edge of rail filed at an angle so that the hanger stands firmly on the floor.
We put the slats on top of each other in pairs so that the marks match.
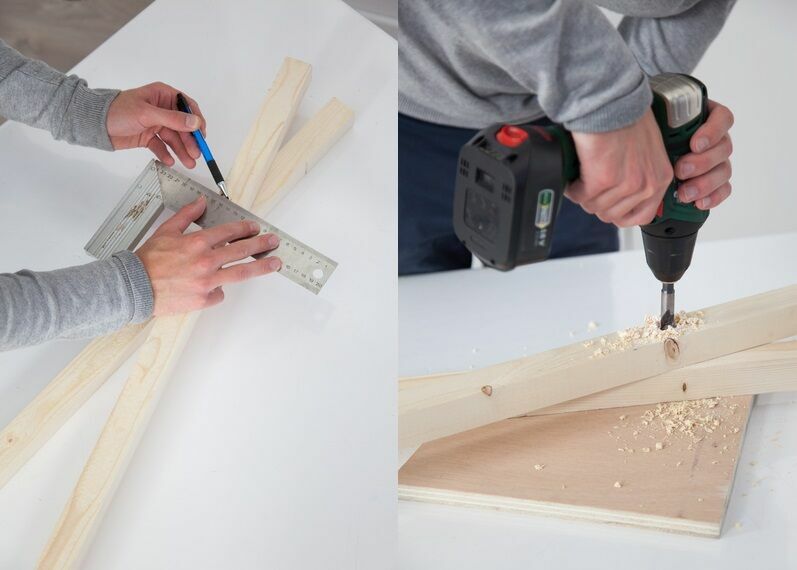
We insert a feather drill into the screwdriver and make a hole at the desired point, while trying to keep the tool strictly perpendicular
For structural strength, each pair of rails should be interconnected dowels (thorns) or self-tapping screws.
Then, at a distance of 500 mm from the lower edge of each long rail, as well as on cuts of rails 1500 mm long, we drill holes corresponding to the diameter of the existing mounting spikes.
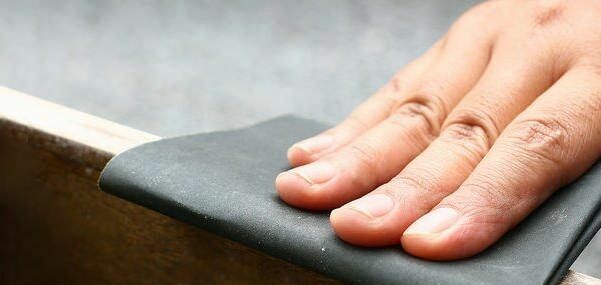
We carefully process each rail with sandpaper to avoid splinters and hooks. If desired, you can cover the wood with stain or clear varnish to show the texture of the material more vividly.
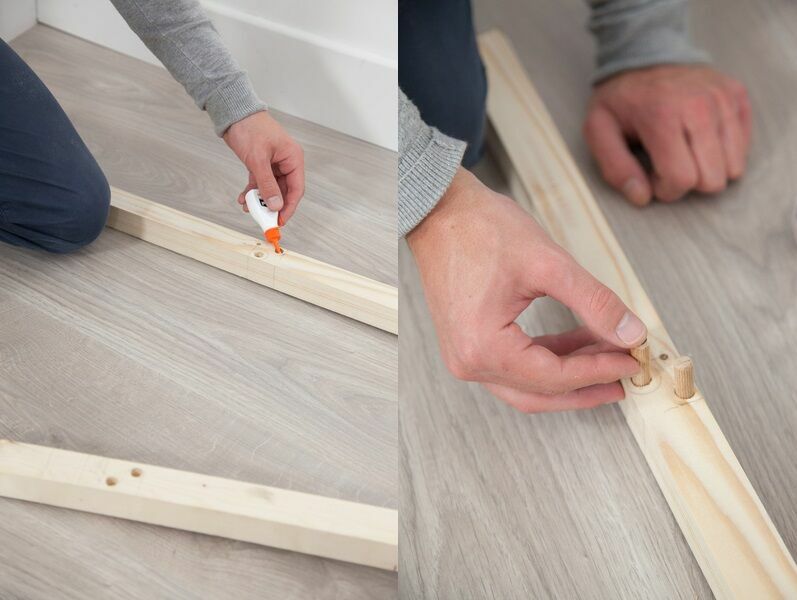
Pour a small amount of glue into all small holes intended for mounting spikes so that all parts are better bonded together
Step # 3 - assembly of the structure
Let's start assembling. First, insert the rod into the prepared holes.
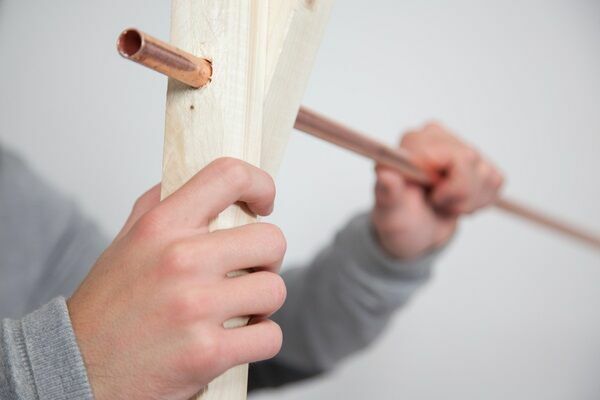
It’s not scary if the bar turns out to be somewhat longer and the edges protrude - they can be covered with knobs or left as is as a design idea
We connect the slats with cross bars, thanks to which the hanger will not stagger in different directions. And so that the legs do not scratch the floor, you should glue pieces of foam rubber or felt on them.
Eco-friendly floor hanger is ready for use!
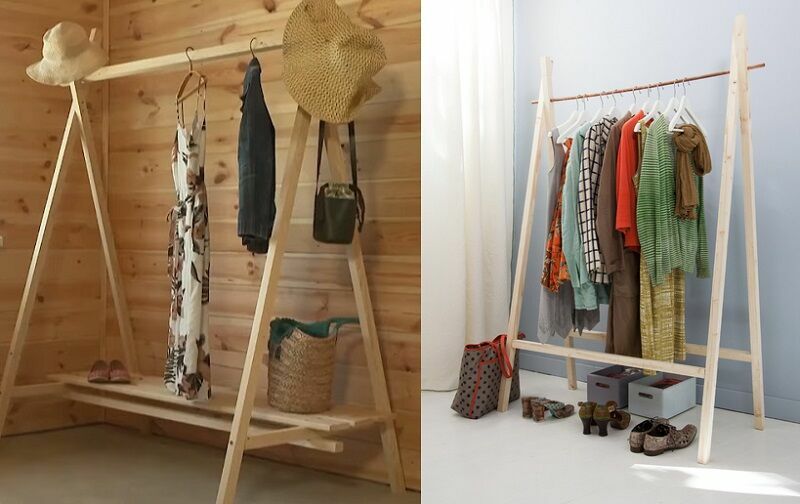
The bar can be metal or wooden - which option is more suitable for your interior. Having created the backbone of the product, you can decorate it to your taste with carvings, twine or other decorative elements.
Advantages of a homemade hanger
Not everyone will immediately want to pick up a jigsaw and go to carpentry. Long, dreary, sawdust everywhere... And yet, there are much more advantages to making a floor hanger with your own hands than it seems at first glance.
First, it is significant cheaperthan shopping in a store. Yes, when you are your own designer and builder, everything is much cheaper.
Each buyer overpays at least for the brand, production and advertising costs. You can do without all this by purchasing building materials at cost and spending a little of your time instead of money.
Secondly, uhecologically. Products made of wood create a favorable mild microclimate in the house. They are not toxic biodegradable and are highly recyclable.
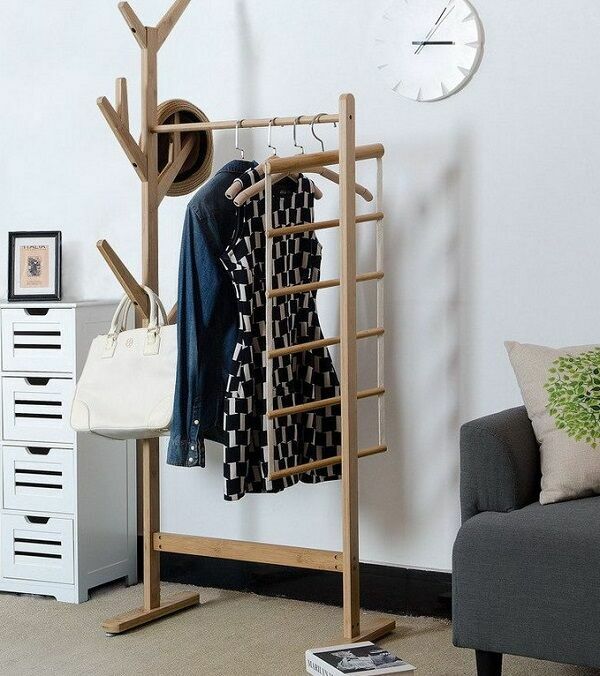
A wooden hanger will last for many years, thereby saving the owner from the need to constantly spend his strength and natural resources on the next replacement.
Thirdly, durable. Yesterday it was a wooden chair, today it is a functional hanger, and tomorrow it will become a frame for a cat scratching posts. Due to the durability of the material, the product will live more than one, or even three lives before it goes for recycling.
When designing something as simple as a floor hanger, you can choose components with the expectation that they will definitely come in handy in the future.
Do you like to create original pieces of furniture with your own hands? Then we recommend that you read the instructions for making furniture from pallets.
Read on site - how to make DIY flower shelves.
Conclusions and useful video on the topic
Making a simple Scandinavian-style hanger-shelf:
Floor hanger made of wood: instructions for cutting, processing parts on the machine and assembling the finished structure:
Even a person who does not have special equipment and woodworking skills can make this floor hanger. Master class on assembling a simple hanger:
By creating household items with your own hands, you gain invaluable experience and emotions by transforming an apartment or country house in a unique place with its own history, and it is likely that in the process you will discover a new talent! Start with a floor hanger - an indispensable attribute of any living space. Whether it's a simple rack or an intricate walk-in closet-sized structure, it's up to you.
A clothes hanger made of wood will fit perfectly into the surrounding space, eliminating the need to purchase bulky wardrobes or fold all the clothes in a lump on an old armchair..
Would you like to talk about making your own wooden hanger? Share your experience with our readers - the feedback block is located below this post. Here you can also add original photos of your hanger, ask questions to our experts and other site visitors, and take part in the discussion.


