During the work associated with cutting steel, many craftsmen begin to realize how much easier it would be to do this with a special cutting machine.
Agree, using an ordinary grinder, you will never achieve a perfectly even cut line. But there is one problem - a factory-made product costs a lot of money. That is why the best solution would be to make a cutting machine for metal with your own hands, based on the step-by-step instructions presented in this article.
The content of the article:
- Cutting machine device
-
Do-it-yourself installation
- Disc cutting machine
- Installation from a conventional grinder
- Conclusions and useful video on the topic
Cutting machine device
All components of the structure are made of steel alloys, which ensures more uniform operation of the machine. The platform has a rigid metal base, which gives the structure the necessary stability. So, the installation will not turn over when the abrasive wheel comes into contact with the material being cut.
Depending on the design features, the machine can be stationary or collapsible (removable). In addition, some types of designs are equipped with a vise for more reliable fastening of a metal product during cutting.
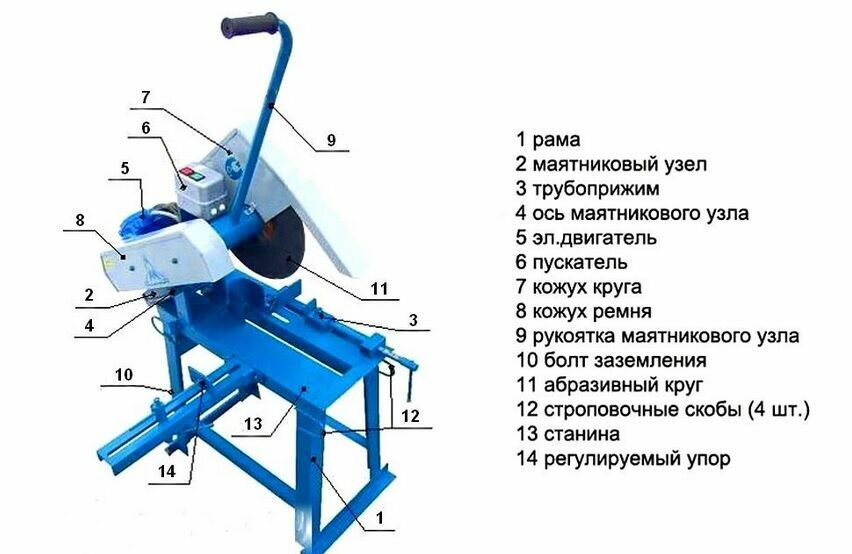
When building low-power installations, the disc can be mounted directly on the motor shaft, however, in other cases, such use of the cutting element can be dangerous.
As the basis for the cutting machine, the most ordinary grinder. But be careful, such an installation will operate on the principle of a circular saw.
Do-it-yourself installation
Today, even with minimal locksmith experience, everyone can independently make a circular saw for metal. Since the cutting machine involves the rotation of the cutting element at high speeds, it can be dangerous for the operator.
That is why, in order to build a truly safe installation, it is necessary to take into account all the design features of the disk device, as well as make calculations before starting assembly.
In addition, the manufacture of homemade products has its own procedure:
- preparation of casings for the drive belt and cutting disc;
- installation of the motor and connecting belt;
- production of a shaft for fixing the drive pulley;
- installation of the disk and the manufacture of a shaft for fixing the pendulum;
- construction of a frame for installing a cutting machine;
- installation of the pendulum on the frame and installation of electrical wiring.
Next, a trial run of the installation is carried out, during which you can independently configure the tool.
The success of the launch directly depends on the correctness of the calculations, as well as the observance of the sequence during the work.
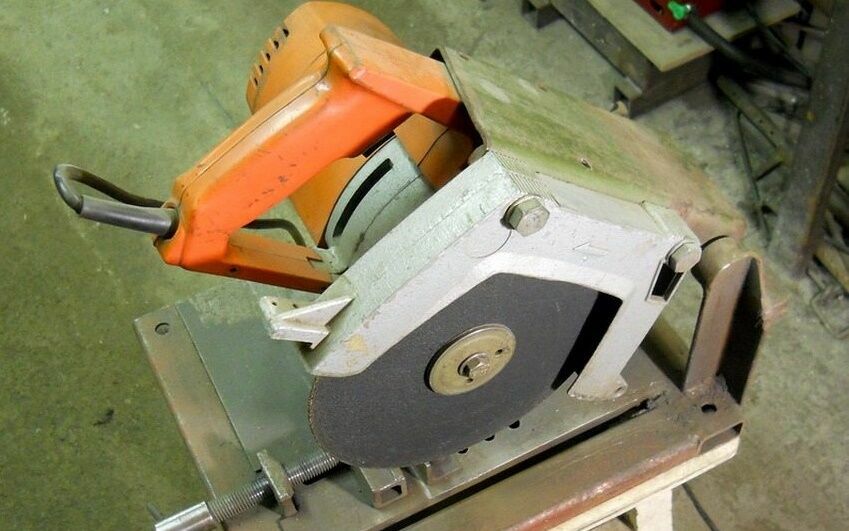
The installed disc is made of hard alloy steel, while, depending on the type of construction, it can be coated with abrasive material
Often in the process of cutting metal, a problem arises - the nut is gradually loosened, which is fixed by the cutting disc. To avoid this situation, the drive pulleys should be located on the left side, and the disk itself on the shaft should be installed on the right.
Disc cutting machine
The quality of the future product also depends on the materials used, as well as tools and special devices.
Therefore, before starting work on the construction of a home-made cutting machine based on a disk, it is necessary to prepare the following:
- channel, drill;
- welding machine;
- electric motor;
- bearings, starting chain;
- shaft, coil;
- wooden shield;
- steel sheet;
- box for electrical circuit;
- switch.
Once everything you need is purchased and prepared, you can proceed directly to the assembly of the cutting machine. So, first you need to build a frame for the base of the installation.
All parts of the structure are measured, after which they are cut with a grinder and proceed to welding. The finished frame is fixed on the vibration supports of the legs, which will greatly facilitate the operation of the machine.
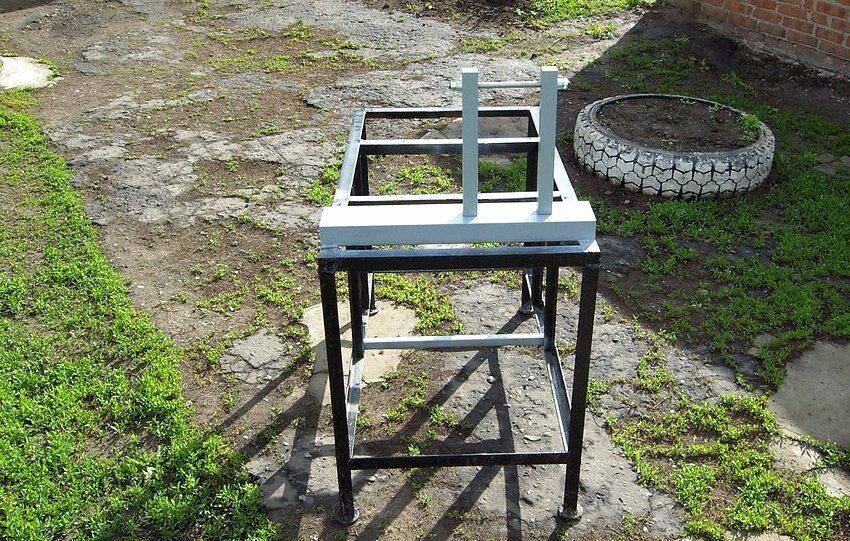
It is better to make legs for a desktop from the same profile as the frame, or you can pick up metal tubes of small diameter
The resulting table is equipped with a channel, which in this case plays the role of a guide axis. In other words, it will become the basis for the design for connecting the cutting part of the machine to the engine. Further, all the main parts are attached directly to the channel.
At the next stage, you will need to weld another frame - the base for mounting the motor and cutting disc. In this case, the power of the electric motor should be about 1.5-2 kW. The best option is an asynchronous motor, which is distinguished by reliability and durability.
It is important to note that a larger electric motor provides not only a decent speed of work, but also a more even cut when cutting metal. Such a detail must be taken into account before starting the design of the cutting installation.
As for connecting the shaft to the structure, it does not matter which method you choose. With proper connection of the motor to the shaft, the machine simply must work correctly. However, this is only possible with a V-belt.
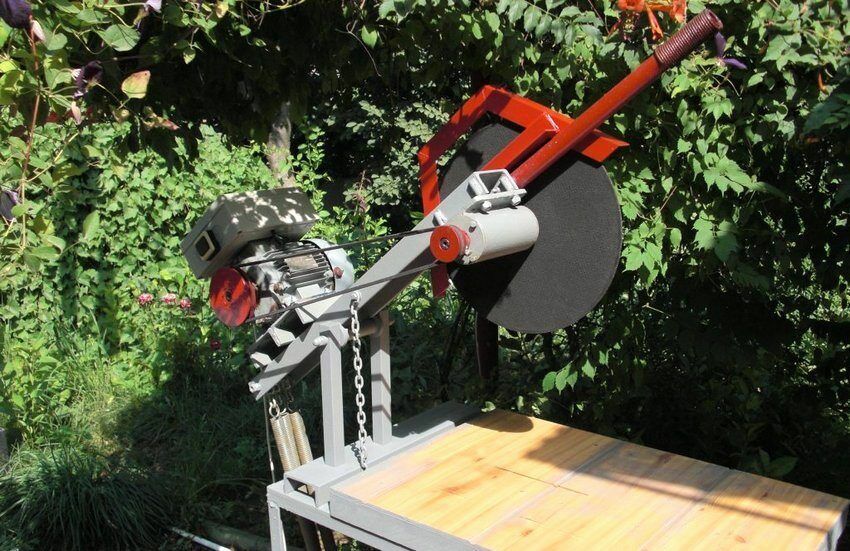
The larger the diameter of the disc being installed, the easier it is to cut thick metal, while the cut line is more even.
All support bearings are fixed on the upper part of the frame (on the channel). For fastening the motor and shaft, ordinary bolts with nuts are used. The operation of the electrical circuit is provided by a box with a switch, which is attached to the bottom of the frame.
Vertical racks are connected to the shaft using a dressed sleeve. In order for it not to slip, the shaft and sleeve are connected with a small gap. Next, a rocker from the channel is attached to the sleeve.
A rigid spring is installed near the engine, which must be securely fixed with bolts. The electric motor is placed on the side of the smaller segment of the rocker, and the shaft is on the opposite side. The movement of the shaft is provided by a belt drive.
Among other things, it is important to take care of mounting the emergency stop button. In this case, the motor should be connected via a box and a three-pole circuit breaker, and the stop button leads to a direct connection via the network. This will ensure maximum safety during the operation of a home-made structure.
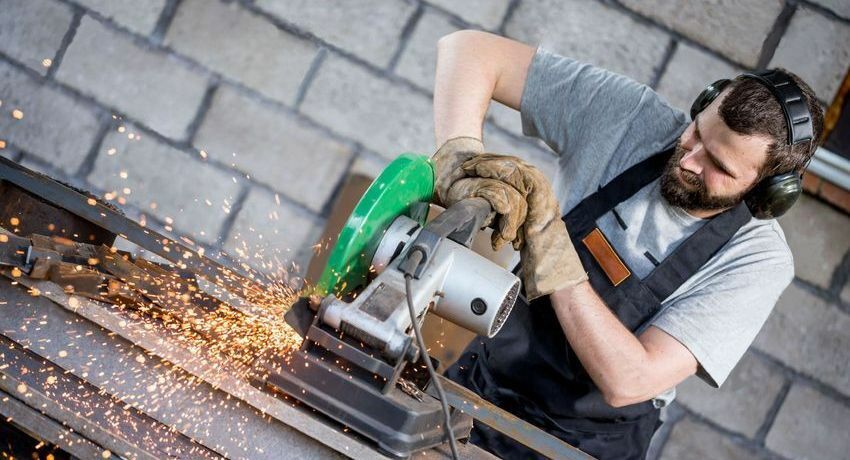
To eliminate sparks flying during cutting work, a special casing installed directly on the disk will help
To begin with, the operation of a home-made installation is checked at idle, and only after making sure of the reliability of the design, you can try to cut soft metals. So, it is worth starting with aluminum in order to correct all inaccuracies in the operation of the device.
The work surface is usually made of metal, but if desired, you can also use wood or material covered with dense plywood. For additional fixation, you can fix the metal product in a vice.
Installation from a conventional grinder
First of all, you should make a frame from a pipe, which also serves as a comfortable handle. On the one side welded cross bar, equipped with holes for the grinder. A movable shaft is placed on the same basis and fixed on the desktop. On the other hand, a spring is placed, thanks to which the angle grinder will be able to return to its original position.
Also, do not forget about the reverse impact of the angle grinder, which occurs when the disc is jammed. This situation can lead to serious injury, so it is important to prevent it. In this case, a closed casing is placed to minimize the consequences.
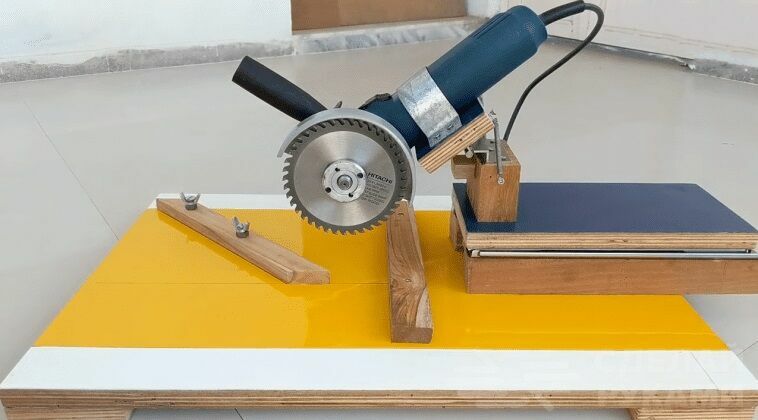
For greater convenience, you can design a collapsible installation, which will allow you to cut metal in different modes, depending on the need.
Design verification is also carried out without the participation of the material being processed. Only in this way, the master will be able to detect and eliminate all inaccuracies in the operation of the device.
Conclusions and useful video on the topic
In the presented video you can find step-by-step instructions for making a cutting machine:
From this video you will learn how to make a simple installation from a grinder and a door hinge:
Based on the above instructions, you can make a cutting machine, without outside help. All that is required of you is to decide on the type of construction, select materials and prepare a basic set of tools.
The article presents a step-by-step process for the construction of an installation for cutting metal products, which will allow you to quickly understand the nuances of design and proceed directly to manufacturing homemade.
If you have previously had to make a similar machine for cutting metal, then please share your experience in the comments below the article. Perhaps your story will help other readers avoid mistakes in the process of building a cut-off structure.


