Seams are the joints of drywall sheets, they need mandatory putty for subsequent painting. The procedure is performed in several stages - first they prepare the surface, inspect the presence of irregularities, traces of self-tapping screws. Next, you need to understand how to putty the seams on drywall, and what to do next. Instructions for this can be found in our material.
The content of the article
- Choice of putty, preparation of tools
- Preparatory work
- Putty corners
Choice of putty, preparation of tools
Studying the process of how to putty drywall joints, first of all you need to choose the right mixture and stock up on tools and the right materials. You can use any composition - from the most affordable to the most expensive. But not every mixture is suitable for every room.
The choice depends on the degree of humidity and the presence / absence of temperature changes, cooling:
- if this is an ordinary room (for example, a nursery, a bedroom), any mixture can be used;
- if the room has high humidity, gypsum compositions are excluded - in this case, it is necessary to consider how to plaster drywall seams with a cement or polymer composition;
- if outdoor work is carried out, again, gypsum putties are excluded - it is better to use polymeric ones, because they create an elastic layer that is resistant to any influences.
Why and how to putty drywall corners is quite understandable. Such work is carried out in order to hide joints and cracks at the points of contact between drywall sheets. It is here that they are destroyed the fastest due to contact with moisture, aggressive chemicals and air. Defects can be determined visually - irregularities are noticeable at the joints, spots often appear and the color changes.
To eliminate such defects, puttying the corners of drywall is done. To do this, you will need the following materials and tools:
- actual putty;
- sickle;
- primer;
- roller (instead of it it is allowed to use a wide brush);
- mounting knife, well sharpened;
- sandpaper with a grater;
- spatulas with clean blades (set);
- drill and nozzle-mixer;
- screwdriver;
- capacity.
Preparatory work
Before proceeding with how to putty drywall corners, you should carefully clean the rough surface. The work is carried out in several stages:
- Completely clean the sheets from dust.
- Remove burrs and burrs with a sharp knife.
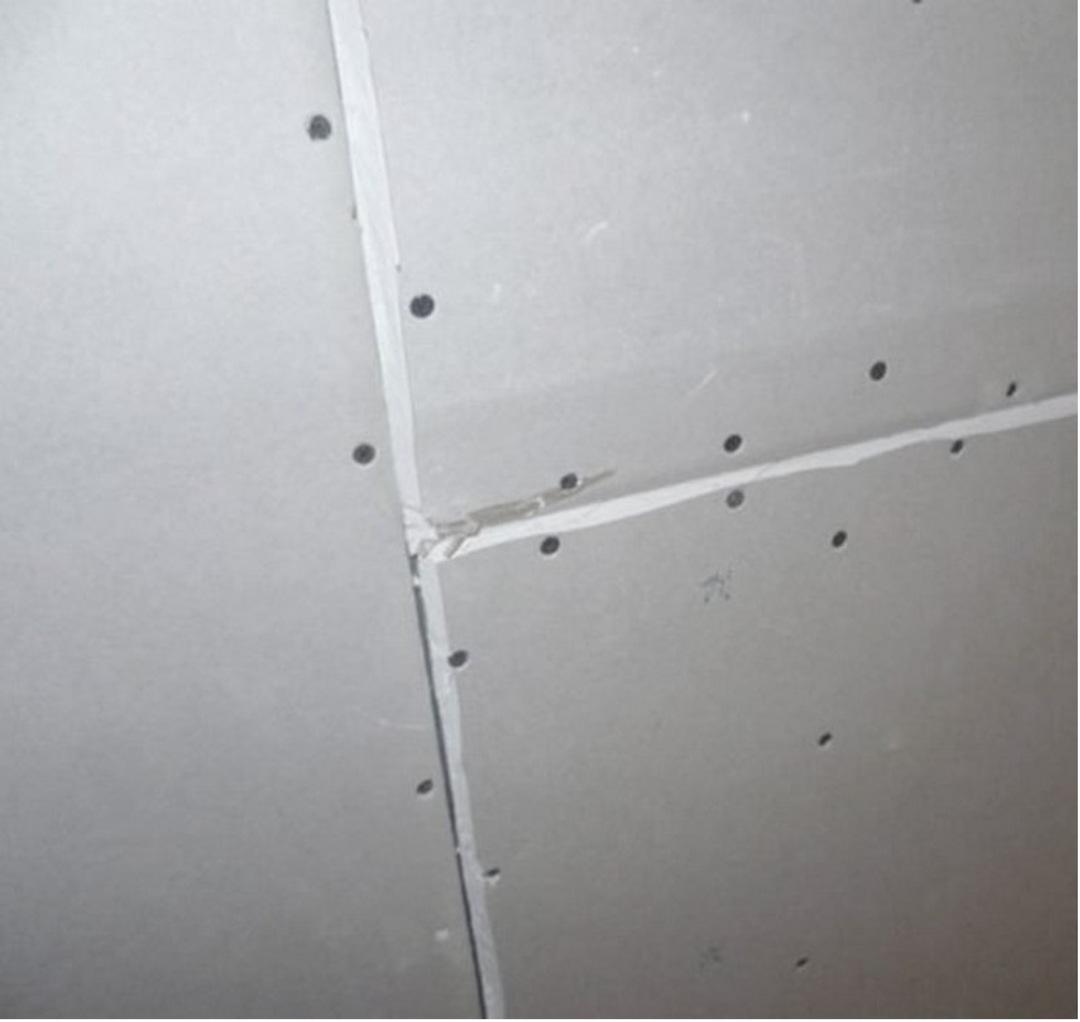
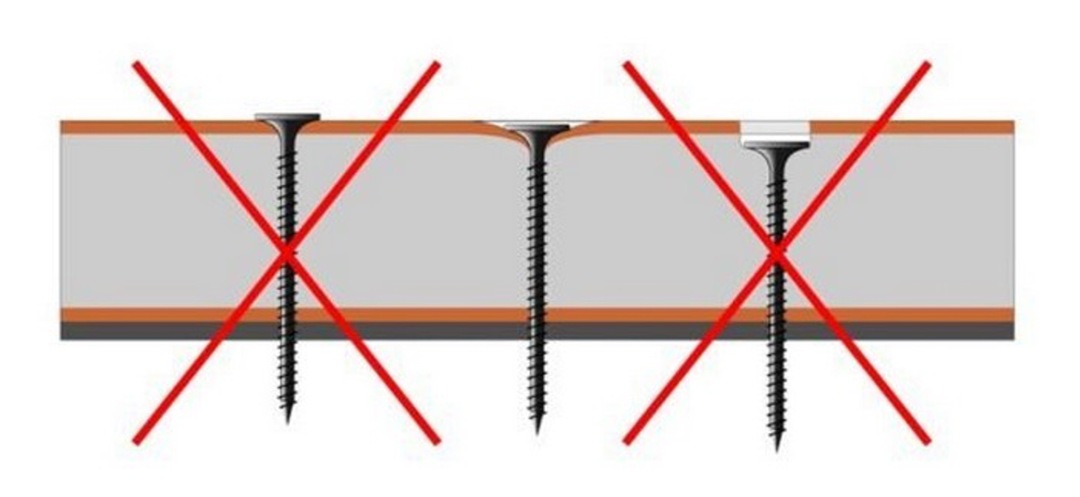
- Carefully (if necessary with a flashlight) determine the position of the caps of the screws. They should be flush with the surface or slightly (but not too) recessed into the thickness of the sheet, as shown in the figure. This is one of the basic rules of the instruction on how to properly putty drywall corners.
- If the heads of some fasteners protrude, they need to be tightened. If they are recessed, on the contrary, completely remove them. Then screw it in side by side, and putty the resulting hole in the next step.
- When studying how to putty an inner corner of drywall, you need to embroider the joints of the straight ends of the sheets (if any). Although if the factory edges touch, as shown in the diagram, cutting is not needed in this case.

- If the corners are straight, they are embroidered diagonally 45 degrees. It is convenient to use a mounting knife so that the recesses make up about two-thirds of the drywall sheet. If you have the equipment, you can do the work with a drill with a cone cutter. And there will be a lot of dust, so it is important to use a respirator and goggles.

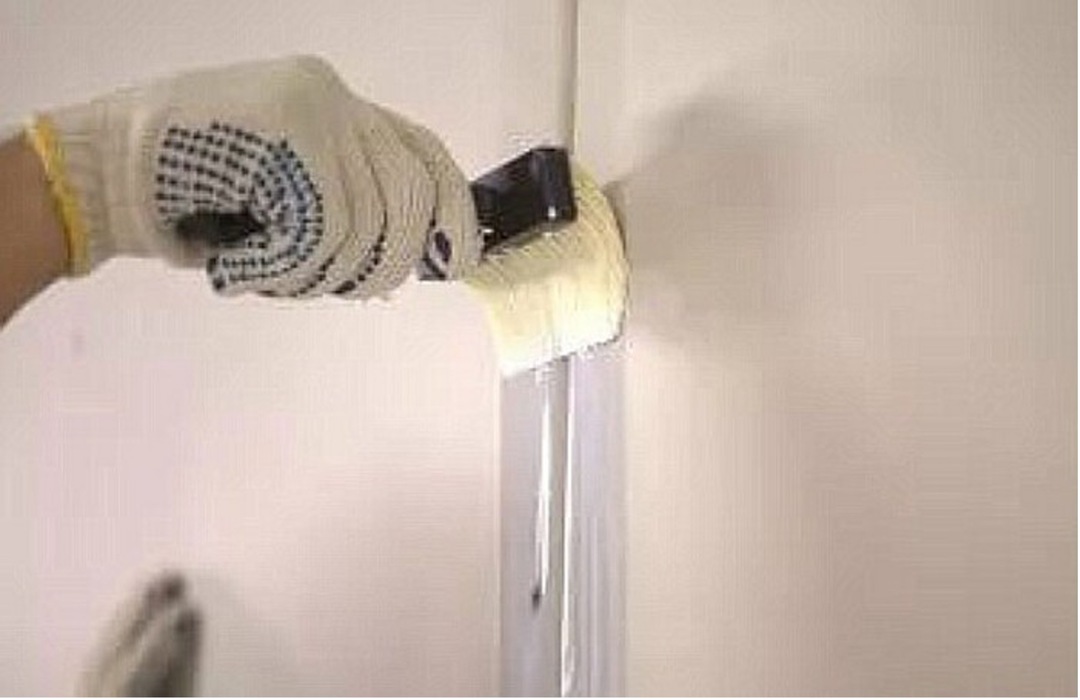
- Before you begin to follow the instructions on how to putty the corners of drywall walls, it is also important to treat the surfaces with a primer composition. It must be applied to the entire surface area extending 15 cm in each direction from the joint.
Putty corners
Now you can start the main work - i.e. figure out when to apply the second layer of putty, and when - the first. First, knead the composition, acting as follows:
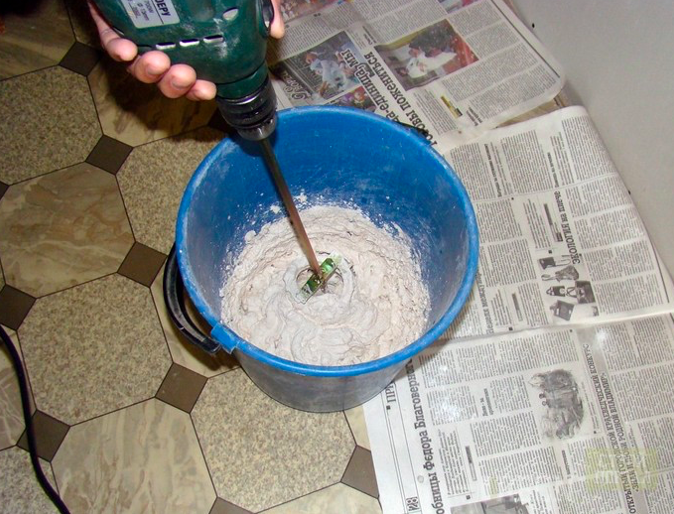
- Pour three-quarters of the required volume of water into a bucket.
- Pour putty, stir a little.
- Then the remaining volume of water is added with a thin stream.
- Stir with a mixer mounted on a drill for several minutes until the mixture is combined, and outwardly it should resemble thick sour cream.
- Next, the solution needs to swell, for this 5 minutes is enough, after which it is mixed again.
- Then you can immediately start finishing, without allowing the composition to harden. It is better to cook it in small quantities in order to carry out finishing work only with a fresh mixture.
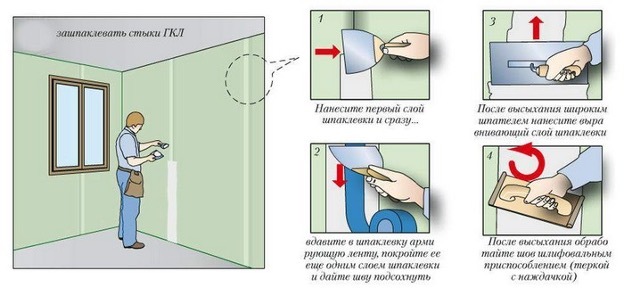
The main way how to plaster drywall joints is presented by the following instruction:
- The composition is applied to a spatula with a wide blade and the recesses are covered, moving across the joint, i.e. perpendicular. Moreover, the mixture must be literally pressed into the groove, applying a certain force until it is completely filled.
- Another layer of the mixture is applied over the junction, and its width should approximately correspond to the width of the sickle, but at the same time slightly exceed it. This is one of the important requirements for how to properly putty GWP.
- The mesh for reinforcement is sunk into the mixture - it should completely hide.
- After that, remove the excess parts of the composition and smooth the surface with a spatula.
- When the layer seizes, a second one is applied - it should completely cover the previous one.
Similarly, you can process the joints of the walls with the ceiling. But for these works it is better to use a special angle-type spatula. The layer here will also be thick enough, so you need a sickle, it should be wide enough - at least 10 cm. Instead, you can use perforated plastic corners.

The last step is sanding the drywall seams to eliminate all irregularities. You will need a grater with fine grit sandpaper. You need to work with medium pressure so as not to tear off the raw layer. You should carefully inspect the surface in good light, if necessary, use a flashlight. The tubercles and the remains of the solution with adhering particles are especially carefully removed.
Now it’s clear how to putty the seams on the ceiling, and how to pre-prepare the surface. The work is easy to do, it does not require special skills or equipment. It is useful to stock up on a set of spatulas, if necessary, carefully clean their blades. The composition is applied in two layers, after waiting for the first to dry. Then sanded, after which you can proceed to painting or other type of finishing.