A stove for a long-burning greenhouse is usually made from a metal barrel. A hole is cut in it for the chimney and the combustion chamber, the legs and the pipe are welded, and a partition is also installed. The device works by smoldering sawdust, which is supported by firewood burning from below. How to make such a stove yourself is described step by step below.
The content of the article
- Where to put the oven
- Furnace device
- Step-by-step instruction
- How to use the stove
Where to put the oven
First of all, you need to determine the location of the furnace. Since the soil should warm up as evenly as possible, it is better to place the structure in the very center of the greenhouse. This is a place equidistant from each corner, i.e. at the intersection of the diagonals.
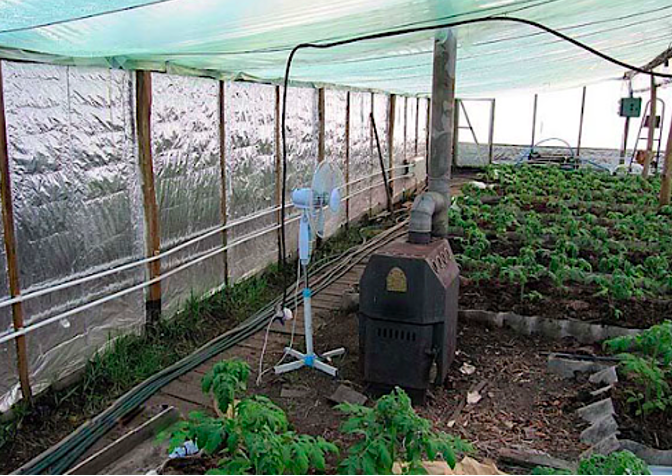
It also happens that part of the floor is tiled, and the walls are bricked (along the perimeter). This finish provides greater security, so a do-it-yourself stove for a long-burning greenhouse can also be placed on a tile. Even if it stands close to the wall, it will not affect the heating efficiency.
But at the same time, it is important to extend the chimney so that it is as far as possible from the furnace and goes up along its entire length. This is necessary so that carbon monoxide and other combustion products are completely removed to the street. It is also important to consider that the length of the chimney should not exceed 5-6 m - otherwise the discharge will not be as effective.
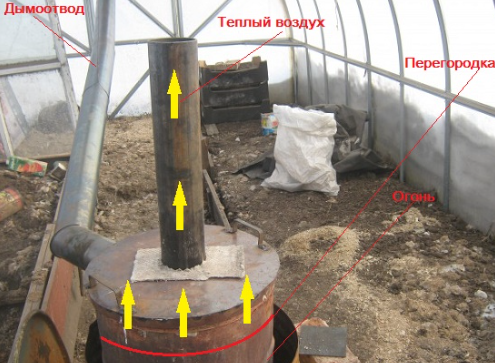
Furnace device
The heating of the greenhouse with wood is carried out in a furnace, the basis of which is the combustion chamber. It can be either square or rounded. The main requirement is that the compartment must be airtight (except for the chimney hole) and covered with a tight lid on top. In the upper part, a hole must be made for a pipe that removes gases.
In the lower part, a door with a blower is installed, which provides the necessary traction. As a rule, sawdust is used for long-term burning, not wood. Therefore, it is necessary to provide a special cone for tamping, as shown in the diagram.
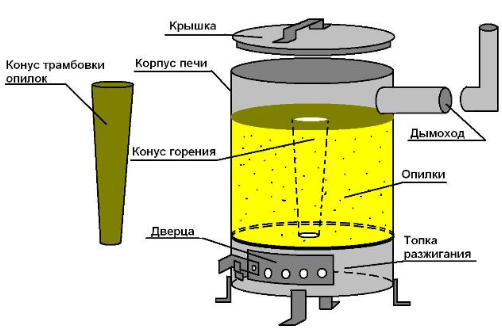
The principle of operation of the furnace is as follows:
- Cold air enters through the blower door, but goes rather slowly due to the large mass of sawdust.
- As a result, the material will not burn, but smolder, providing exactly a long supply of heat.
- Carbon dioxide, carbon monoxide, soot are discharged into the chimney located in the upper part.
- Due to the design features and a large amount of sawdust, combustion is ensured for several hours (from 8-10 to 24).
Step-by-step instruction
The stove is easiest to make from a metal barrel with a volume of 200-250 liters. For work, you will also need a metal pipe with a diameter of 15 cm (future chimney) and metal corners. You need a welding machine with electrodes and a grinder with an appropriate disc.
The assembly instructions consist of the following steps:
- Carefully cut off the top of the barrel and grind the edges. Throwing away the circle is not worth it - it will come in handy as a sawdust press.
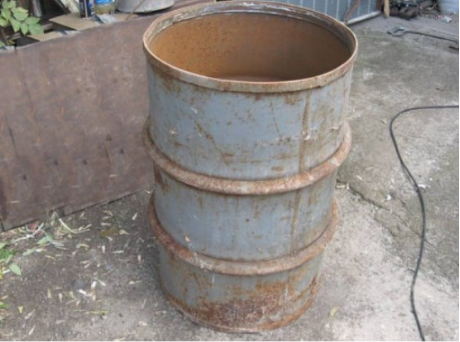
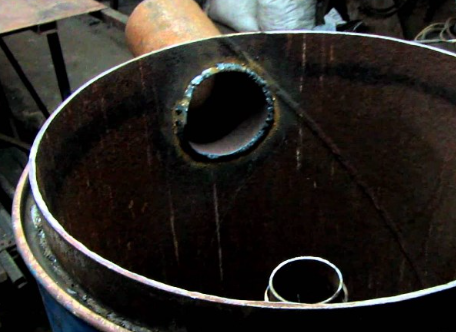
- Cut out a hole for the chimney, having previously made the necessary measurements.
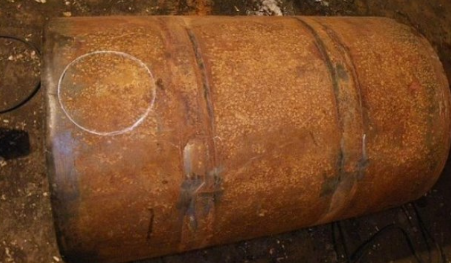
- In the lower part, they outline and make a hole for the blower.
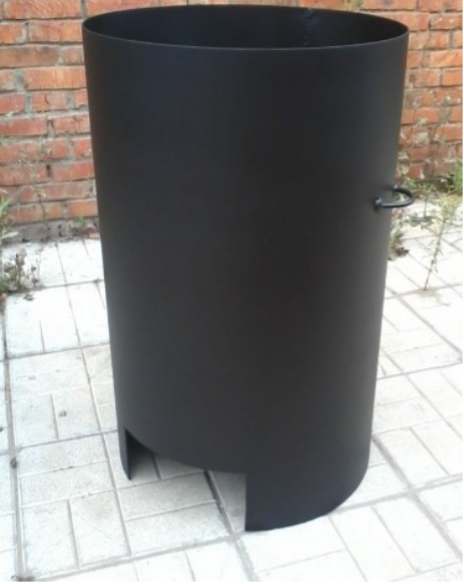
- Draw up a drawing and make a drawer into which ash will fall. Instead, you can simply put a door that will ensure tightness.
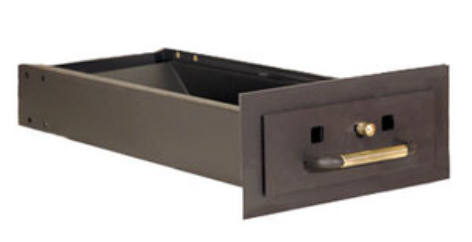
- A metal cone is made, the smaller diameter of which is 8 cm, and the larger one is 12 cm.
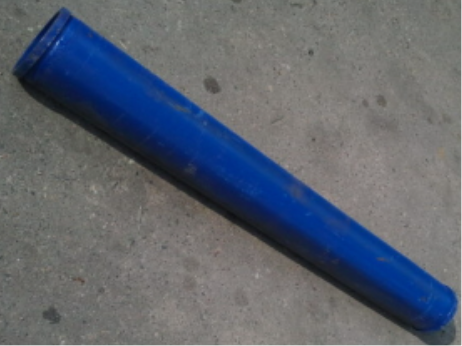
- Cut out a circle slightly smaller in diameter than the barrel. Numerous holes are made in it. In this case, the central hole in diameter should coincide with the smaller diameter of the cone (8 cm). This partition will divide the combustion chamber into 2 halves - firewood will lie below, and sawdust will lie on top.
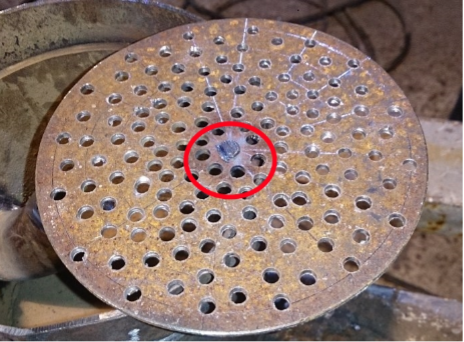
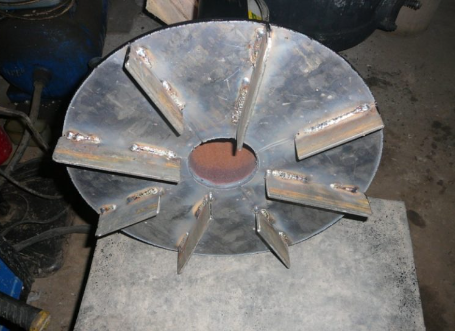
- From the cut off upper part (barrel lid), a disk is created, the diameter of which is slightly smaller than the diameter of the barrel. Plates are welded to it from below, as shown in the photo. This is a press that will gradually compact the smoldering sawdust and prevent the access of a large volume of air. It is desirable that it be weighty - a circle made of cast iron is optimal.
- Next, weld the chimney pipe.
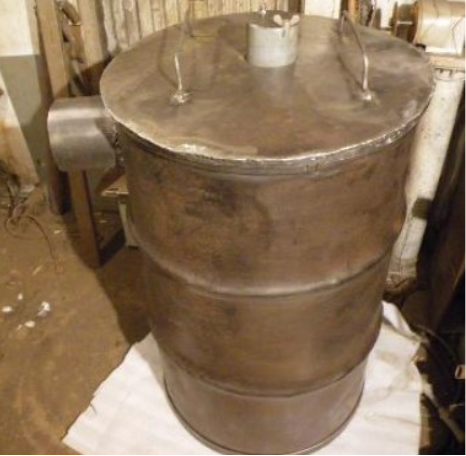
- Install legs.
How to use the stove
Since this is not a conventional device, but a long-burning stove, it is necessary to clarify how it will work. The instruction is quite simple:
- Turn the cone over and insert the smaller end into the partition, as shown in the photo.
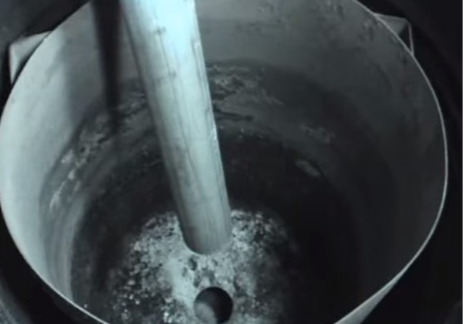
- Sawdust is poured into the upper half of the chamber and rammed. The denser the material lies, the longer the burning will be. Moreover, the compartment should be filled with a maximum of two-thirds of the volume. It is important to understand that it is impossible to open the lid during combustion and add new sawdust - first you need to wait until they completely burn out.
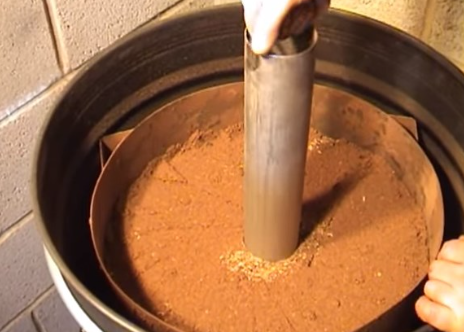
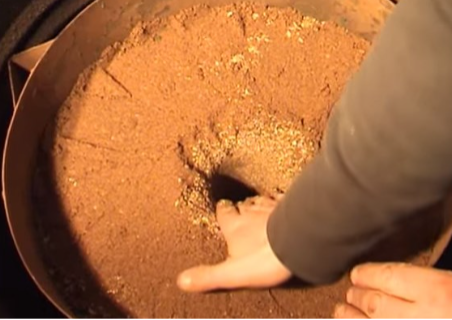
- They remove the cone - you get such a "tunnel".
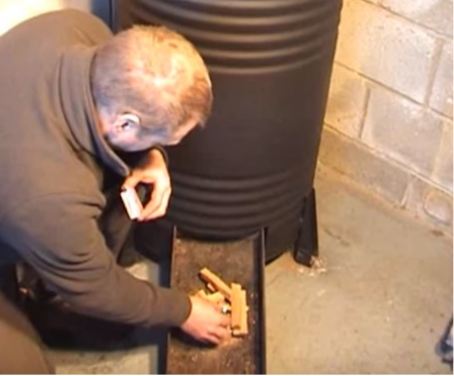
- They put some firewood with small chips in the firebox. They kindle a fire.
- When the firewood is completely burned, sawdust smolders. At this point, you need to properly adjust the draft so that the air flow is not too large (leave it ajar).
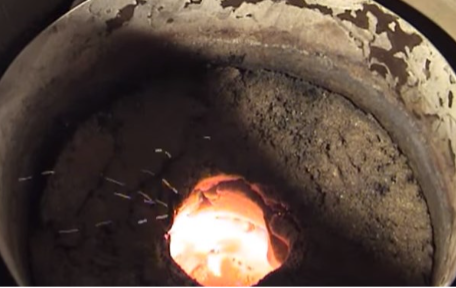
- Cover the top of the oven with a lid. If the combustion is weak, you can leave a small gap.
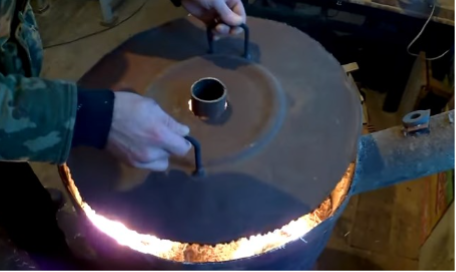
Such a stove is able to heat a medium-sized greenhouse for one day. But it is important to learn how to regulate combustion. On the one hand, sawdust should simply smolder, but they should not fade either. In the first hours, it is recommended to carefully observe how the fire behaves. If necessary, the draft is reduced or increased with the help of a cover and a blower door.
