The stove is covered with tiles mainly for aesthetic reasons. The beautifully finished surface looks attractive and fits well into any design. You can complete the work yourself in literally one day. Instructions on how to cover a stove with tiles and useful tips on selecting materials can be found in the article presented.
The content of the article
- Selection of materials
- Step-by-step instruction
Selection of materials
Before you understand how to lay tiles on the stove, you need to choose the right materials. The following types of products are used for finishing:
- from natural stone;
- tile;
- porcelain stoneware;
- clinker type tiles;
- terracotta
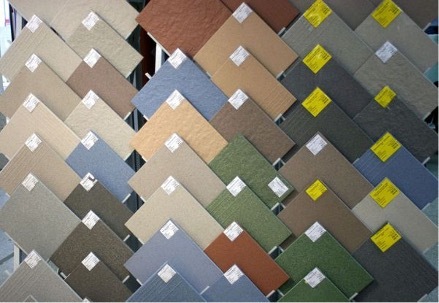
You can choose any tile, but not glazed. If we consider tiles, you can choose any material, since it is resistant to heat, and therefore does not leave cracks or cobwebs. It is also necessary to take into account the parameters of the tile:
- cross-sectional thickness of at least 0.8 mm;
- dimensions within 15 cm - otherwise, when heated, the material will expand greatly, which will have a bad effect on strength.
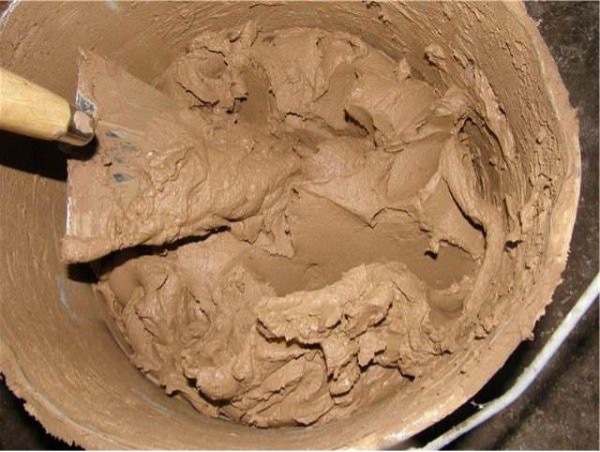
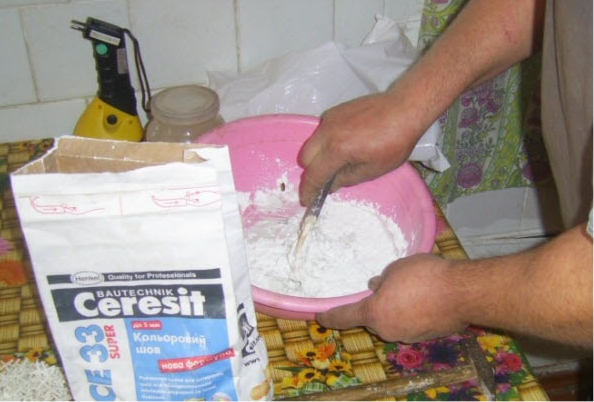
When considering how to lay tiles on the stove, it is recommended to select an adhesive mixture. Most often they choose from the following options:
- heat-resistant composition “Terracotta”;
- Termix glue;
- composition “Plitonit-SuperFireplace”;
- Skanfix super mixture.
You can consider another way of gluing tiles to the stove. With your own hands, you can prepare a composition based on sand, cement, clay and liquid glass in a ratio of 4 parts to 2, 2 and 1. When kneading, you should also add regular salt at the rate of 1 kg per standard bucket (10 l).
Step-by-step instruction
The instructions on how to lay tiles on the stove include several steps. First you need to perform calculations, prepare the surface, and then begin finishing. A step-by-step description of the process is presented below:
- First, the surface is thoroughly washed and dust is removed, after which a primer is applied, doing this in two layers (after the first has dried, the second is applied). You can work with a roller or a regular brush. It is recommended to choose heat-resistant primer G-77 as a composition.
- After the second layer has dried (about 2 hours), proceed to the next stage - reinforcement. A small diameter 1 mm stainless steel wire is fixed to the surface.
- To understand how to properly lay tiles on the stove, you need to take ordinary glass, cut strips 3 cm long and 1 cm wide, place them under the wire so that the mesh lies tightly on the surface. If any screws protrude, screw them in until they stop.
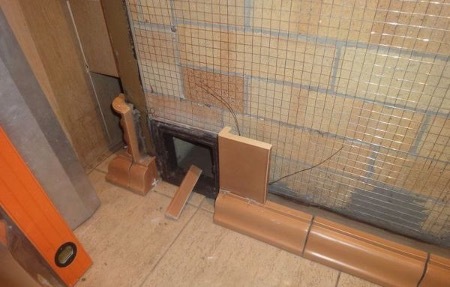
- The surface is leveled with plaster; for this, tile adhesive or a mixture prepared by yourself is used. When laying, the composition is leveled so that its thickness is approximately 1 cm. In this case, it is necessary to fill all voids, especially at the seams.
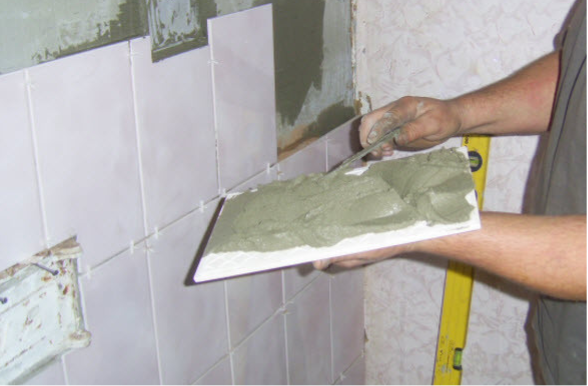
- Now the main stage begins - laying tiles on the stove. Glue is applied to the inside of the product using a spatula.

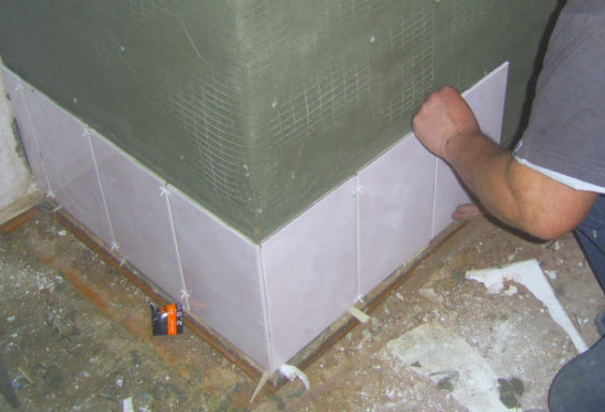
- Apply the fragment to the oven, first the lower part and only then the upper. Laying tiles on the stove with your own hands begins with the bottom row.
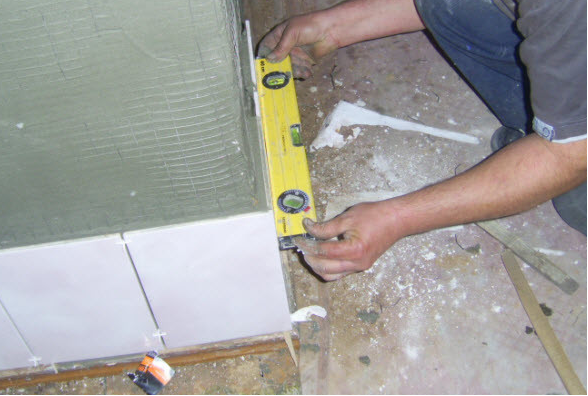
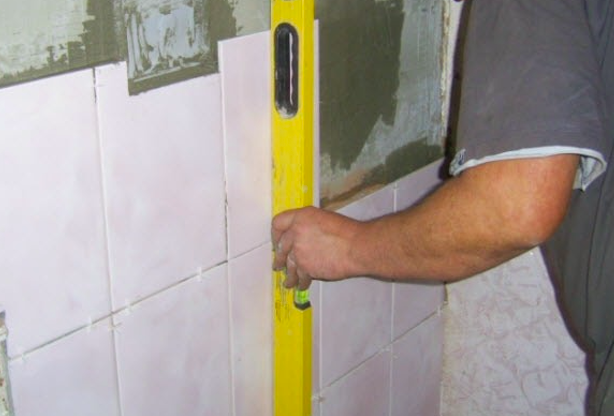
- When installing tiles, at each stage the correctness of the work is controlled by the building level.
- After this, you need to wait until the previous row has completely dried, after which you can lay the second one. Likewise for subsequent masonry.
- Each row is again checked for level - horizontally and vertically.
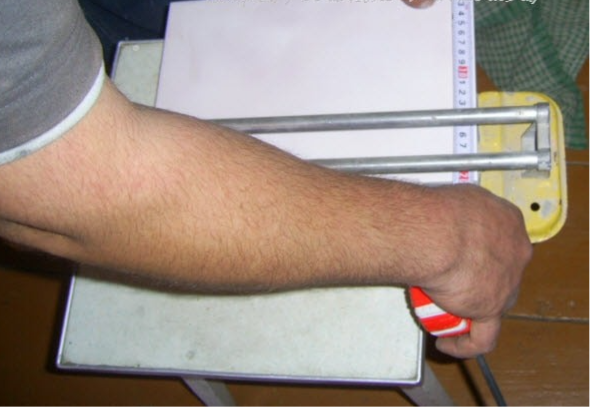
- When installing the last pieces in a row, it is necessary to trim the edges so that they are even. It is more convenient to use a tile cutter for this.
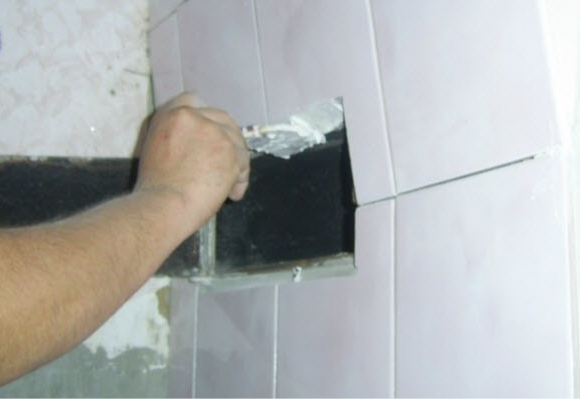
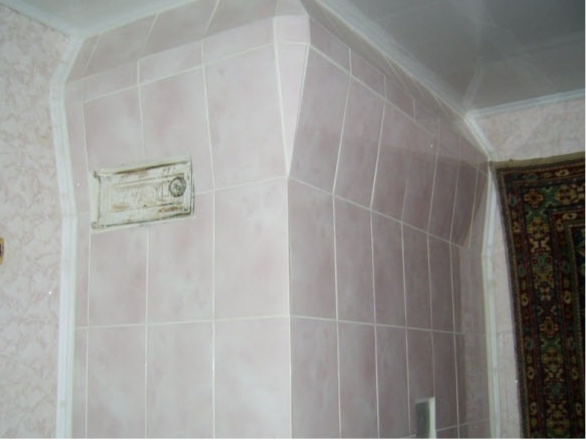
- If necessary, make a turn as shown in the photo. The previous row is cut off after measuring first.

- Now you need to fill the seams with a special mixture using a rubber spatula.
- Particular attention is paid to stove wells.
- The finished result looks like this.
After this, it is necessary to allow the structure to dry naturally (1-2 days, without draft). Then you can heat the stove, but no more than an hour. A day later, the procedure is repeated, after which you can proceed to the usual firebox.