Using mosaics in a bathroom interior is not only a great way to add uniqueness to the design, but also an opportunity to create a practical and durable coating. This is especially true in the shower area, where the mosaic combines exceptional decorative and water-repellent properties.
The content of the article
- Preparing the base for cladding
- Selection of materials and tools
- Instructions for laying mosaics
- How to care for mosaic tiles in the shower
- Final touches
Preparing the base for cladding
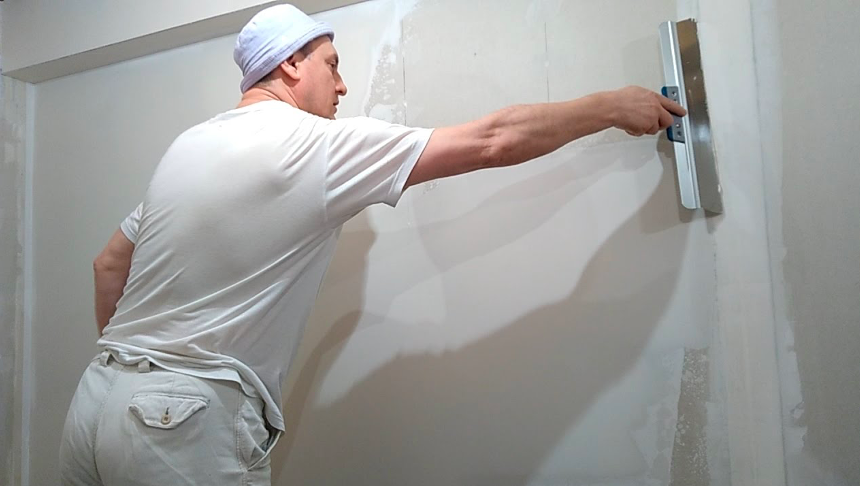
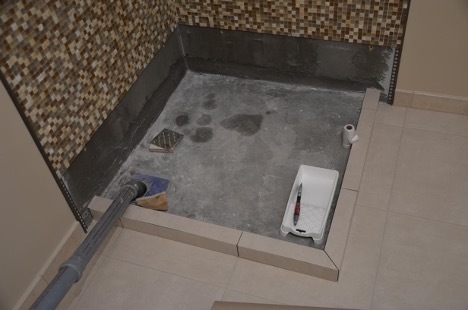
Before you begin laying mosaics on the shower floor, it is important to properly prepare the base. It should be smooth, clean and durable. Remove all dust, dirt and grease stains as these may prevent the mosaic from bonding well to the adhesive. The base can be a special waterproofing mixture or a durable moisture-resistant solution.
Selection of materials and tools
The choice of materials and tools is one of the most important stages in the process of tiling a shower tray with mosaics. The quality and suitable characteristics of the resources used directly affect the durability and aesthetic qualities of the final result.
Materials:
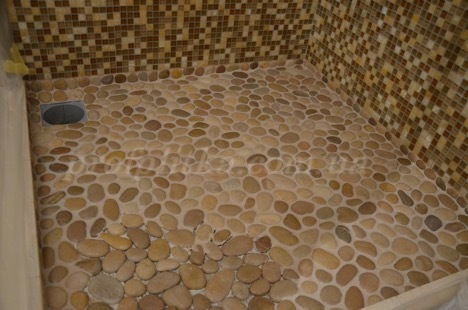
- For shower trays, it is preferable to use ceramic or glass mosaics, as they are resistant to humidity and temperature changes. There are also natural stone mosaics, but they require additional treatment with waterproofing agents.
- Choose a high-quality adhesive compound designed for wet areas. It must be resistant to mold and mildew.
- The grout must be moisture resistant and match the color of the selected mosaic. In some cases, the use of epoxy grout is recommended, as it is more resistant to chemical attack and wear.
- Material is needed to treat the base of the tray to prevent water from penetrating into the floor structure.
Tools:
- notched trowel for applying glue evenly over the surface;
- a tile cutter or glass cutter for adjusting the size of individual mosaic elements;
- the level allows you to control the evenness of the laid surface;
- mosaic crosses, which ensure uniform spacing between mosaic elements;
- sponge and bucket of water to remove excess glue and grout;
- a rubber spatula that is used to fill joints with grout.
Careful selection of materials and tools ensures that mosaic tiling of the shower tray will be done professionally and will serve flawlessly for many years.
Instructions for laying mosaics
The process of laying mosaics on the shower floor requires care and precision:
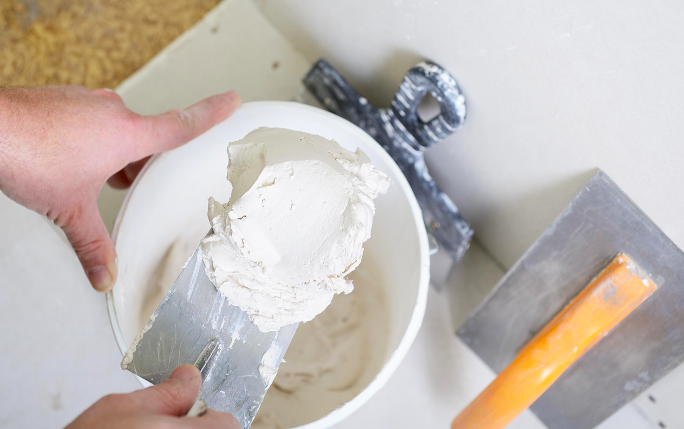
- Spread the adhesive evenly over the prepared surface using a notched trowel.
- Laying mosaics. Start from the center or the most visible corner. Press each mosaic sheet firmly against the floor, ensuring minimal seams between individual pieces.
- Use a wooden strip or level to level the mosaic to prevent unevenness.
- After the glue has dried, start grouting the joints. The grout must be moisture-resistant to prevent water from getting under the mosaic.
- After the grout has hardened, carefully clean the surface of the mosaic with a damp sponge.
Following these steps will help create a beautiful and durable coating that will delight you for many years.
How to care for mosaic tiles in the shower
Shower mosaic tile maintenance requires special attention to maintain its visual appeal and durability. Here are some key tips for caring for mosaic flooring:
- Use soft mosaic sponges. Avoid abrasive powders and brushes that may scratch the surface.
- The seams between mosaic elements are especially vulnerable to dirt and mold. Purchase a specialized product for deep cleaning of seams, and also use sealants to prevent moisture penetration.
- In a humid shower environment, mold can become a problem. Check corners and seams regularly for stains. If mold is found, use specialized products to remove it.
Following these simple rules will help maintain the original appearance of the mosaic coating, and will also ensure the hygienic cleanliness and safety of your shower space. Believe me, getting rid of problems with mosaics is much easier at the very beginning.
Final touches
After completing installation and grouting, the mosaic floor should be left for a day to dry completely. Then do a final clean, removing all construction marks and adhesive residue. To care for mosaic flooring, use mild cleaning products without abrasive particles so as not to damage the surface or wash the grout out of the joints.
Using mosaic tiles in a shower stall is an art that requires patience and precision. But the result is worth the effort, because a beautiful and functional shower with mosaics will become the real pride of your bathroom.