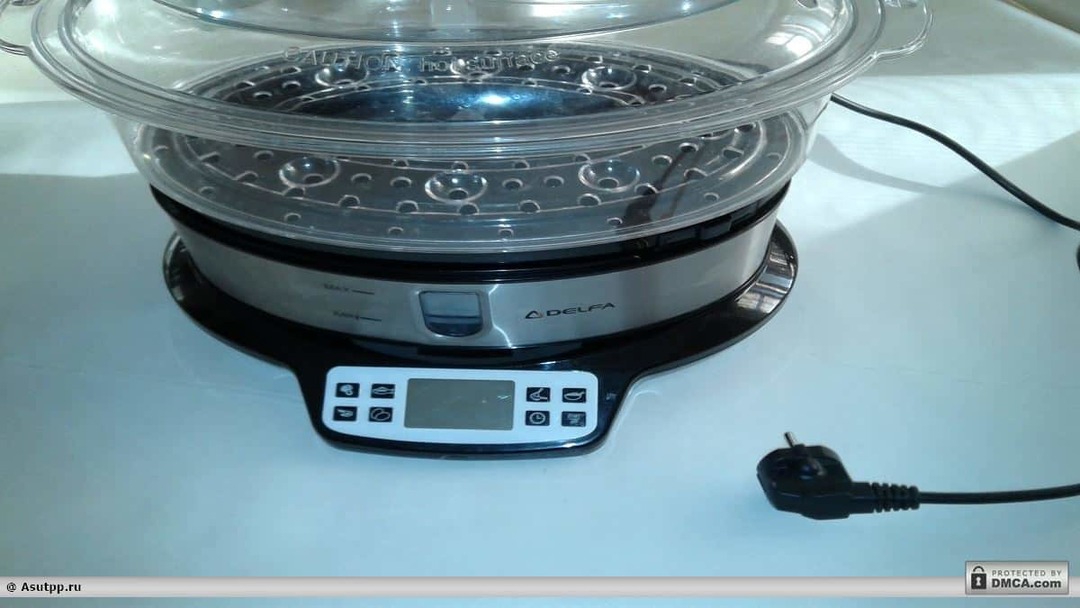
Steamer in nature - it is a steam generator through which food is prepared.
Thanks to several sections, in a double boiler, you can simultaneously cook two or more meals. Thus, further saving time and energy.
In addition to cooking in a double boiler, you can sterilize the cutlery, cans, baby bottles.
From the foregoing, it is clear that the benefits are obvious steamers.
The thickness of these devices is 800 W, and the average cooking time of 25-30 minutes. It is not bad record in terms of cost.
The operating principle of a double boiler
The bottom metal cup for water heating element is embedded. By heating, the water turns to steam, and passing through openings in the sump flows into plastic containers with products.
A heater controlled by a microprocessor which determines a cooking time in the exposed mode.
He also displays the remaining time on the indicator and signals at the end of cooking.
Couples turned into water and juice products, flow into a special tray. This liquid during or after cooking should be drained. Sometimes, it is used for sauces and gravies. In the same container there is a small pocket, which can be filled with water during cooking, if its amount was below the desired level. From this pocket water enters directly into the pan with heater.
As can be seen, steamer fairly simple in design tool.
Therefore, when a possible malfunction, you can try to repair it yourself.
The repair process steamers
To make it more clear how to do this, the following will be considered a double boiler repair Delfa.
Devices other companies in construction are not much different from this, therefore, the definition of the algorithm is not good condition, disassembly and repair can be applied in devices from other manufacturers.
So, what's wrong with this steamer?
When you turn on its cable network, where obviously there is tension, nothing happens. No light menu screen, or play any sound.

Pressing the ON / OFF button does not start the work of the steamer. Disorderly pressing other buttons, too, came to nothing lead. The same thing happens when tapped on the device housing. If somewhere there was no contact, briefly appeared to glow of the screen. Such a diagnosis is helpful in TV repair, for example.
Still it is possible to bend the cord in different places, including around the power plug. So, if there's something in it open, you should see the power temporarily.
But there's nothing. Hence, it is necessary to disassemble the unit and look for fault in a double boiler.
Housing device disassembled from the bottom. To do this, remove all the upper parts: container, container for condensate and so on, turn over a double boiler, and look where are the screws.
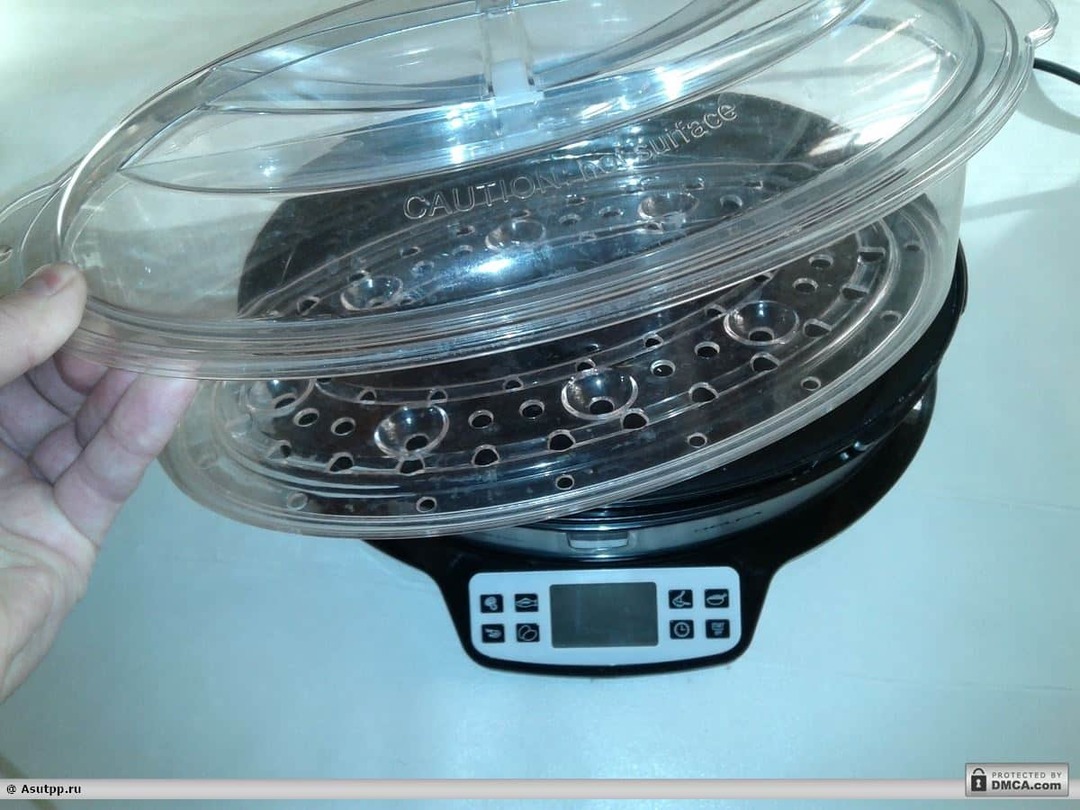

There are six pieces, proportionally spaced on the circumference of the bottom. With a Phillips screwdriver, unscrew the screws.
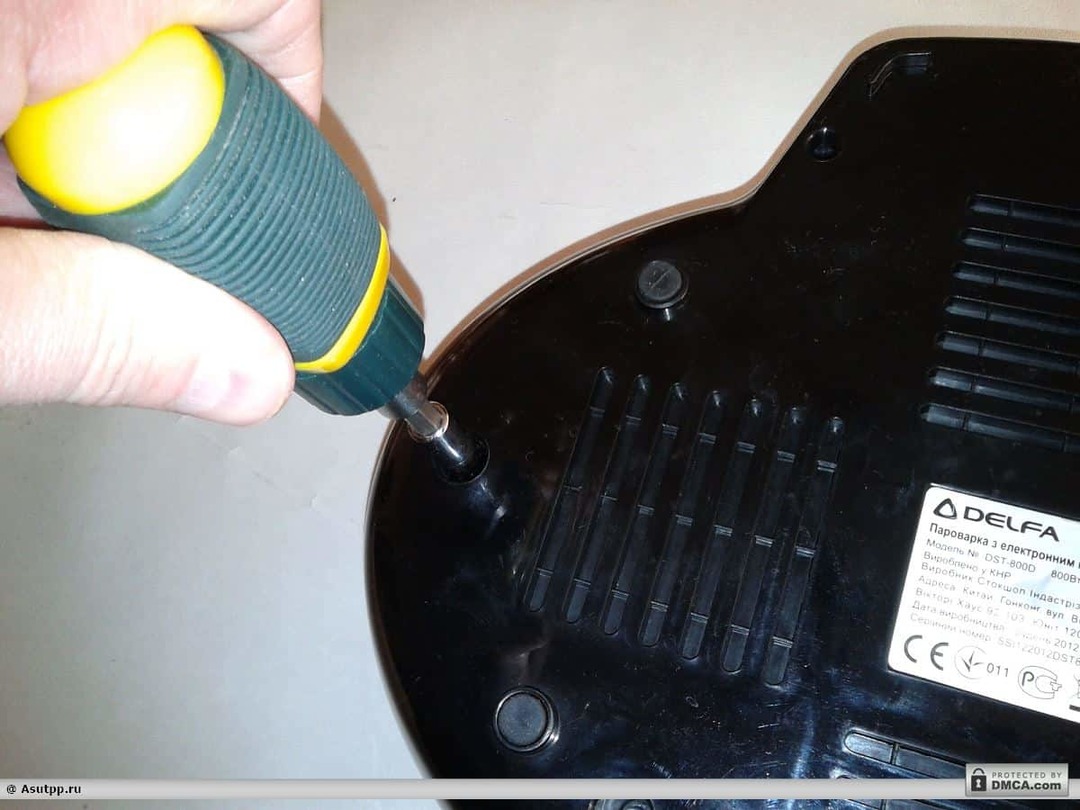
They are deeply planted, so the screwdriver should be fairly long.
Once all the screws are removed, gently lifts the bottom.
It must be removed without difficulty. If it does not, check that all screws are loosened until the end, and nothing prevents the free movement of the parts.
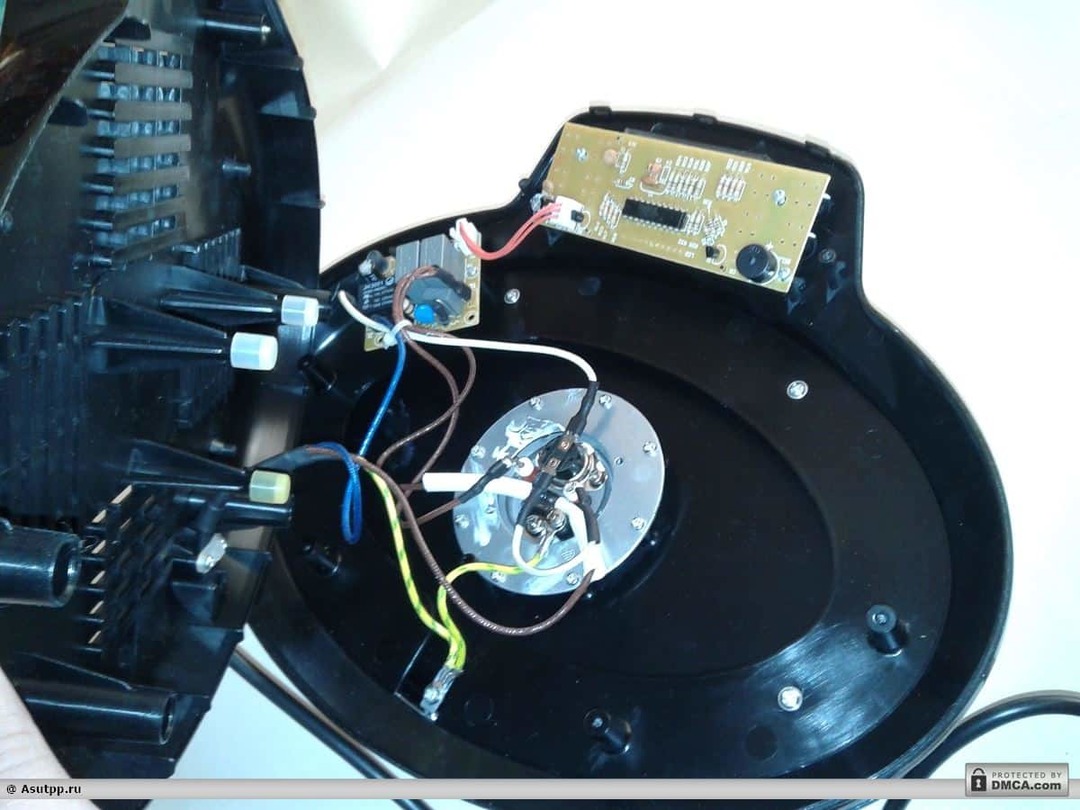
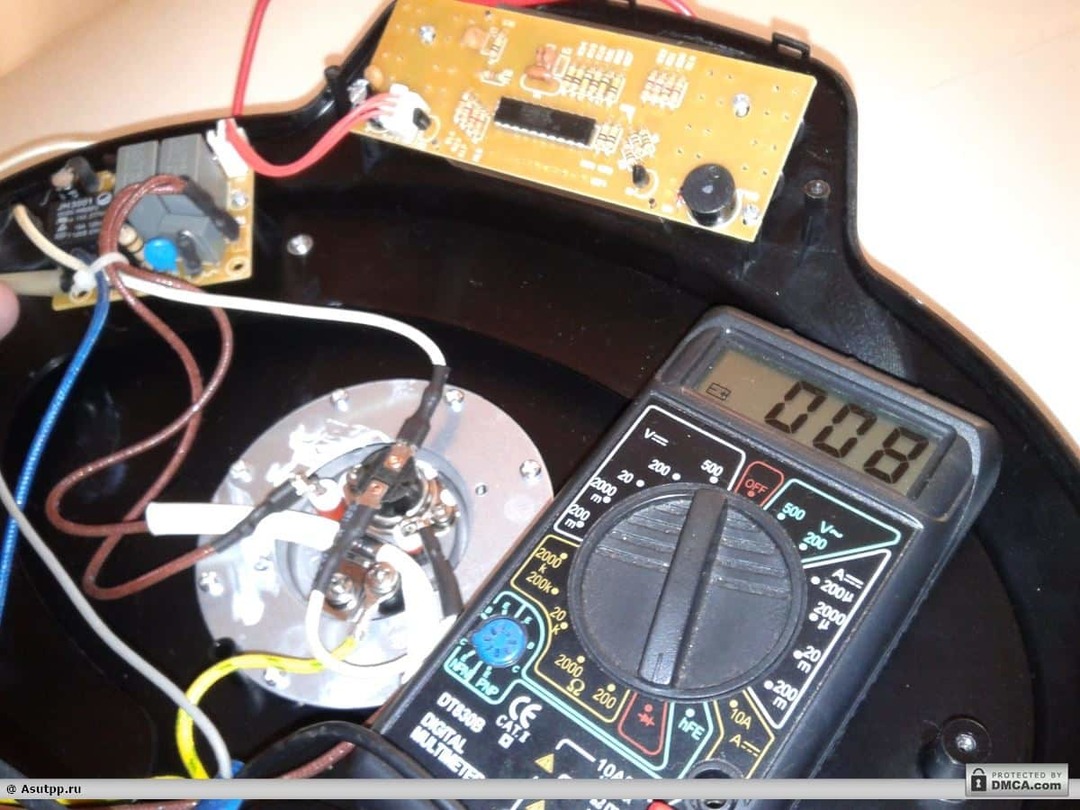
Now you can see the basic components and elements of the double boiler.
It:
- power board;
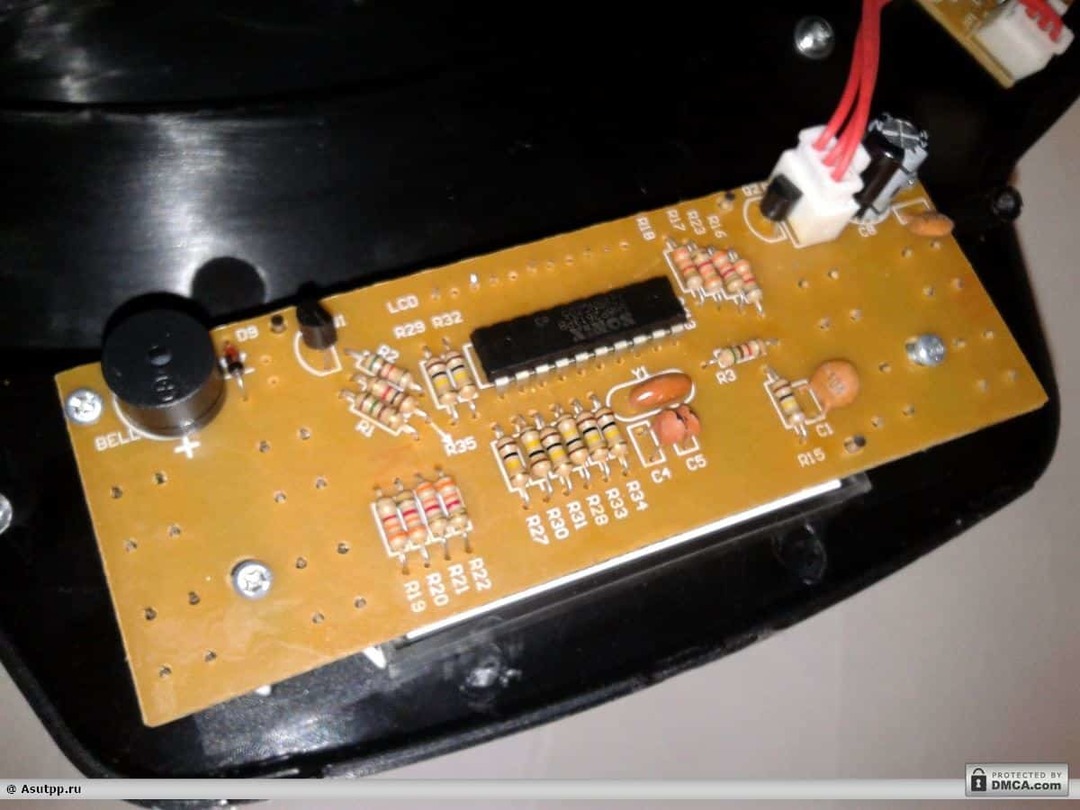
- Management Board;
- disk heater.

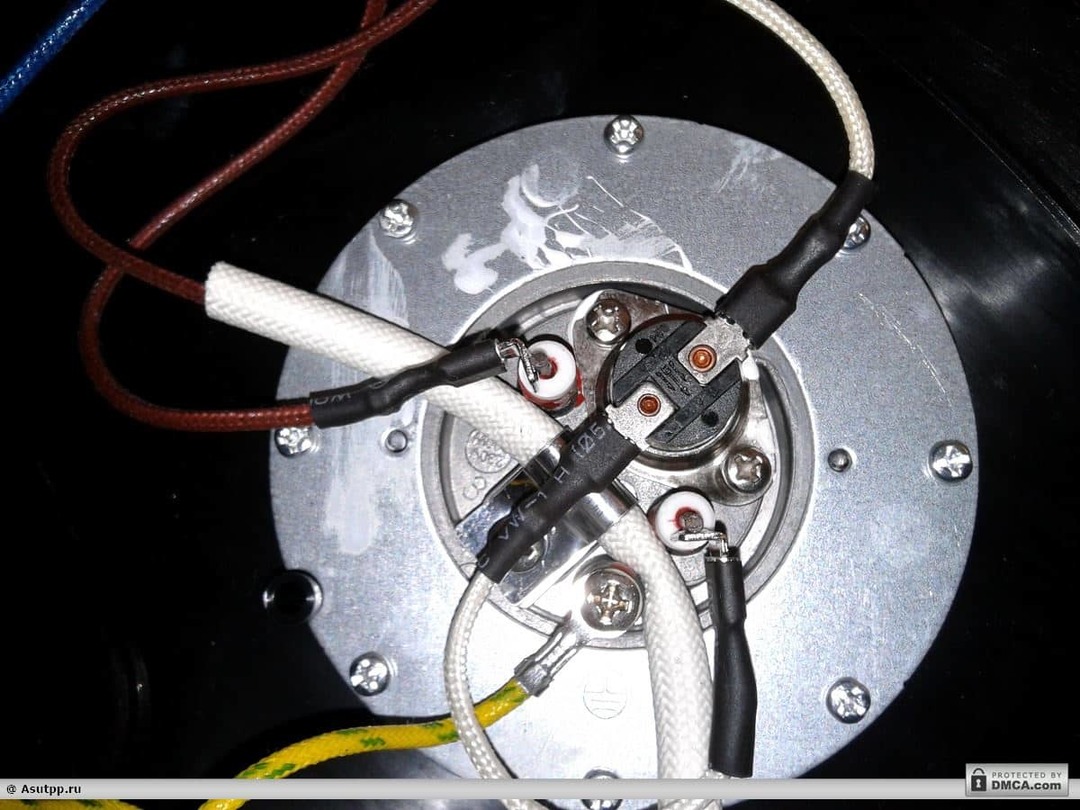
Also on the heater temperature sensors are mounted. They protect the unit from overheating at critical values.
The board of management is nothing special. We mean, the details of the power unit, which are often out of order. Here a programmable microchip, its harness - resistors, capacitors and acoustic alarm in the form of a barrel.
Eat more high-capacity electrolytic capacitor, which can also cause damage, but it is not swollen and does not have any other visible defects.
Everything else is also no visible mechanical damage. Without darkening and changes shape.
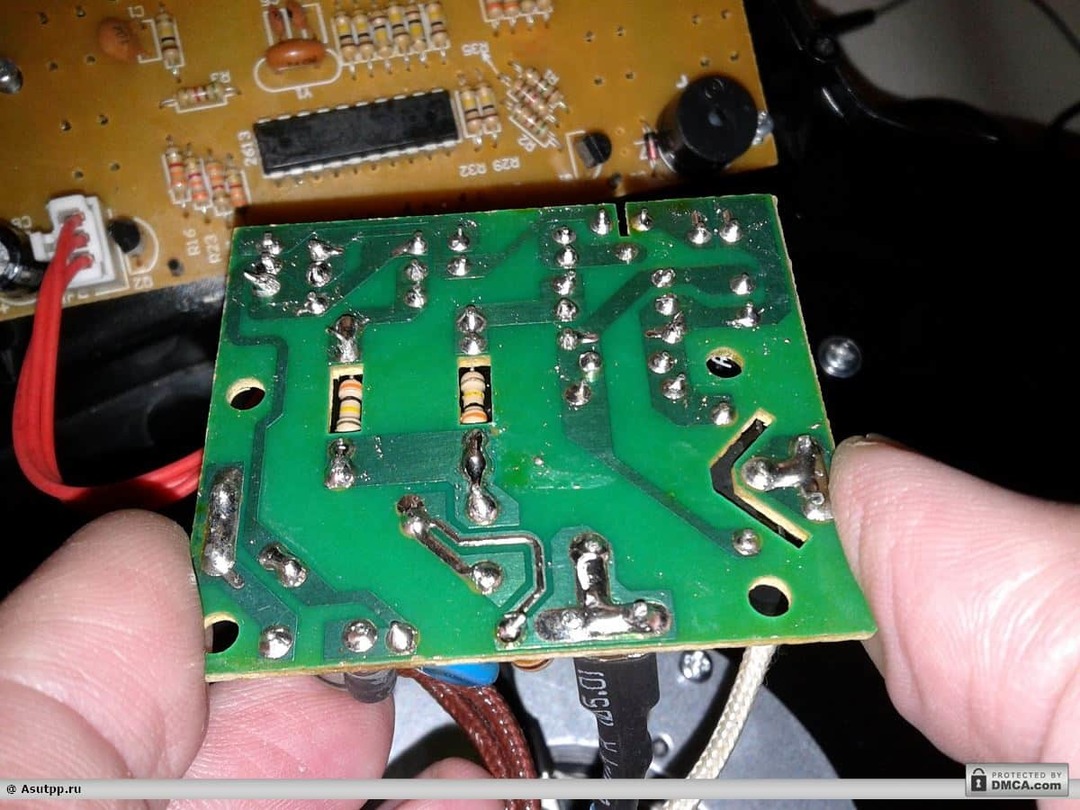
Next, turn your attention to the power board. On it are protective and power circuit components. This is the main fuse, dropping resistor, rectifier diodes, a smoothing capacitor - electrolyte and surge protectors.
Also, very important details - quenching excess voltage capacitors. Here they are rather qualitative in a rectangular enclosure.
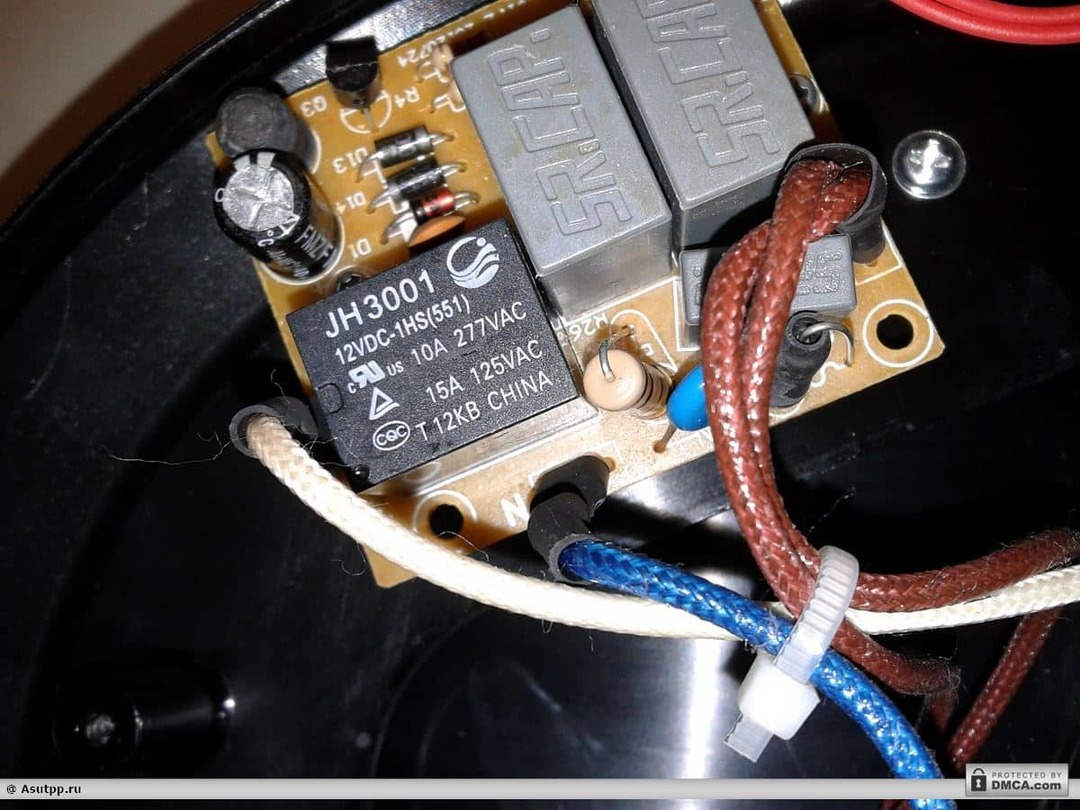
A cheaper option - a capacitor smaller and rounded. When a short-circuit between the capacitor layers, there is a rupture of its body that can be easily seen.
Here, this is not visible, indicating their relative good condition. Parallel capacitors soldered small power resistors. They are also without damages.
It should be noted that in case of failure of one of these resistors, the power supply would still receive the voltage and the screen would produce some evidence. And so, as there's nothing there, the problem is not in them.
Start Diagnostics better with the fact that often breaks down in such schemes. This thermal protection of the heating element or heating element.
They have such an ability as chain terminators during the temperature rise and recover it later. After frequent operations of these elements may fail and not close the circuit, even when hot. Therefore, they need to check first.
This can be done as an ohmmeter and a multimeter. In the extreme case suit and a pair of batteries with a light bulb connected in series.
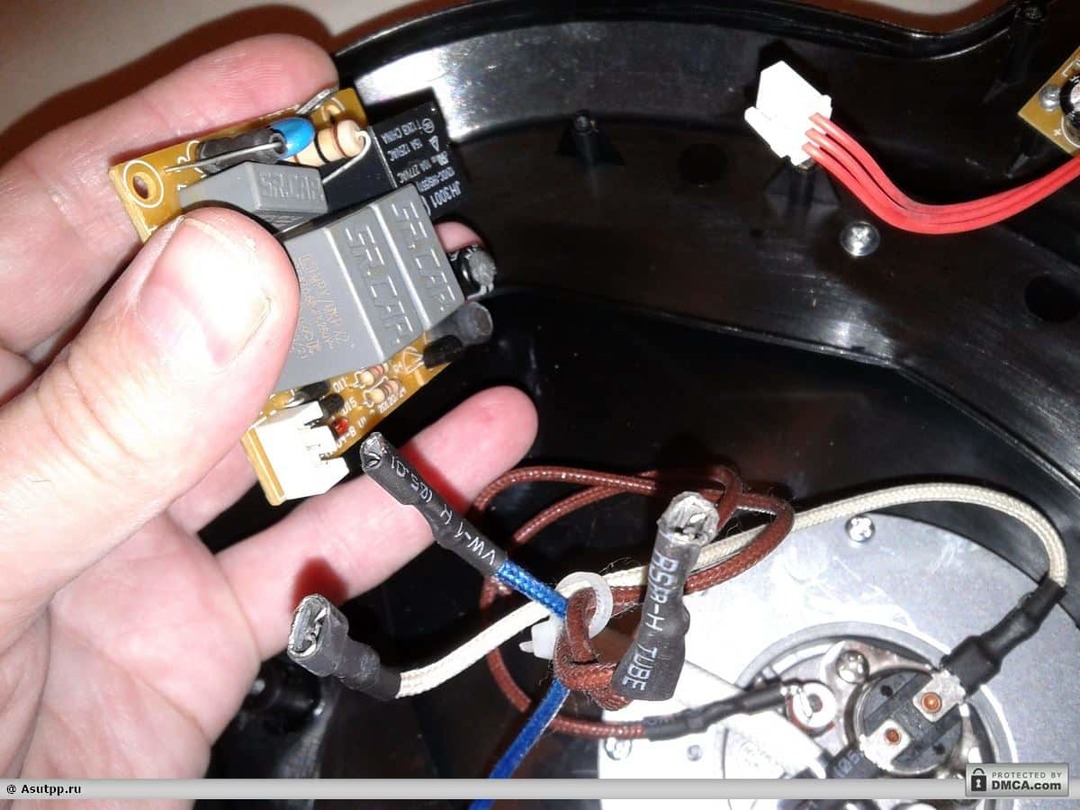
In the beginning, we check the one that goes directly from the network. It is located right next to the heater drive, and its conclusions insulated heat-resistant tube.
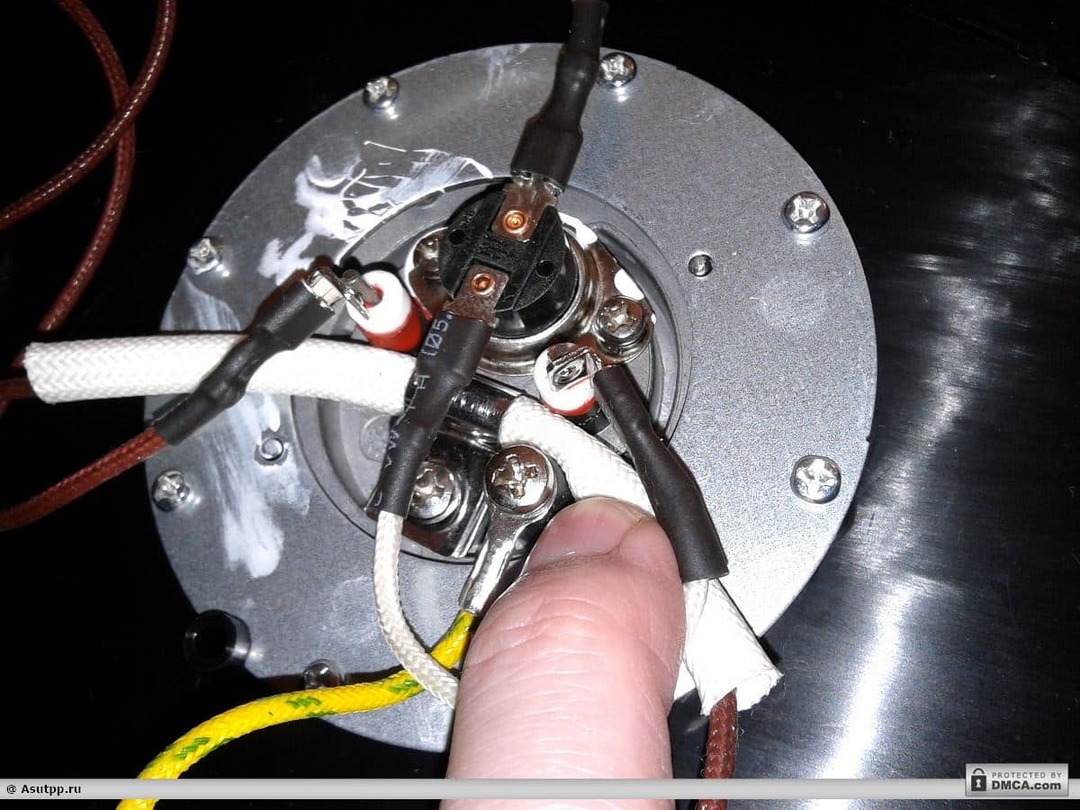
Tube "sits" pretty tight, so not to violate its integrity, best to ring the circuit path elsewhere. Especially if the device is intact, and you cut up, to get the same will be difficult. A tape can not isolate the usual, due to the strong heating.
So, we are looking for the junction ends of the thermocouple on the power card.
On the one hand it is the plug on the plug, the other - on the contact card to which are attached the brown wire.

Which pin on the plug, we are determined empirically by attaching a probe to the first board and the other probe, alternately to each pin of the plug.
The device shows that the thermal fuse intact. Now the "prozvaniaem" intact whether the second wire in the cord. Toss multimeter probe to the other terminal plugs.
At the same time, the other end of the device "sadim" on the contact board, which "fits" the blue wire with the network cable. And here is a chain, which indicates the integrity of the entire cord.
The second sensor, we "prozvanivat" will not, because through it, the voltage goes to the board on the heater. If it broke, everything else would work, except for the heating.
Therefore, the transition to the power board.
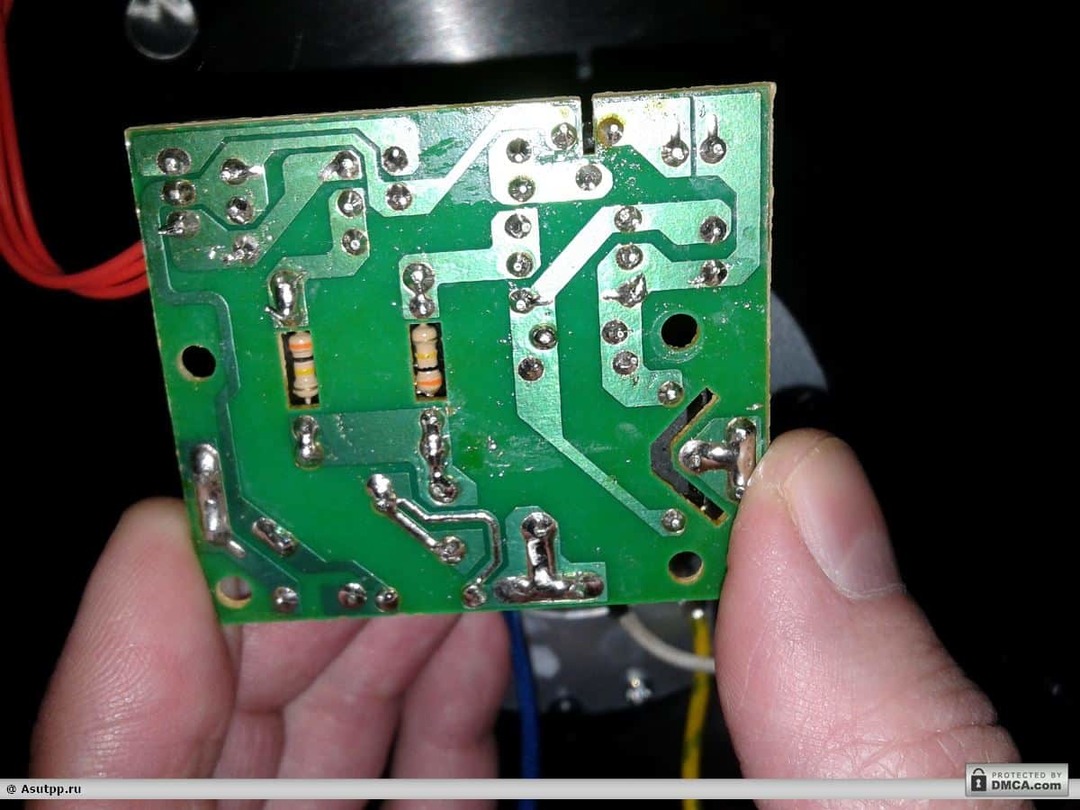
The photo shows a schematic diagram. On it can be determined that passes through the mains voltage.
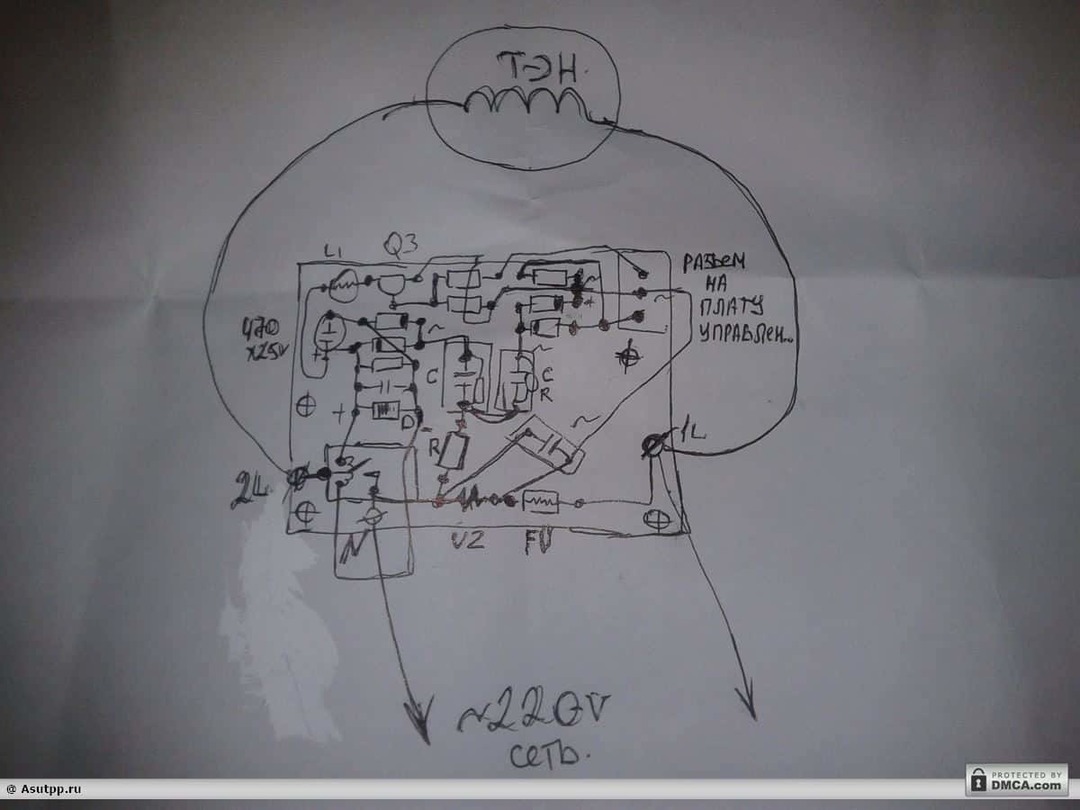
Carefully inspect it for defects in parts or wiring. It happens that it is the copper strips burn tracks by acting - fuse. Such sites usually have a dark color.
If not much what some discoloration or damage, go to the search with the help of the device.
As in all such cases, we search for the defective part, in the direction from the power supply.
It is better to remove the charge. First, unscrew the screws, two of them here, and then, remove the connector with wires.
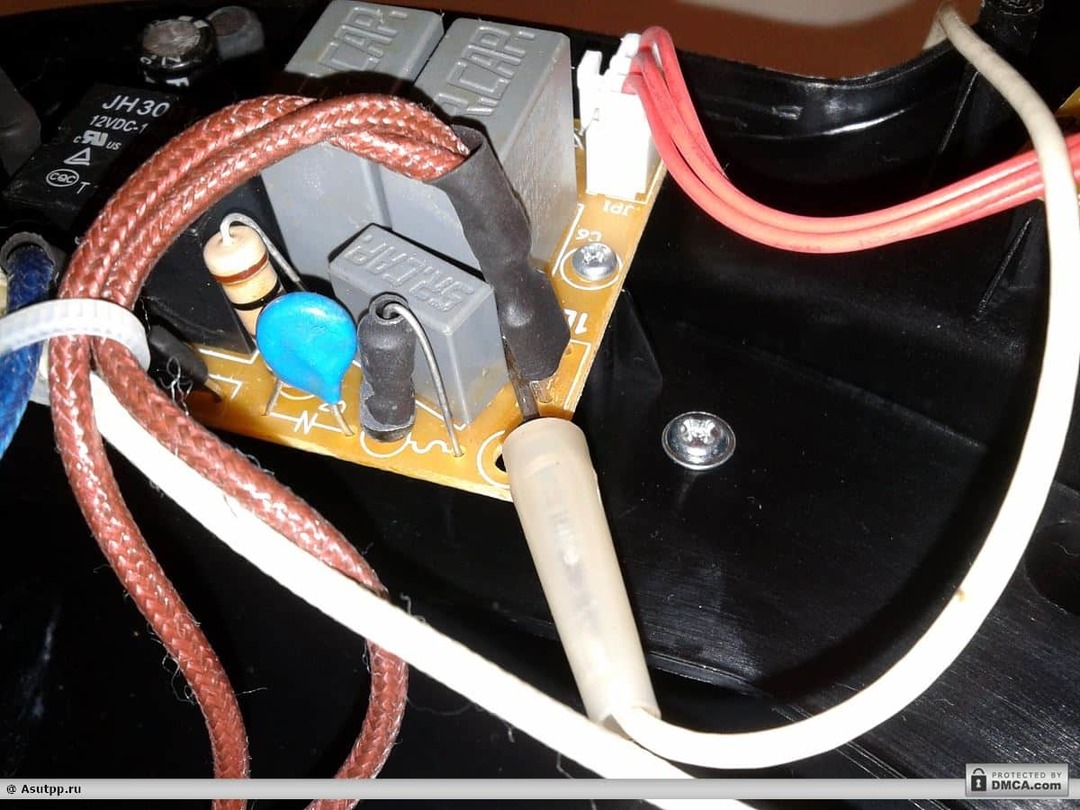
When the card is removed, look, it's worth the chain of the brown wire.
The board is a fuse. Its body is hidden in the black tube.
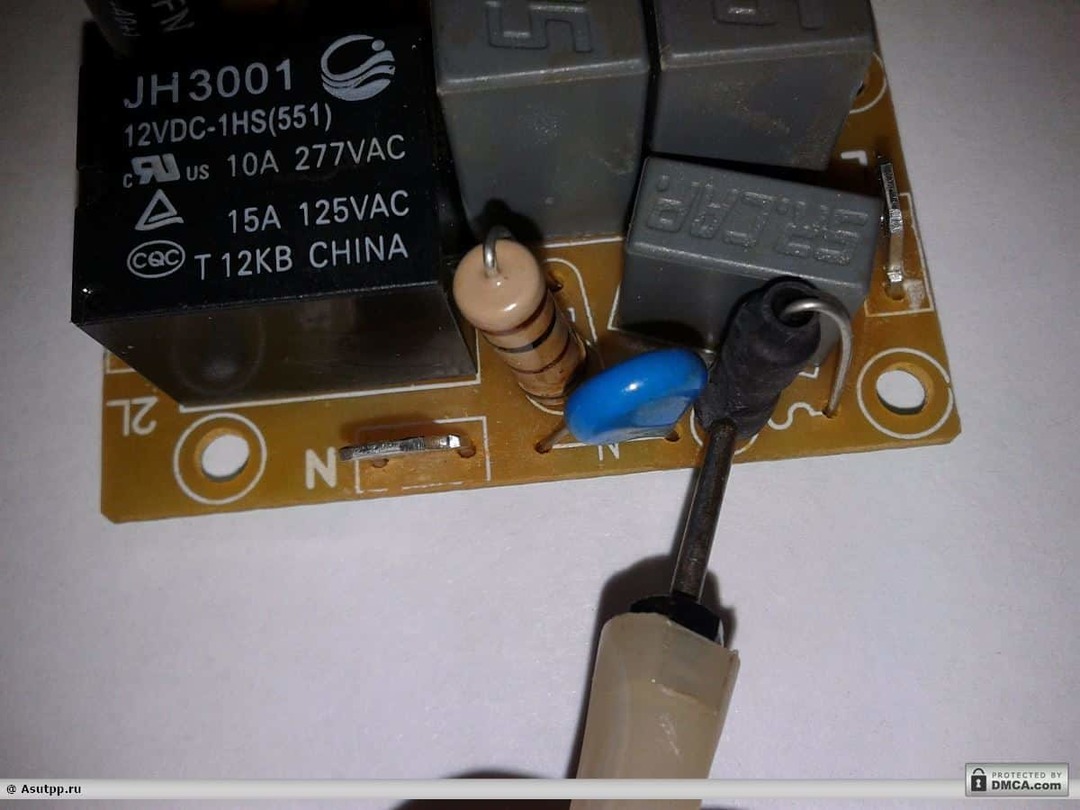
We find the ends and "prozvanivatsya" them on a chain. Thus, put the device switch to resistance to 200 ohms measurement.
The device resistance showed close to zero. Hence, the fuse intact.
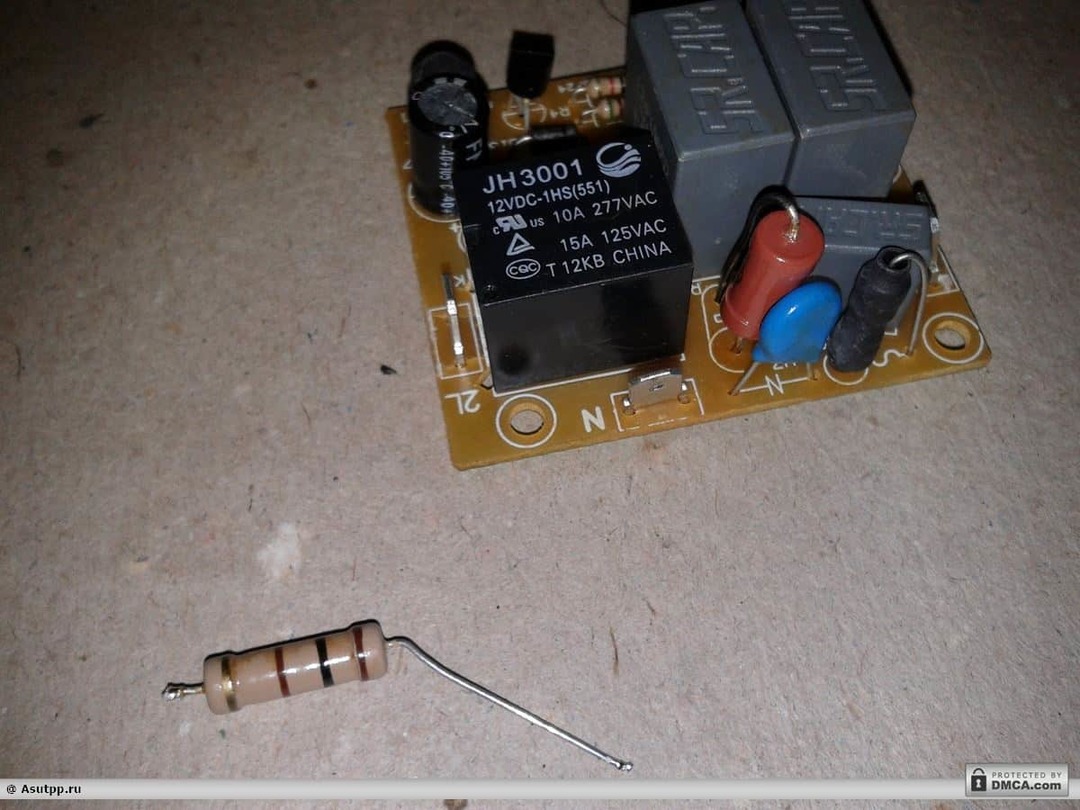
Now look at what comes after the blue wire. This dropping resistor. It also is a big load, because it limits the supply voltage to the desired value, as well as quenching capacitors.
Therefore, it is much thicker than their "brothers" - resistors on the board.

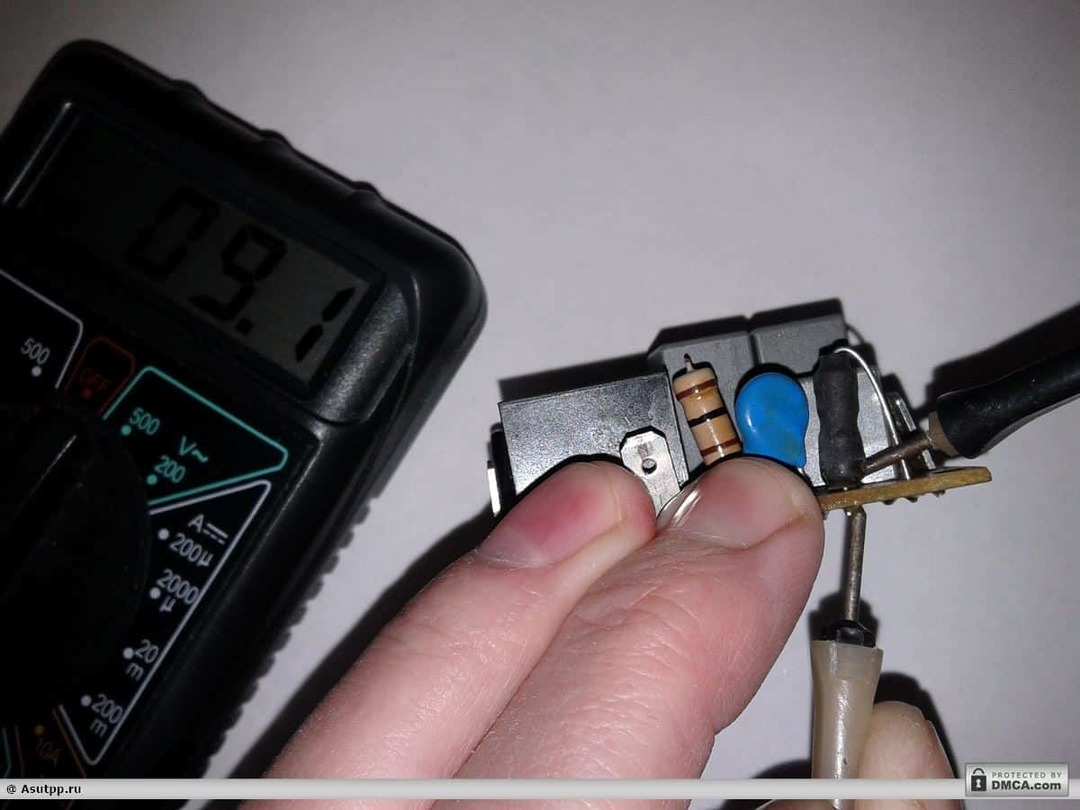
Judging by the marking, he must have a resistance of 100 ohms.
To check it out, it is better to unsolder one end.
Now, just as before, put the device 200 ohms, and measure the resistance of this resistor.
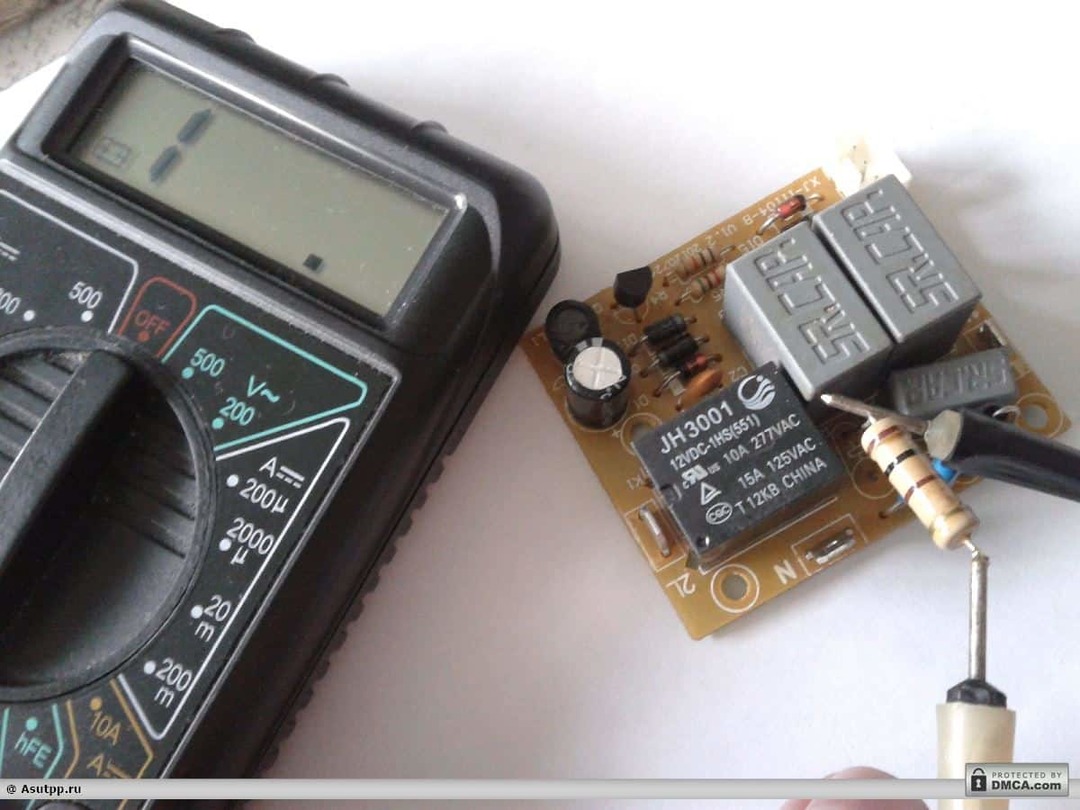
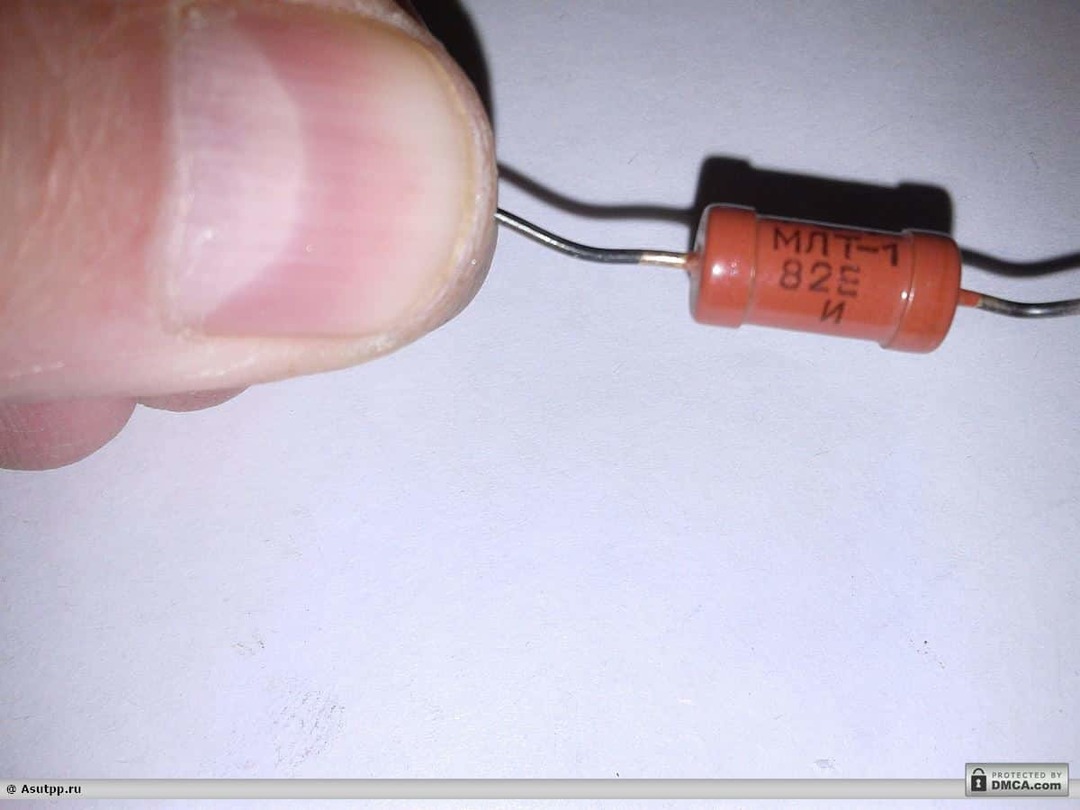
Device showed infinity. Hence, it has an open or sputtering damage. As practice shows, the resistance type MLT Soviet-made, are more reliable and fail only if it is visible to the naked eye. They burn and change color from red to dark. Therefore, damage is easy to determine.
These resistors, apparently does not show its worthlessness. Check should be only the instrument and, moreover, with vypayat ends, or at least one.
Replace a faulty resistor better - as mentioned above, in the IFL with a capacity of not less than one watt.
Find this can be as on the radio market and vypayat from old boards. For example, a lamp or a television receiver.
It can be installed on 100 ohm, and 82 assume, as here. The big difference this will not work. So that, plus or minus 10% is not critical.
Remove old resistor and forming conclusions, the new solder, solder shorting is not adjacent tracks.
We connect all the connectors and put the card in place, secure it with screws. Collecting body, turn the steamer to a network.
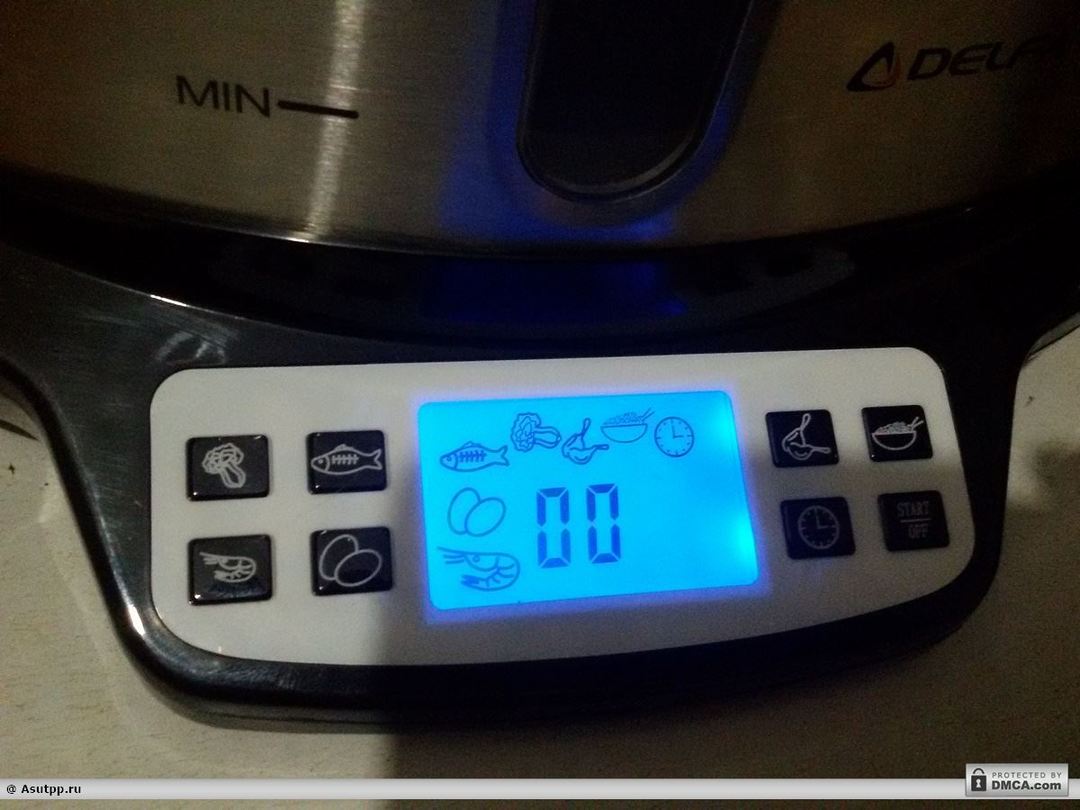
As you can see the screen lights up and you can select the menu. Turn off it from the network and turn over again.
Checking the perfect seal the bottom of the case, turn the screw on the pallet and check the unit is already water.
In this repair is finished. Such a replacement resistor will extend the steamer service several times.


