Do-it-yourself vibrating plate is usually made on the basis of an electric motor. It is not as productive, but it does not produce exhausts and is not so noisy. In addition, for domestic purposes, it is quite suitable, and the cost will not be so expensive. How to draw up a drawing and properly assemble the unit is described step by step in this material.
The content of the article
- Device and drawing
- Materials and tools
- Step-by-step instruction
Device and drawing
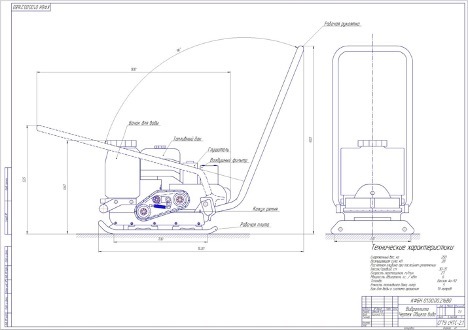
Before creating a vibrating plate with your own hands with an electric motor, you need to familiarize yourself with the device of the mechanism and draw up a drawing. The tamper consists of several elements, as shown in the diagram.
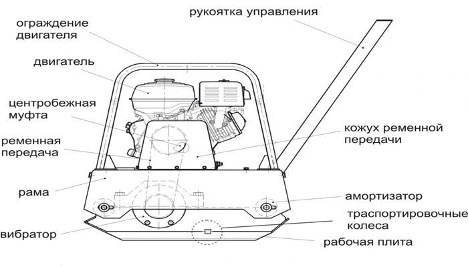
Manufacturing begins with a metal base. You can take a steel part as a basis - cast iron is not used, because it can crack. In addition, it is impossible to weld, the material is fragile. To understand how to make a vibrating screed, you need to take a sheet of steel with a thickness of at least 8 mm. Several elements are necessarily attached to it in order to increase the mass.
If you make a high-quality vibrating screed with your own hands, you need to understand that the effectiveness of its work is directly related to the weight, base area and shaft rotation. The surface may be too large - then the pressure will be insufficient. And if the area is small, then the impact force will be point. Due to too intense vibration, the tool will quickly fail.
Therefore, before starting work, you should determine the size of each element. You can take the finished drawing as a basis, if necessary, modify it to fit your case. Do-it-yourself vibrating screed for concrete (on the example of a gasoline model) can be made according to this scheme.
Materials and tools
Also at the preparatory stage, you need to figure out what materials and tools will be needed. First of all, you need to think about the engine. At home, a homemade vibrating plate is often powered by an electric motor. It is not as powerful compared to gasoline or diesel. But the unit is less noisy, does not produce any exhaust. If necessary, it can also be used indoors.
Standard vibrators that can be purchased at almost any store are the IV-98 and IV-99 models. On average, they cost 7000-10000 rubles. When choosing a power supply, it is better to stop at the standard voltage of 220 V. Do-it-yourself electric vibrating plate is also made using such improvised materials and tools:
- cut a sheet of steel from 8 mm (you can use a piece from the machine);
- 2 channels for the engine;
- fastener - bolts;
- metal pipe (cuts);
- material that absorbs vibration (you need to isolate the handle);
- wheels;
- hammer;
- Bulgarian;
- welding machine;
- construction tape.
Step-by-step instruction
After drawing up the drawing and acquiring the engine, as well as the necessary materials, you can proceed directly to the manufacture of the tool. A vibrating plate for soil compaction is done in several stages:
- The metal sheet is cut up to 5 mm in depth, indented from the edges by 1 cm.
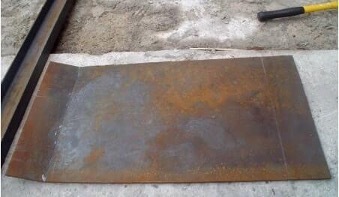
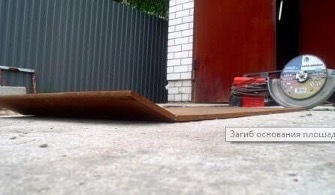
- The edges are bent with a hammer. As a result, the "wings" should be at an angle of approximately 25 degrees. If a do-it-yourself vibrating plate with a gasoline engine is made, this rule is also observed. Thanks to the "wings" the surface is not buried in sand or other material during operation.
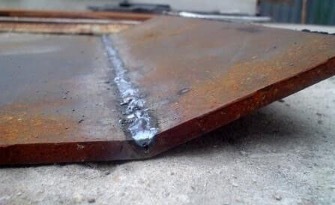
- The incisions are immediately fixed by welding, otherwise the bent parts may fall off.
- Next, you need to understand how to make a vibrating plate with your own hands. At the next stage, they work with a welding machine. With it, 2 channels are fixed right in the center. They are arranged in parallel straight lines with an interval of 7-8 cm. In this case, both fragments run perpendicular to the slab itself. The result is such a workpiece.
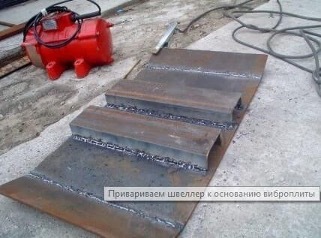
- Drill several holes for bolts on the surface of the channels - M10 or M20 are suitable for this purpose.
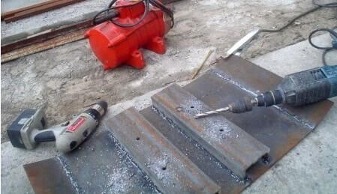
- Now it is easy to understand how to make a rammer with your own hands. At this stage, the vibrator is attached to the plate and the bolts are screwed.
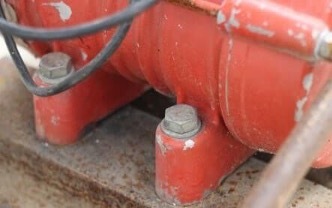
- Now you need to attach the handles. They can be installed directly on the stove, but during operation, the hands get tired pretty quickly. Therefore, it is better to mount pillow pads.
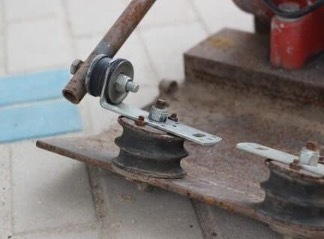
- At the intermediate stage, the workpiece will look like this.
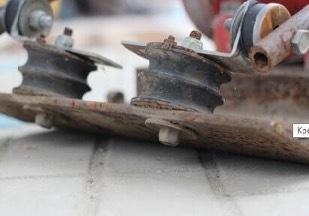
- The handle is welded from a metal pipe. In this case, you need to take into account the drawing, as well as your height. The place where the hands will be wrapped, laying soft material. If not, you can just make a rope loop.
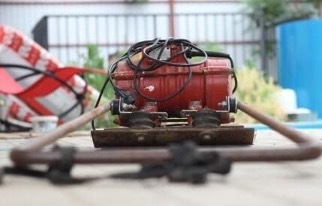
- Since the finished unit must weigh at least 60 kg, wheels must also be installed. A small fragment is pre-cut from the metal pipe and welded to the plate. If a home-made vibrating plate with a gasoline engine is taken as the basis, it is better to take metal wheels - plastic ones may not withstand.
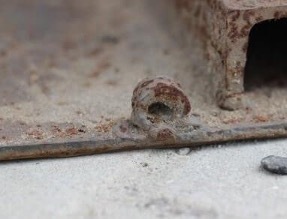
Thus, a do-it-yourself rammer is quite simply made at home using improvised materials and equipment. Most of the cost will go to the engine. But even taking this into account, your own tool will cost much less. In addition, it can be customized specifically for you by making the handle of the desired height.
